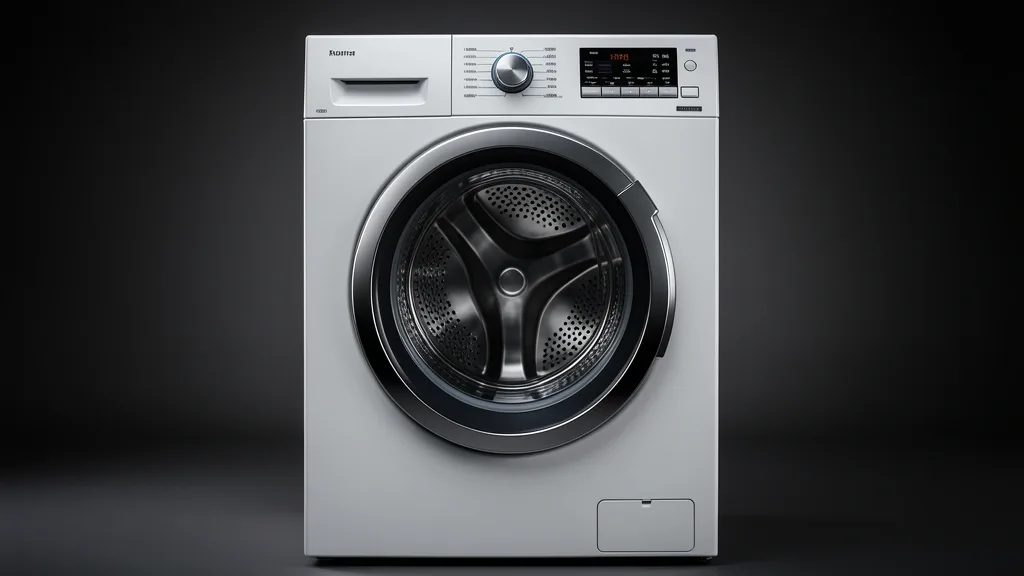
Optimizing your whirlpool dryer settings starts with understanding the electro-mechanical link between moisture-sensing arrays and heating elements. As a systems engineer, I see homeowners struggle with efficiency because they misidentify the root cause of cycle termination. Often, they confuse a simple sensor malfunction with a dangerous exhaust vent obstruction. This guide breaks down the core logic of these machines to keep your laundry routines high-performing and safe.
Key Takeaways
- Sensor Dry relies on electrical resistance across fabric; Timed Dry forces a blind-heat sequence regardless of load saturation.
- Restricted exterior venting is the #1 cause of false “End of Cycle” triggers and thermal fuse failures.
- Hidden calibration modes exist to reset moisture sensor sensitivity when standard settings fail to detect dryness correctly.
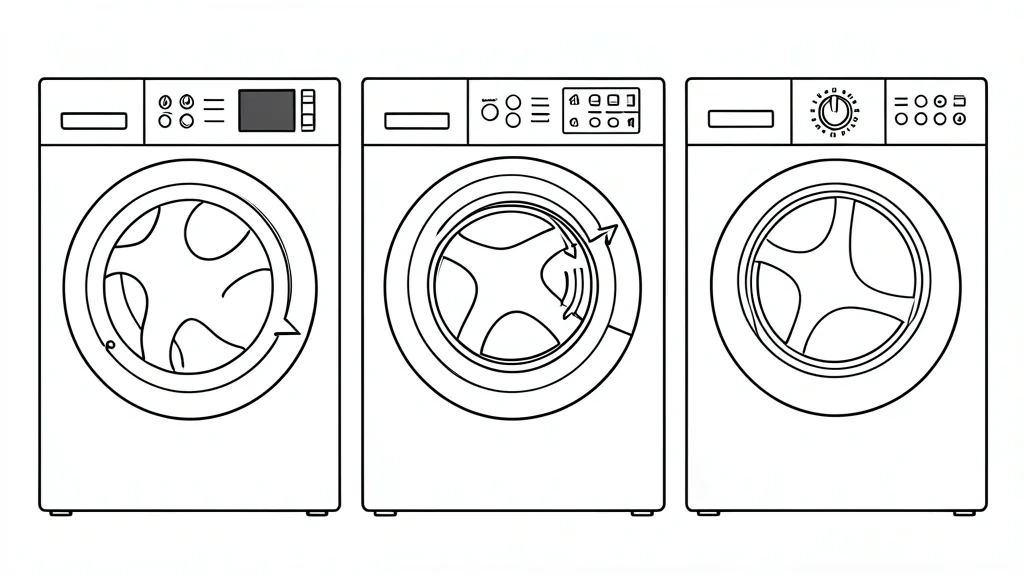
Technical Overview: Understanding Dryer Logic
Modern Whirlpool dryers use an Advanced Moisture Sensing (AMS) system. It operates on electrical conductivity. Two copper-plated sensor bars, located inside the front of the dryer drum, monitor load moisture by measuring resistance between them.
When wet clothes bridge the gap between these sensors, the circuit creates specific resistance. As your laundry dries and loses moisture, electrical conductivity drops. The microprocessor then realizes the cycle is nearly done.
This differs significantly from basic timed dry vs auto dry cycles. In an auto-detect cycle, the logic board actively calculates remaining time by polling sensors at set intervals. If resistance doesn’t climb, the board concludes that your dryer drum airflow is insufficient or the heater isn’t cycling correctly. This triggers early termination or an error code.
To calibrate these sensors, check your official Whirlpool dryer manual for the hidden diagnostic sequence. You usually press “More Time” and “Less Time” in rapid succession—three to five times—to enter the sensitivity menu.
Adjusting sensitivity helps compensate for different fabric weights. If clothes emerge damp even on “More Dry,” the sensor array might be coated in dryer sheet residue. A quick wipe with isopropyl alcohol restores the baseline resistance readings.
Keep in mind that the logic board always prioritizes safety. If the thermistor detects the internal temperature is rising too sharply relative to moisture loss, it triggers a cooldown. This prevents the heating element from running continuously if the air path is blocked, shielding the machine from potential fire hazards.
The Diagnostic Matrix: Identifying Input Issues
To fix performance issues, you must isolate external environmental factors from internal component failures. Use this matrix to categorize your unit’s behavior systematically.
| Symptom / Error | Possible Cause | Quick Check | Resolution |
|---|---|---|---|
| Cycles end instantly | Moisture sensor short | Check sensor bars for lint/residue | Clean with isopropyl alcohol |
| Clothes remain damp | Exhaust vent obstruction | Disconnect vent duct; run 5 min cycle | Clear ductwork and exterior hood |
| No heat generated | Heating element continuity | Test element and internal fuses | Replace faulty element or heater relay |
| High temp error | Thermal fuse failure | Check for airflow backpressure | Clear vents before replacing fuse |
Differentiate between a sensor issue and a vent issue. Run a small load on “Timed Dry.” If the clothes get hot but remain damp, the issue is almost certainly an exhaust vent obstruction limiting air exchange. It is not an electronics failure.
Perform a manual airflow check. Disconnect the dryer from the wall vent and run it on high heat for 10 minutes. If the clothes dry faster with the vent detached, the restriction is in your home’s ductwork. This prevents unnecessary parts replacement.
If your dryer displays a ‘Check Vent’ indicator, it uses an algorithm to monitor the temperature rise rate. A rapid spike suggests the blower motor isn’t exhausting effectively. This is a clear sign of mechanical failure rather than standard energy efficient drying.
Never attempt a thermal fuse bypass. It destroys your primary line of defense against overheating fires. Treat a blown fuse as a signal that your ducting system has reached critical airflow thresholds and requires professional cleaning.
Prerequisites for Optimal Performance
Before optimizing your cycle selection guide, verify your laundry room’s physical setup. A dryer is only as effective as its intake and exhaust path. No digital setting can overcome a crushed transition hose or a clogged bird guard on the exterior roof vent.
Ensure the flex-hose behind the unit is rigid or semi-rigid metal, not classic thin plastic. Plastic hoses trap lint, create friction, and are highly flammable. They violate building codes in most of the US and cause the backpressure that kills moisture-sensing logic.
Clean your lint trap before every cycle. Even a thin layer of particles increases static pressure. A clean screen reduces the load on the blower motor, providing the exact CFM (cubic feet per minute) of airflow the moisture sensors need.
Verify your electrical circuit. Standard US dryers require 240V power split across two phases. If one leg of the 240V line trips or has a loose connection, the motor and lights will function, but the heating element continuity will fail. Use a multimeter at the terminal block to ensure both hots provide 120V to ground.
Finally, fix your sorting technique. Mixing heavy denim with synthetic blends creates “sensor confusion.” The sensor detects dry synthetic items and shuts down, leaving heavy fabrics wet. Group by fabric density to maximize the efficiency of wrinkle shield technology and cycle accuracy.
See official safety data from the U.S. Consumer Product Safety Commission for more ventilation standards.
Step-by-Step Workflow: Calibrating Your Cycles
I see users misconfigure their Whirlpool dryers daily. The key to efficiency is matching the heat signature of the cycle to the fabric’s thermal tolerance. Using “High Heat” for everything shrinks fibers and causes premature sensor cut-offs.
Workflow 1: Selecting Temperature for Specific Fabric Loads
Navigation Path: Power > Cycle Knob > Temperature Button > Start
- High Heat (Heavy Duty/Whites): Use for denim, towels, or linens. Keep the drum capacity under 75% for hot air tumble efficiency.
- Medium Heat (Normal/Casual): This is your primary workhorse for permanent press items. If you see wrinkling, downgrade to Medium immediately.
- Low Heat (Delicates/Synthetics): Essential for athletic wear and lingerie. High heat destroys the elastic memory of synthetic fabrics, damaging waistbands.
- Air Fluff (No Heat): Use this to refresh storage items or shake dust from curtains. This cycle uses mechanical energy only.
Workflow 2: Utilizing the Sensor Dry Calibration
If your sensor dry shuts off early, navigate to the specific cycle settings menu and toggle the ‘Dryness Level’ to ‘More’. This recalibrates the machine to wait for a lower moisture threshold (measured in ohms) before ending. Pair this with your fabric type: ‘More Dry’ on ‘High Heat’ is for thick items ONLY. Using it for cotton shirts causes excessive heat exposure.
Emergency Recovery and Reset Procedures
Power-Cycling the Control Board
Electronic control boards occasionally flicker or become unresponsive due to static charge or thermal overload. Perform a soft reset by unplugging the unit for exactly 60 seconds. This allows capacitors to drain. Plug it back in and run a ‘Timed Dry’ cycle for 10 minutes to verify the element engages.
Accessing Diagnostic Mode
If your display throws an ‘F’ code (like F01 or F22), pull the stored fault history using this sequence:
- Ensure the dryer is in Standby mode with no lights on.
- Press any three buttons in a 1-2-3, 1-2-3, 1-2-3 pattern (e.g., More Time, Less Time, More Time) within 1 second per press.
- If successful, LEDs will flash or an ’88’ will appear.
- Rotate the selector knob to view the latest error code. Consult your manual to translate the code; F01 often indicates a control failure, while F22 suggests a thermistor or circuit malfunction.
Common Pitfalls and Long-Term Care
The “Overloading Myth” causes many unnecessary service calls. Filling a dryer to capacity kills the “tumbling space” needed for proper convection. Hot air touches only the outer layer of the laundry, leaving the core wet. This leads to multiple cycles, which wears out belt, pulley, and roller bearings prematurely.
‘Sensor Dry’ burnout is usually just sensor blockage. Two metal strips sit inside the drum, just below the lint screen. Dryer softener sheets leave a thin, invisible wax coating on these strips. This coating acts as an insulator, so the sensor can’t detect moisture. The dryer thinks the clothes are dry and shuts off too soon. Solution: Clean these strips once per quarter with a cotton ball and white vinegar or isopropyl alcohol.
Monitor your exhaust. If your dryer needs 2-3 cycles to dry, the issue is almost never the unit. It is backpressure caused by lint in the wall duct. Even if you clean the secondary lint trap, the transition hose behind the unit often becomes restricted. Ensure airflow isn’t throttled at the exit point.
📌 Save to Pinterest
Frequently Asked Questions
Why does my Whirlpool dryer take two cycles to dry a load?
This almost always indicates restricted airflow. When the dryer cannot exhaust moist air, the internal humidity remains high, causing sensors to report that clothes are damp or triggering safety switches. Clear the exterior vent to ensure maximum CFM (cubic feet per minute) of airflow.
What is the difference between Sensor Dry and Timed Dry settings?
Sensor Dry monitors moisture levels and stops the cycle when the desired dryness is reached, saving energy. Timed Dry runs for the period you select regardless of moisture levels. Use Timed Dry for thick items or re-fluffing loads.
How do I clean the moisture sensor on my Whirlpool dryer?
Locate the two metal strips on the inside of the door opening or the back of the drum. Clear off waxy residue from dryer sheets using a cloth with white vinegar or rubbing alcohol. This restores the sensor’s ability to “feel” moisture content.
Can lint buildup in the vent affect how the dryer settings perform?
Yes. Whirlpool dryers detect humidity levels to gauge dryness. If your vent is clogged, humidity stays trapped inside. The dryer incorrectly “senses” the load is still wet because the surrounding air is saturated, leading to long run-times and potential heating element failure.
Why does my dryer stop before the clothes are fully dry?
In Sensor Dry mode, you likely have sensor residue blocking the electrical continuity. If this happens in Timed Dry mode as well, you are likely hitting a thermal overload. A failing thermal fuse or clogged ventilation prevents the dryer from maintaining steady heat, triggering a safety shut-off.