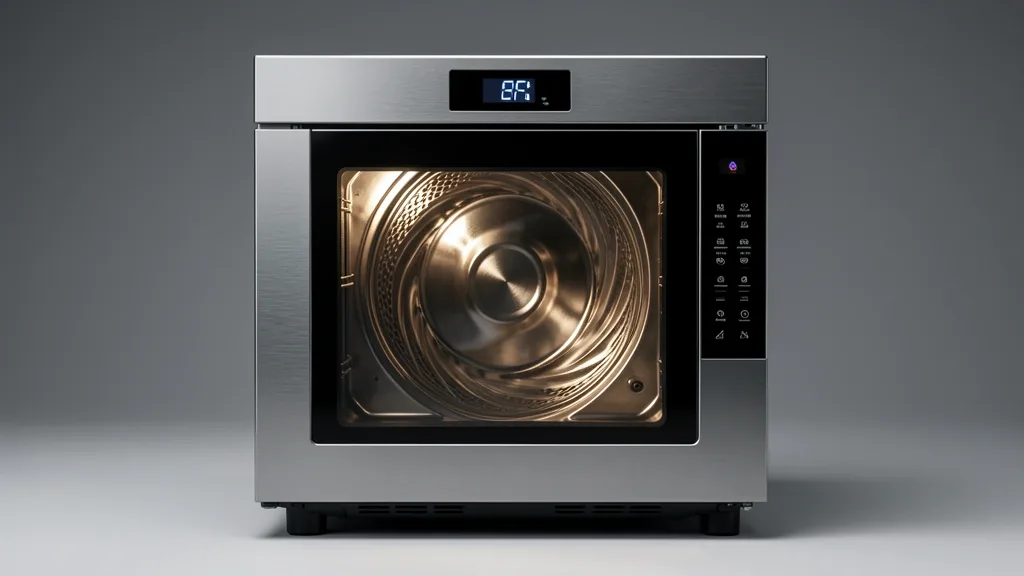
Accessing Whirlpool oven diagnostic mode is a vital skill for any homeowner or technician tackling tricky appliance failures. It’s more than just a restart. These hidden service menus let you peek at the oven’s control board to isolate failures—from bad heating element resistance to faulty door interlocks—without tearing apart the entire range.
Key Takeaways
- Entry sequences change depending on the control board revision; find your specific platform to avoid wasted time.
- Always perform a 30-second hard power cycle first. This clears transient voltage glitches that often look like hardware failures.
- Know the difference: Service Mode (diagnostics) is safe to browse, but Calibration Mode (adjusting T-stat settings) can impact warranty and data integrity.
Technical Overview of Whirlpool Diagnostic Modes
Whirlpool uses two different diagnostic pathways. There is the End-of-Line (EOL) testing used during factory manufacturing to verify relay board circuits, and then there is the Field Service mode.
Field service modes allow you to pull specific Whirlpool appliance fault codes. You can check voltage output to components like bake or broil elements without waiting for the oven to preheat.
Users often confuse ‘Service Mode’ with ‘Calibration Mode.’ Accessing the service menu is standard practice. However, messing with internal gain settings in Calibration Mode can throw off your thermostat readings and potentially void your protection plan.
Ever hit the keys, hear a beep, but see nothing on the screen? That’s a common pitfall. If the LCD doesn’t change, you are likely fighting a locked touch panel or a failed logic processor on the main control board.
For serious diagnostic work, you need a Whirlpool official service manual job aid. It maps specific bit-stream errors to real-world failures, such as a tripped thermal fuse or a stuck relay.
Don’t rely strictly on on-screen codes. They are a starting point, not a verdict. You still need to verify wiring harness integrity and check the ohmic resistance across the oven sensor with a meter.
The Diagnostic Matrix: Identifying Your Control System
Whirlpool has a massive library of hardware, from old-school dial-based AccuBake systems to the high-tech glass touch screens on newer JennAir or Maytag units. The entry code for an AccuBake system is totally different from a digital touch-panel.
On older interfaces, you hit ‘Bake’ and ‘Broil’ in a specific sequence, sometimes with ‘Cancel’ or ‘Timer’ keys. On modern touch-screens, you’ll usually find a ‘Service’ or ‘Configuration’ key pattern that needs to be held for five seconds or more to bypass the UI buffer.
| Symptom / Error | Possible Cause | Quick Check | Resolution |
|---|---|---|---|
| Code F2, E1 | Stuck Keypad | Check UI for obstruction | Replace UI keypad |
| No Heat | Thermal Fuse | Check for open continuity | Install new thermal fuse |
| Dim Display | Power Supply | Measure 120V input | Check board voltage |
| Door Latches | Door Interlock | Listen for motor cycle | Align or replace motor |
Start by checking the serial plate—usually on the oven frame inside the door. The control architecture often ties to the first few digits of the serial number, which tells you if you have a standard electronic control or a modern CAN-bus module.
If the unit refuses to enter diagnostic mode, the EEPROM is likely jammed. Perform an oven control board reset. Pull the unit from the wall or flip the dedicated circuit breaker for at least 30 seconds.
The 30-second rule is necessary because power supply capacitors need time to fully drain. If you don’t wait long enough, the board stays in its “hung” state and ignores your input code.
Know the difference between ‘F’ (Functional/Sensor) and ‘E’ (Electronic/Comm) codes. Functional errors usually relate to sensor calibration drift, while Electronic errors point to the board’s internal communication protocols.
Essential Safety Prerequisites Before Starting
Electrical safety comes first. Isolate the appliance from the 240V power supply before checking wiring or testing heating element resistance with a multimeter. Using a Digital Multimeter while the power is on can fry your meter instantly.
Disable smart home features. If your oven is linked to Wi-Fi or a cloud portal, background processes can interrupt your service code input. Disconnect those modules to ensure the control board only sees your commands.
Be careful during oven door interlock tests. Keep your hands clear. I’ve seen plenty of injuries when the interlock motor snaps closed during a test while a technician is reaching in to align the switch.
Write everything down. Don’t clear a code until you’ve logged the sub-code and the occurrence counter. Many boards track how often a fault happens, which tells you if a component is just acting up or if it has completely failed.
Reference OSHA electrical safety guidelines for residential 240V work. Be certain the oven chassis is grounded before testing for leakage or checking external transformer output.
Following these steps ensures your data is accurate and you stay safe. Never bypass safety interlocks or jumpers; doing so introduces variables that make your diagnostic results useless.
Step-by-Step Execution: Accessing Service Mode
The Universal Warm-Up and Initialization
You need a “clean” memory state to enter diagnostic mode. Start by flipping your dedicated circuit breaker to the “OFF” position. Wait exactly 60 seconds. This drains the EOC (Electronic Oven Control) capacitors and clears cached ‘ghost’ signals. Flip the breaker back on. Wait for the boot sequence; don’t set the clock or touch any other buttons yet.
The Hidden Command Sequence
Standard Whirlpool units often hide the access code behind non-obvious keys. For most AccuBake and Gold series, the industry standard is to press “Cancel/Off” twice to clear the board, then quickly press and hold “Bake” or “Start” for about 10 seconds. You’re looking for the display to shift to “Svc,” “dIAG,” or a series of dashes (—). If it just beeps at you, the timing was off. Power-cycle the unit and try again. It’s rhythm, not just speed—a deliberate double-tap followed by a steady hold is the secret to bypassing the main UI.
Interpreting Results and Clearing Faults
Interpreting the Alphanumeric Error Codes
Once you’re in Service Mode, the display becomes a diagnostic monitor. You will see “F” (Fault) and “E” (Error) codes. An F1E1 usually means board hardware failure, while F3E6 or F3E7 indicates a bad temperature sensor (RTD) or harness issue. Scroll through these with the “+” or “Up” arrow keys. Do not mistake the log sequence number (e.g., L.01) for the actual error code. Document every character carefully to avoid buying the wrong replacement parts.
Clearing the Buffer and Safety Exits
To clear a fault, press the “Start” button while the code is on the screen. The display may blink or show “Clr.” Remember: clearing the code doesn’t fix the hardware; it just wipes the event log. When you’re finished, press “Cancel/Off” twice to exit. The unit will reboot to the main screen. If the display hangs, repeat the power-cycle process to force a hard reboot.
Troubleshooting Common Pitfalls and ‘Beeps’
The Membrane Keypad Dilemma
A failing membrane keypad is the biggest cause of failed diagnostic entry. These use resistive-touch matrices behind the plastic overlay. If a trace oxidizes or breaks, the oven registers “ghost” inputs or ignores you. If you press a button and get a beep but no change, clean the ribbon cable pins with high-grade contact cleaner and reseat the connection. If the beeping continues, the keypad is dead.
Timing and Sync Errors
Don’t mash the buttons. The EOC uses a low-frequency polling rate, so speed actually works against you. Maintain a steady cadence: one press per second. If you’re struggling, use a metronome app set to 60 BPM. Also, ensure the oven door is firmly closed. Many firmwares disable Service Mode if they think the door is open to prevent self-clean accidents.
When to Escalate: Moving Beyond DIY Diagnostics
Recognizing Hardware Catastrophe
There is a point where DIY ends. If you pull multiple unrelated faults like F1E1, F6E0, and F2E0 simultaneously, you likely have a catastrophic failure of the main logic board—often caused by a power surge. Keep testing, and you risk further damage to internal thermal fuses that you cannot replace yourself.
The ‘Relay Death’ Scenario
Does your oven light come on, but the bake element remains cold despite no explicit error codes? You are likely dealing with a physical relay failure on the PCB. These 240V relays frequently weld shut or fail to close. If your diagnostic checks for sensor and door integrity pass but the heat is still missing, stop. Continuing to run relay cycling tests in this condition can create an arcing hazard. At this point, reach out to a certified technician.
📌 Save to Pinterest
Frequently Asked Questions
Why does my Whirlpool oven beep but fail to enter diagnostic mode?
It is almost always a faulty membrane keypad or a timing issue. A broken resistive trace prevents the board from seeing your full button sequence. Be sure to use a slow, steady, deliberate pace rather than rapid-fire pressing.
Does using diagnostic mode void my Whirlpool factory warranty?
No. Simple access to view fault logs is permitted. However, if you perform high-stress relay tests or alter board-level settings and end up damaging the unit, that specific damage won’t be covered.
How do I clear error codes after running a test cycle?
With the code displayed, press ‘Start.’ It should show ‘Clr’ or blink to confirm. Once finished, hit ‘Cancel/Off’ twice to exit and reboot the system.
Can diagnostic mode fix an oven that doesn’t reach set temperature?
It won’t turn a wrench, but it will tell you if the sensor is lying to the board. If the sensor is reading correctly in diagnostics but the oven won’t heat, you know to look toward the relay board or the heating element instead.
What is the most common button combination to trigger service mode?
Clear the screen with ‘Cancel/Off’ twice, then hold ‘Bake’ or ‘Start’ for 10 seconds. If that doesn’t work, refer to your specific model’s service job aid, as some high-end units have model-specific locking sequences.