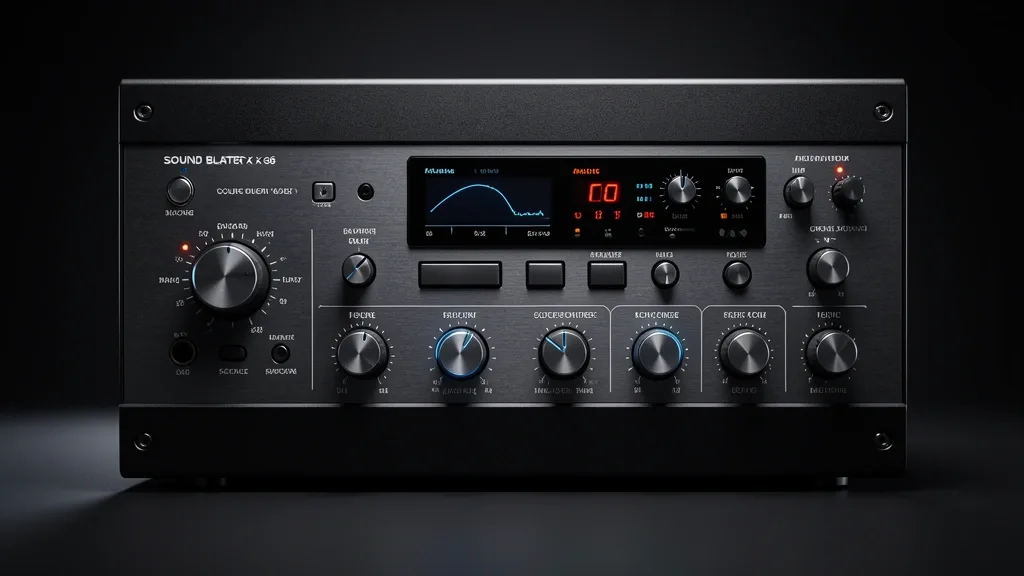
As an audio engineer and veteran hardware tester, I’ve seen too many users handicap the Sound BlasterX G6. They ignore the critical relationship between the Xamp discrete headphone amplifier and the device’s digital signal processing.
The G6 isn’t just another gaming dongle. It is a high-fidelity external sound card capable of 32-bit/384kHz audio. Without a structured calibration strategy, you fall straight into the trap of digital clipping or signal degradation. This guide strips away the “gaming” bloat to help you achieve the audio purity your hardware was built to deliver.
Key Takeaways
- Signal Integrity: Achieving bit-perfect output requires bypassing the DSP via Direct Mode to preserve your source’s original dynamic range.
- Gain Staging: Mismatched software EQ and hardware DAC gain are the primary causes of audible digital distortion and clipping.
- Environment Optimization: Disable Windows-level enhancements like Dolby Access or Windows Sonic. They create “double-processing” conflicts with Sound Blaster software.
Understanding the G6 Architecture: Signal Path & DSP
The G6 operates on a specific signal path. USB input hits the Sound Blaster Connect software, then moves through the internal DSP. This processor manages SBX profiles, virtual surround sound, and dynamic range compression before the DAC converts it all to analog.
When you enable SBX Mode, the DSP applies algorithms to simulate immersion. While okay for casual play, these settings are detrimental to critical listening. The processed signal often uses smart volume leveling, which shrinks your dynamic range and introduces unwanted artifacts.
Direct Mode is your bypass switch. It routes the digital signal straight to the DAC and Xamp stage, ignoring software intervention. If you want bit-perfect playback or an uncolored feed for audiophile-grade monitoring, Direct Mode is the only setup that works.
Diagnostic Matrix: Identifying Your Hardware Baseline
Baseline stability is non-negotiable. The G6 uses specific firmware for USB Audio Class (UAC) switching. Whether you move between a PS5, console, or PC, verify you are in the correct host mode. The signal routing logic changes depending on your platform.
Your biggest variable is headphone impedance. The physical red-LED ‘Gain Switch’ on the side must be toggled to ‘High’ for planar magnetic or high-impedance cans (above 150 ohms). Leaving this in ‘Low’ while boosting software EQ creates a massive digital clipping hazard that most users incorrectly blame on faulty hardware.
| Symptom / Error | Possible Cause | Quick Check | Resolution |
|---|---|---|---|
| Audio sounds thin or distorted | Gain switch mismatch | Check Headphone Impedance | Set switch to ‘High’ for high-impedance cans; disable EQ boost. |
| “Double-processed” soundstage | Windows Sonic/Dolby conflicts | Speakers -> Properties | Disable all spatial audio overrides in Windows Settings. |
| Low volume on console/PS5 | UAC Mode 1 vs Mode 2 | Hold Scout Mode button | Ensure device is set to your specific platform UAC compatibility mode. |
| Crackling/Popping | Driver/Firmware drift | Sound Blaster Connect | Perform a clean driver wipe and update to latest firmware. |
Always check your firmware in the Sound Blaster Connect interface. Outdated firmware causes handshake issues with modern, high-polling rate USB 3.0 ports. This manifests as micro-stuttering in the audio buffer.
Prerequisites for Professional Calibration
Windows is inherently destructive to high-fidelity output. The Sound Control Panel is where you win this fight. Navigate to G6 playback properties and manually select the maximum sample rate—usually 32-bit/384kHz—to maximize your DAC headroom.
Exclusive mode is mandatory. Checking “Allow applications to take exclusive control of this device” prevents the Windows Mixer from re-sampling your audio. This allows software like Foobar2000 or high-end game engines to talk directly to your hardware.
Confirm that third-party virtual surround wrappers like Dolby Access or Windows Sonic are hard-disabled. If these run alongside SBX profile customization, the G6 receives layered streams that muddy the soundstage. You end up killing your ability to track footsteps and spatial cues.
If you use an optical feed for a console, calibrate it carefully. The G6 treats optical decoding differently than USB. Failing to disable Windows-level processing while using optical will introduce latency, wiping out the G6’s rapid DAC response advantage.
Step-by-Step Calibration: The ‘Footstep Clarity’ Profile
In competitive shooters like CS2 or Valorant, the goal is to filter out low-frequency “mud” that masks subtle cues. We use the 10-band EQ in Sound Blaster Connect to isolate biological audio triggers.
1. Accessing and Resetting the EQ
- Launch Sound Blaster Connect.
- Head to the Equalizer tab.
- Click Reset to clear any conflicting legacy settings.
- Switch Enable EQ to ON.
2. Applying the Tactical Curve
Adjust these faders to balance noise suppression against audio detail:
- 31Hz / 62Hz / 125Hz: Drop to -6dB to -8dB. This “Low-End Cut” removes explosion rumble and ambient drone, clearing space for footsteps.
- 250Hz: Set to -2dB. This kills “boxiness” and prevents gunshots from bleeding into the lower registers.
- 500Hz: Set to +4dB. This boosts the “thud” of boots on hard surfaces.
- 1kHz: Set to +6dB. This is your primary “Info Zone” for movement and reload sounds.
- 2kHz: Set to +8dB. This enhances directional imaging.
- 4kHz: Set to +5dB. This brings out the “crunch” of gravel and grass.
- 8kHz / 16kHz: Keep at 0dB (Neutral) to avoid ear fatigue.
3. SBX Pro Studio Toggles
- Go to the SBX Pro Studio tab.
- Surround: Set to 25-30%. Going above 40% smears the soundstage and ruins positioning.
- Crystalizer: Set to 10-15%. Use this to pop subtle sounds like pin-pulling or glass breaking.
- Smart Volume: OFF. Avoid this for competitive play; it modulates volume in ways that hinder performance during fights.
- Dialog Plus: OFF. Trust your EQ tuning instead.
Emergency Recovery and Driver Troubleshooting
If your G6 goes dead, loses lights, or drops audio, you are likely looking at a USB handshake failure or a driver conflict.
1. The Hard Reset (The “Cold Boot”)
- Unplug the G6 USB cable.
- Wait at least 30 seconds to let the capacitors discharge.
- Reconnect directly to a USB 3.0 (Blue or Red) port on your motherboard. Avoid front-panel ports or unpowered hubs at all costs.
2. Clean Driver Reinstallation
- Uninstall “Sound Blaster Connect” via Windows Settings > Apps.
- Hit Win + R and run
devmgmt.msc. - Under Sound, video and game controllers, right-click the G6 and select Uninstall device. Check the box to “Attempt to remove the driver.”
- Reboot the PC.
- Download the latest driver pack directly from the Creative Labs site.
- Install as Administrator.
Common Pitfalls: Clipping and Latency
The most common user error is “Stacking Boosts.” If you push every EQ band into positive numbers, you force the signal into the “red,” causing harsh digital clipping.
The Pre-Amp Correction
If your EQ bands have positive values (e.g., +6dB), you must compensate by lowering the Pre-Amp slider by an equal amount (e.g., -6dB). This keeps your frequency signature shaped without distorting the peaks. If you hear static during heavy explosions, your Pre-Amp is too high. Normalize your curve so the average of your adjustments stays near the zero line.
Long-Term Audio Maintenance
Software environments aren’t permanent. Windows updates often reset USB power management. Keep these points in mind for long-term health:
- Firmware Validation: Check the Sound Blaster app every six months for firmware updates. These often fix stability issues caused by new OS kernels.
- USB Power Management: In Device Manager, find your G6 under Universal Serial Bus controllers. In the Power Management tab, uncheck “Allow the computer to turn off this device to save power.” This stops the G6 from sleeping during silent periods.
- Export Profiles: Use the “Export” button in the EQ settings to save your configuration. Windows updates can occasionally wipe local app data.
Frequently Asked Questions
Should I use Direct Mode or SBX profiles for competitive FPS gaming?
Direct Mode is for pure, unprocessed audio. While great for music, it isn’t optimized for tactical gaming. You should use a custom SBX profile to apply the specific cuts and boosts needed to isolate footsteps from atmospheric noise.
How do I prevent audio distortion when using high Gain settings on the G6?
Distortion is caused by your EQ boost pushing the signal beyond 0dBfs. The fix is lowering your Pre-Amp slider. If your EQ average is +5dB, set your Pre-Amp to -5dB to ensure you don’t exceed the hardware’s capacity.
Does changing the G6 settings affect my chat mix balance on console?
No. On PS4/PS5/Xbox, the G6 runs in hardware mode. Your EQ curve sticks to the device’s onboard memory, but chat mix is handled by physical dial combinations. Configure your SBX settings on a PC first before moving the unit to your console.
What is the difference between Scout Mode and a custom EQ profile?
Scout Mode is a blunt instrument that compresses everything. It makes quiet sounds loud, but often adds noise and hurts depth perception. A custom EQ profile is surgical; it highlights footsteps while retaining the natural dynamic range you need for better situational awareness.
Why does my computer show multiple G6 output devices in Windows Sound settings?
The G6 uses separate processing paths. You will likely see “Speakers (Sound BlasterX G6)” and “Headset/Headphones (Sound BlasterX G6).” Always set “Speakers (Sound BlasterX G6)” as your default. It is the primary path required to correctly apply your EQ and SBX settings to all audio streams.