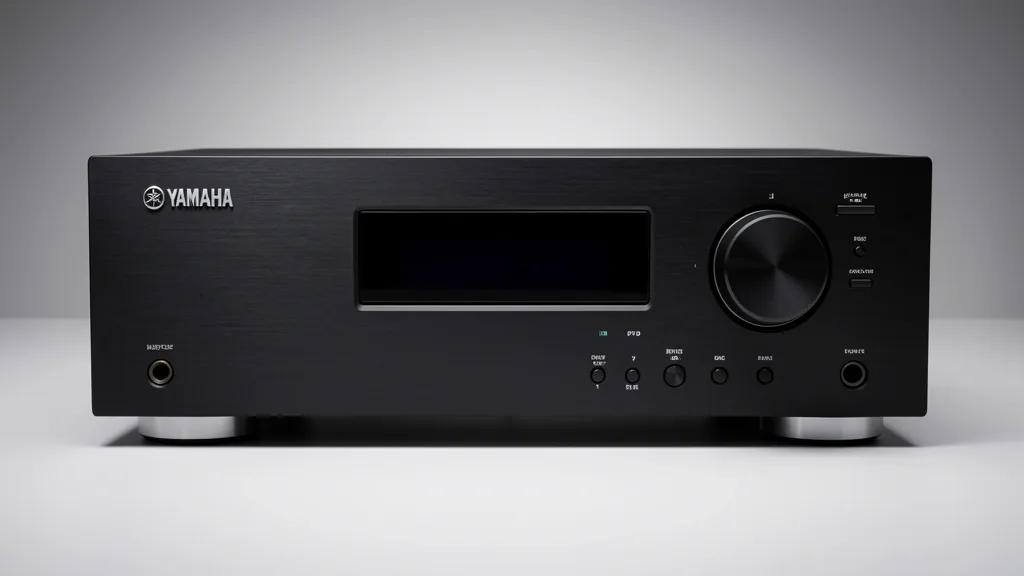
Unlocking Yamaha Performance: A Technical Overview
Yamaha’s “Natural Sound” philosophy is an engineered commitment to reproducing audio with the exact timbral accuracy of the source. After 15 years in the field, I’ve seen countless setups sabotaged by misconfigured DSP modes that bury detail under artificial reverb.
Whether you’re running an entry-level RX-V or a flagship Aventage unit, understanding the signal path—from high-current amplification to precision-tuned DACs—is the key to achieving studio-grade sound.
Key Takeaways
- Yamaha’s DSP modes are mathematical models of real-world venues, not just “sound filters.”
- The Aventage “A.R.T. Wedge” (Anti-Resonance Technology) requires a stable, level surface for maximum damping.
- Prioritize your amplification headroom before applying any individual EQ adjustments.
Aventage architecture is built for thermal density and rigid construction. When you toggle a DSP mode, the receiver maps audio through a convolution filter set designed to emulate specific acoustics. The RX-V series offers high value but demands smarter power management, as its power supply capacitors are more compact than the heavy-duty transformers found in Aventage units.
Your goal is to optimize the signal chain so “Natural Sound” isn’t corrupted by aggressive room correction or bad gain staging. We aren’t just turning knobs; we are performing surgical adjustments to your processor’s interpretation of the bitstream. By ditching factory defaults for manual overrides, you move from “loud and boomy” to “accurate and transparent.”
Pre-Calibration Diagnostic Matrix
Before touching the YPAO microphone, you must address your physical infrastructure. Cable gauge is a common culprit for voltage drop; if you’re running over 30 feet to surrounds, use 14 AWG or 12 AWG OFC copper. Thin, CCA (copper-clad aluminum) wire acts as a resistor, robbing your speakers of the damping factor needed for tight bass.
Check the speaker impedance switch on the rear panel. Most Yamaha receivers ship set to 6-ohm or 8-ohm. If you use premium 4-ohm floorstanders, failing to switch this will trigger thermal protection shut-downs at high volumes. Conversely, if you have 8-ohm speakers, setting this to 6-ohm creates a current limiter that prevents the receiver from delivering its full dynamic range.
| Symptom / Error | Possible Cause | Quick Check | Resolution |
|---|---|---|---|
| Random shutdowns | Impedance mismatch | Rear panel switch | Match switch to speaker ohms |
| “Muddy” low-end | Poor placement | Boundary proximity | Move speakers 6-12″ from walls |
| Heat buildup | Blocked ventilation | Airflow clearance | Ensure 6″ top/side clearance |
| Thin, metallic audio | Incorrect polarity | Check +/- terminals | Verify consistent wiring phase |
Follow ITU-R standards for speaker placement before calibrating. Keep the center channel at ear level if possible. If you use a bi-amp setup, confirm that the metal jumpers are removed from speaker terminals and the receiver menu is set to ‘Bi-Amp’ mode to prevent a direct short.
The YPAO Protocol: Beyond the Default Settings
YPAO is an industry-leading suite, but it’s not a “set and forget” tool. Always use a camera tripod for the microphone. Holding it by hand introduces body reflections and vibration that ruin the sweep.
I recommend a minimum of three positions: the primary “sweet spot” and two secondary spots within a 12-inch radius. After the sweep, the receiver calculates speaker size and crossover points. Do not blindly accept these values.
If your floorstanders are marked as “Large,” set them to “Small” and cross them at 80Hz. This shifts the heavy low-frequency lifting to your dedicated subwoofer—which is designed for that workload—freeing your amplifier to focus on critical mid and high frequencies.
Next, inspect the EQ curves. YPAO can sometimes mistake a room artifact for a response issue and apply a massive cut or boost. Check the “PEQ Select” manual settings. If you see a radical, unnatural spike or dip, flatten it manually. Manual correction often beats the algorithm’s best guess.
Finally, check subwoofer phase. If YPAO suggests a 180-degree shift, you have a cancellation issue at the crossover. Before accepting the software fix, try moving the sub six inches physically to see if you can return the phase to 0 degrees. Always prioritize clean physical placement over digital compensation.
Mastering Manual Fine-Tuning for Audiophile Accuracy
Step-by-Step Crossover Configuration
YPAO’s default crossover settings are rarely optimal. Manual tuning ensures your receiver sends the right frequencies to the right drivers.
- Navigate to Setup > Speaker > Configuration.
- Select Crossover. Most floorstanders and bookshelfs benefit from an 80Hz crossover. If your speakers are rated for deep bass, 60Hz is usually safe.
- For purist stereo listening, set mains to “Small” with an 80Hz crossover. This lets the subwoofer handle the LFE channel effectively while preventing distortion in your main drivers.
Manual Level Matching with an SPL Meter
Digital calibration can sometimes leave spatial gaps. An SPL meter—or a reliable mobile app for a quick baseline—is essential for accurate staging.
- Navigate to Setup > Speaker > Level.
- Run the internal test tone generator.
- Set your meter to “C-Weighting” and “Slow” response.
- Adjust each channel’s trim level until you hit 75dB across the board. This balances the output to your actual room acoustics rather than just the math.
Why ‘Straight’ Mode is the Gold Standard
DSP modes like “Hall in Munich” are fun, but they heavily process the digital signal. Pressing the Straight button on your remote bypasses unnecessary DSP, keeping the signal path clean. For music and high-fidelity soundtracks, ‘Straight’ preserves the original resolution, giving you a transparent experience that respects the recording’s intent.
Common Pitfalls and Hidden Menu Hacks
Resolving ARC/eARC Connectivity Glitches
HDMI handshake failures are usually caused by HDMI-CEC protocol conflicts.
- Go to Setup > HDMI > HDMI Control and toggle it to On.
- Verify Setup > HDMI > TV Audio Input matches your correct source.
- The Cold Reset: If the handshake fails, power off both the TV and receiver. Unplug both from the wall for 60 seconds. Power the receiver on first, then the TV.
Disabling ‘Enhancer’ for High-Res Audio
The “Compressed Music Enhancer” adds punch to low-bitrate MP3s but creates artificial distortion in FLAC or high-def audio files. Disable it by selecting the input, hitting the Option button, and setting Enhancer to Off. It is an immediate clarity upgrade.
Long-Term Care and Firmware Integrity
Firmware Management
Yamaha releases updates to fix HDMI handshake bugs and improve streaming compatibility. Check Setup > Function > Firmware Update monthly. If your menus ever feel “stuck” or laggy, a firmware update is often the cure for memory leaks in the receiver OS.
Heat Management
High-current amplification generates significant heat. Never box your Yamaha in. Provide at least 6-8 inches of clearance above the unit. If it shuts down randomly, it is tripping the thermal protection circuit. A small USB-powered fan positioned over the vents can stop this permanently.
The Factory Reset Protocol
If you encounter erratic behavior—like volume ghosting or settings failing to save—use the “Nuclear Option.” Enter the Advanced Setup Menu by turning the unit off, holding the Straight button, and pressing Power. Find the “Initialize” or “Reset” option. Note: This wipes all calibration data, so document your settings first.
Frequently Asked Questions
How do I achieve the most accurate results with YPAO calibration?
Use a tripod. Human vibration and body reflections significantly skew the data. Run it in a dead-silent room, and stick to the primary listening position only to maintain phase coherence.
Should I leave my Yamaha receiver in ‘Straight’ mode or use ‘Surround’ modes?
For modern movies, ‘Straight’ or ‘Surround Decode’ (Dolby Surround/DTS:Neural:X) is best. Keep ‘Straight’ as your default for music. Only use internal DSP modes for legacy content or to compensate for poor room acoustics.
What are the best settings for high-impedance speakers?
If you’re using 8-ohm speakers, select the 8-ohm setting in the Advanced Setup Menu. Setting it to 6-ohm on 8-ohm speakers acts as a current limiter and will force the receiver to run hotter and provide less dynamic range.
How do I fix lip-sync issues between my TV and receiver?
Navigate to Setup > Sound > LipSync. You can adjust the delay in milliseconds. If HDMI-CEC is active, use the ‘Auto’ setting first; if that isn’t perfect, adjust manually while watching a person speaking until it aligns.
Should I adjust crossovers in the receiver or on the sub itself?
Always handle crossovers in the receiver menu. Set your subwoofer’s physical dial to the maximum or ‘LFE Bypass’ setting. Having two conflicting crossovers creates a frequency “hole” that ruins clean bass response.