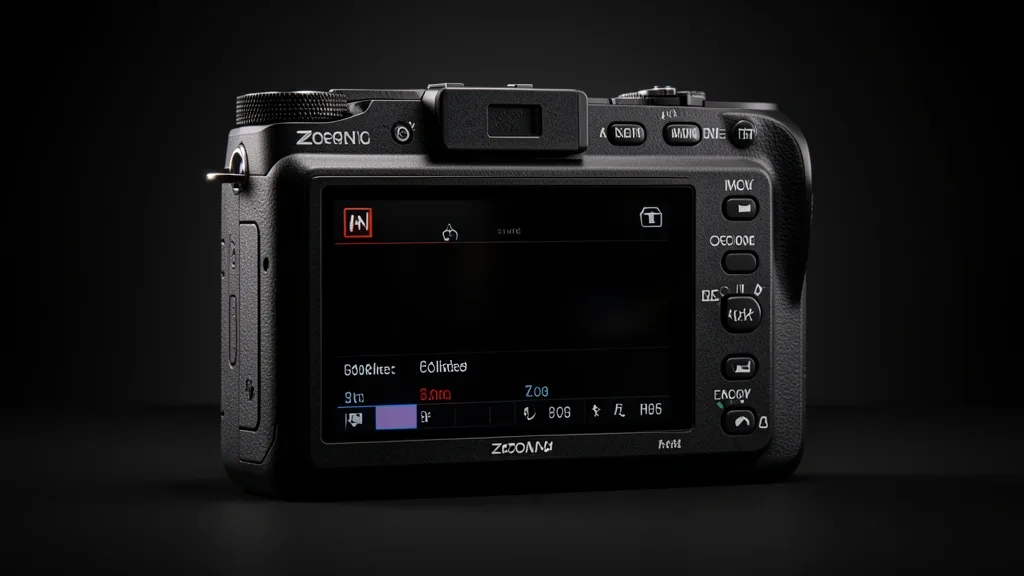
The Zoom H4n is an industry workhorse. While it’s been around for years, its tactile control and reliable preamps keep it in the kits of pro videographers and sound recordists everywhere. It’s not about having the latest touchscreen; it’s about mastering a device that delivers broadcast-ready audio every time you hit record. To achieve peak efficiency, mastering your Zoom H4n Settings is essential for any serious field recorder.
Key Takeaways
- Keep your peaks around -12dB. Pushing hotter invites digital clipping you can’t fix later.
- Stamina Mode is a life-saver. It doubles your battery life by cutting background processing.
- Format your SD cards inside the unit only. It prevents write errors and file corruption.
Technical Foundation: Mastering the H4n Interface
The side-mounted scroll wheel is the heart of the H4n. Push it in to “Enter,” and toggle it up, down, left, or right to move through the menus. Modes are split into Stereo, 4CH, and MTR (Multi-Track) options.
Stereo mode uses the built-in X/Y mics and gives you individual channel control. If you jump into 4CH mode, you record the built-in mics and the external XLR/TRS inputs at the same time. Keep in mind: in 4CH, the external inputs run on a fixed gain structure, so stick to Stereo mode when you need granular control over external mics.
Need to run longer? Hit the ‘System’ menu and flip on ‘Stamina Mode.’ It kills non-essential background processes and strips the unit down to the basics. It can easily net you 50% more battery life during long days on location.
The Diagnostic Matrix: Reading Your Meters
Your meters are your eyes in the field. Target your peaks at -12dB. This gives you a “safety net” for sudden volume spikes without pushing the hardware into its noisy, distorted top end.
Stay away from Auto Gain Control (AGC). It’s a classic trap. It ramps up gain during quiet moments, effectively turning your “silence” into a wall of hiss. Always set your gain manually to keep your signal clean. Learn more about proper audio levels to ensure your signal maintains integrity.
Once your levels are dialed in, hit the ‘Hold’ switch on the side. It prevents you from accidentally bumping a setting during a take. Always monitor with headphones plugged into the H4n itself—don’t trust the visual meters blind; use your ears to listen for hums or distortion that might hide in the signal path. If you encounter audio issues elsewhere, you might want to Optimize Bose Audio: The Ultimate Custom EQ Settings Guide for your monitoring needs.
| Symptom / Error | Possible Cause | Quick Check | Resolution |
|---|---|---|---|
| Digital Clipping/Distortion | Gain is too hot | Check for red peak bars | Drop input gain; aim for -12dB |
| Silent External Mic | Phantom power (48V) off | Check for 48V icon | Enable 48V under Menu > Input |
| “Card Busy” Error | Slow write speeds | Check card compatibility | Format the card inside the H4n |
| Excessive Hiss | Low gain/Poor signal | Check input level setting | Boost gain, use low cut filter to clean up |
Professional Field Capture Prerequisites
Stick to 48kHz at 24-bit for all video projects. Anything less hurts your ability to tweak the audio later without adding digital artifacts or hiss.
Use brand-name SD cards only. And here is the golden rule: never format your card on your computer. Use the H4n’s internal “SD Format” tool. This ensures the H4n lays down the directory structure it needs, which prevents dreaded write errors during a take.
If you’re using professional XLR mics, remember that the H4n handles low-impedance signals. If your mic needs power, you have to manually toggle on the 48V phantom power. If you’re plugging in a guitar or a high-impedance source, you might need a DI box to avoid signal loss.
Always turn on the low cut filter (80Hz). It’s the easiest way to kill wind rumble and handling noise before it hits your SD card. You won’t miss the sub-80Hz content in dialogue, and your post-production mixing will be much easier.
Workflow Optimization: From Input to SD Card
Setting Sample Rate and Bit Depth
For US broadcast standards, 24-bit/48kHz is the sweet spot. It offers plenty of dynamic range without creating massive, unmanageable file sizes. Consult standard audio engineering guidelines to understand why bit depth matters.
- Hit the MENU button on the side.
- Scroll to REC SETUP and push the wheel right to select.
- Choose REC FORMAT and set it to WAV 48kHz/24bit. Stay away from MP3—the quality hit isn’t worth the space.
- Tap the MENU button to go back to the home screen.
Setting the Low Cut Filter
Mechanical noise kills good takes. An 80Hz filter is your best friend when working outdoors.
- Open the MENU.
- Go to INPUT.
- Select LO CUT and set it to 80Hz.
- Back out using the MENU button.
If you also need to manage audio settings for mobile devices, check out our guide on Best iPhone EQ Settings For Cars: Complete Guide & Tips.
Emergency Recovery and Troubleshooting
Handling Corrupted File Headers
If the H4n loses power mid-record, you’ll lose the file header, making the recording unreadable. Don’t panic. Go to the TOOL menu, select FILE RECOVERY, and follow the prompts. The H4n will try to rebuild the header based on the data already on the card.
Fixing Power Issues
The H4n is a power hog, especially with phantom power enabled. Alkaline batteries are unreliable for pro work. Use high-capacity NiMH rechargeables like Eneloop Pros. If you’re near a wall, use the AD-14 AC adapter. For long field days, use a USB-to-DC cable with a quality power bank.
Factory Defaults
If the interface starts acting glitchy, go to MENU > SYSTEM > FACTORY RESET. It wipes your settings, but your audio files remain perfectly safe on the SD card.
Pitfalls and Long-Term Maintenance
Preventing Connector Wear
The XLR ports are soldered directly to the H4n’s internal board. Don’t let heavy cables hang off the unit; the torque will snap those solder joints eventually. Use gaffer tape to strain-relieve your cables to your tripod or the unit itself.
Skip the Auto Gain
Manual gain is mandatory. Auto Gain acts like a compressor that brings the noise floor up during quiet spots, which sounds thin and unprofessional. Set your levels by ear and eye, peaking at -6dB.
Travel Smart
Always unplug your cables before throwing the H4n in your bag. Pressure on a plugged-in XLR connector can deform the pins or crack the casing. Keep the recorder in a designated padded pouch.
Frequently Asked Questions
How do I stop audio clipping?
Manage your gain structure carefully. Use the side REC LEVEL buttons to keep your loudest peaks at about -6dB. Once you hit 0dB, you get digital clipping, which is impossible to fix in edit.
WAV or MP3?
Always use WAV for professional work. MP3 discards audio data to save space, which introduces artifacts and makes it harder to clean up your audio in post.
How do I handle phantom power?
Only turn on 48V for the channels that need it to save battery. Plug your mics in first, then turn on the 48V to avoid pops or damage to sensitive ribbon mics.
Why am I getting a ‘card error’?
It’s usually a corrupted file system or an incompatible card. Format the card inside the H4n itself. If that doesn’t work, the card is likely failing and needs to be replaced.
What SD card speed do I need?
Stick with a reliable Class 10 or UHS-I card (up to 32GB). You don’t need expensive, ultra-fast cards. Stability is more important than raw speed for this recorder.