The Zoom H6 remains the industry standard for field recordists and podcasters. It isn’t a vintage pick; it’s a surgical tool for precise audio capture. However, the gap between “pro” sounding audio and a distorted, muddy mess usually boils down to how well you manage its gain staging and hardware. By mastering the zoom h6 best settings, you ensure that your projects remain clean, professional, and free of preventable errors. Understanding these configurations is vital for any creator serious about broadcast quality.
We’re moving past the instruction manual. We’re looking at the technical nuts and bolts: preamp sensitivity, safety track implementation, and the hardware configurations that actually dictate your final WAV quality. If you want studio-grade results, you have to master the machine’s engine. For additional tips on signal flow, check out our guide on Pro Guide: Best iPhone EQ Settings for Better Car Audio to understand how different playback environments interpret your hard work.
Key Takeaways
- Calibrate your physical knobs against the internal digital clipping point to maximize headroom.
- SD card write speed is the leading cause of file corruption. Class 10 or UHS-1 is the only acceptable standard.
- Enable Backup Record (Safety Track) to create a -12dB parallel recording. It is your best insurance policy against unexpected clipping.
Technical Overview: Mastering H6 Architecture
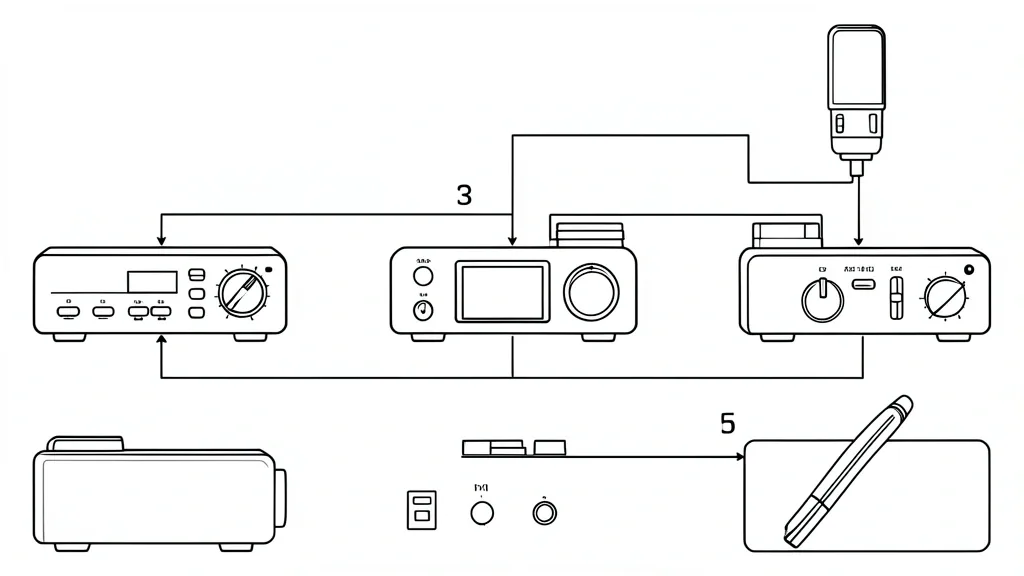
The brilliance of the Zoom H6 is its modular preamp topology. The interchangeable capsule system offers more than just versatility; it’s about impedance matching. Whether you’re running the X/Y capsule for atmosphere or the M/S for focused stereo, keep your capsule seated flush. Loose connections cause phase cancellation and ground hum.
The H6 uses an analog-to-digital workflow where physical gain knobs govern preamp sensitivity before A/D conversion. To optimize your signal-to-noise ratio, aim to keep your peaks between -12dB and -6dB on the meters. Avoid “pinning” the needles. Even quality preamps introduce noise when you crank those gain knobs into the final 10% of their rotation.
Don’t confuse preamp gain with digital trim. When you activate the built-in limiter, you’re setting a brick-wall ceiling on the digital signal. It prevents clipping, but it cannot fix a noisy analog signal caused by poor gain staging at the source. If you are refining your audio post-capture, reviewing Optimize Bose Audio: The Ultimate Custom EQ Settings Guide might help you understand how to manage output frequencies effectively.
The Diagnostic Matrix: Identifying Your Environment
Recording isn’t a one-size-fits-all game. A shotgun mic for documentary work requires different phantom power and gain management than an XLR lavalier in a treated podcast studio. Select your profile based on the noise floor of the room and your expected delivery format.
| Recording Scenario | Input Source | Recommended Sample Rate | Gain Staging Workflow |
|---|---|---|---|
| Field/Ambience | X/Y or Shotgun | 96kHz/24-bit | Knobs at 6-7, engage 80Hz Low Cut. |
| Podcast | Dynamic XLR Mic | 48kHz/24-bit | Knobs at 8+, phantom power OFF. |
| Studio Music | Condenser | 48kHz/24-bit | 48V phantom power ON, gain at 5, use Safety Track. |
For documentary work, always leverage the Backup Record feature. It captures a secondary stereo track at -12dB. If your subject suddenly shouts, you won’t lose your only clean take to a transient spike.
Prerequisites: Power, Media, and Pre-session Calibration
The most common H6 failure point is the media. Format your SD card inside the H6 menu before every project. This forces the unit to write the directory structure in a way that optimizes throughput, preventing the “card error” messages caused by fragmented file allocation.
Stop using standard alkaline AAs. Switch to high-capacity NiMH rechargeable batteries (2500mAh+) or a regulated USB power supply. Voltage drops in weak batteries cause the H6 to glitch under load, especially when you run multiple high-draw condenser mics with phantom power.
Check your firmware before you roll. Zoom regularly releases patches to improve SD card speed and preamp stability. Performing a factory reset is the best way to return the unit to a known state; it prevents “ghost” settings—like a forgotten low-cut filter—from ruining your session.
| Symptom / Error | Possible Cause | Quick Check | Resolution |
|---|---|---|---|
| File Dropout | SD Card Write Speed | Check card class rating | Swap to UHS-I Class 10 or higher. |
| Excessive Hiss | High Gain sensitivity | Check preamp headroom | Move mic closer; reduce gain; use a Cloudlifter. |
| ‘Card Error’ | Fragmented Data | Check available space | Quick Format inside the H6 menu. |
| Digital Distortion | Input Overload | Check meter peaks | Engage -20dB pad or lower input knob. |
The final success pillar is your signal chain. For shotgun mics, engage the low-cut filter at 80Hz or 120Hz to scrub wind rumble and electrical hum. Pair this with the limiter set to ‘hard’ to keep your peaks under the digital threshold. This makes your audio effectively clipping-proof.
Step-by-Step Workflow: Calibrating Gain Staging
Phase 1: Setting the Low Cut Filter
The Low Cut filter (High Pass Filter) is your defensive line against unwanted rumble: HVAC hum, wind, and handling noise. Navigate to Menu > Input > Lo Cut. For voice, set this to 80Hz or 100Hz. This preserves your headroom by clearing out useless low-end frequencies, giving you a cleaner signal before the signal even enters the box. Never leave this ‘Off’ in uncontrolled environments.
Phase 2: Configuring Compressor and Limiter
Need dynamic range control? Go to Menu > Input > Comp/Limiter. Select your channel. For interviews, ‘Comp1’ (General Vocal) pulls your levels together nicely. If you’re at a live event, choose ‘Lim1’ (General Limiter). Set your input gain so peaks sit around -12dB to -6dB. By setting the limiter threshold above your target, you ensure that sudden bursts trigger the circuit without hitting the 0dB digital wall.
Emergency Recovery and Reliability
Activating the -12dB Backup
This is the ultimate lifeline. Go to Menu > Recording > Backup Rec > On. The H6 creates a second stereo file recorded 12dB quieter than your primary mix. If your main file clips, that backup track is your safety net. Keep it on at all times.
Data Integrity and File Management
Never pull the SD card while the unit is on or writing. Always “Quick Format” your card in the H6 Tool menu whenever you pop in a fresh card. This ensures the file system aligns perfectly with Zoom’s proprietary internal requirements, cutting down on “File Error” warnings during playback.
Common Pitfalls: Clipping and Metadata
The Sample Rate Mismatch
Inconsistent sample rates are a headache. While 44.1kHz is fine for music, 48kHz is the gold standard for video production. Mixing these on the same card confuses your metadata and causes sync drift. Set your Menu > Recording > Sample Rate to 48kHz (or 96kHz for archival) and stick to it.
Phantom Power and Ribbons
+48V phantom power can fry vintage ribbon microphones. Check your mic’s documentation first. If you’re rocking an SM7B, you can use the power, but keep the switch OFF until the XLR is locked in. Engaging +48V with a cable plugged halfway in creates electrical spikes that can pop a ribbon element instantly.
Long-Term Maintenance and Firmware
Preventative Care
The module system is great, but the gold pins connecting your capsules can get dirty. Every three months, hit the pins on the base unit and the capsules with electronics-grade, non-residue contact cleaner. This prevents the weird channel drops and static pulses that happen when the connection starts to fail.
Firmware Updates
Manufacturers release firmware to optimize power and SD compatibility. Download the latest file, drop it onto the root of a formatted SD card, insert it into the H6, and hold Play/Pause during power-up. Use a wall adapter or fresh batteries so the unit doesn’t lose power halfway through—which would brick your hardware.
Frequently Asked Questions
What are the best settings for interviews?
Use WAV 24-bit/48kHz for high dynamic range. Turn on the 80Hz Low Cut filter. If you have two people, go with the XYH-6 capsule for a tight stereo image. If you’re using XLR lavs, keep the limiters on and track so you peak around -12dB to -6dB.
Why does my audio sound distorted?
Distortion is almost always “clipping.” This means your gain is too high, pushing the signal past 0dBFS. If the levels aren’t the problem, check your SD card. Slow write speeds cause digital dropouts. Stick to Class 10 or faster cards.
Should I use 24-bit or 16-bit depth?
Always use 24-bit. Even if your final output is compressed, 24-bit gives you a massive dynamic range, which lets you track at safer, lower gain levels without worrying about a noisy noise floor.
How do I stop clipping during loud sessions?
Use the internal Limiter. More importantly, practice “conservative gain.” You don’t need to hit the top of the meter to get a good sound. Tracking at -12dB gives you the room to handle a sudden scream or loud guest without ruining your file.
How does Backup Record work?
It acts like a dual-recording mode. It captures your input levels as normal, then records a second sub-track at -12dB. If the main track peaks out and distorts, the backup track remains clean and usable. Enable it under Menu > Recording > Backup Rec.