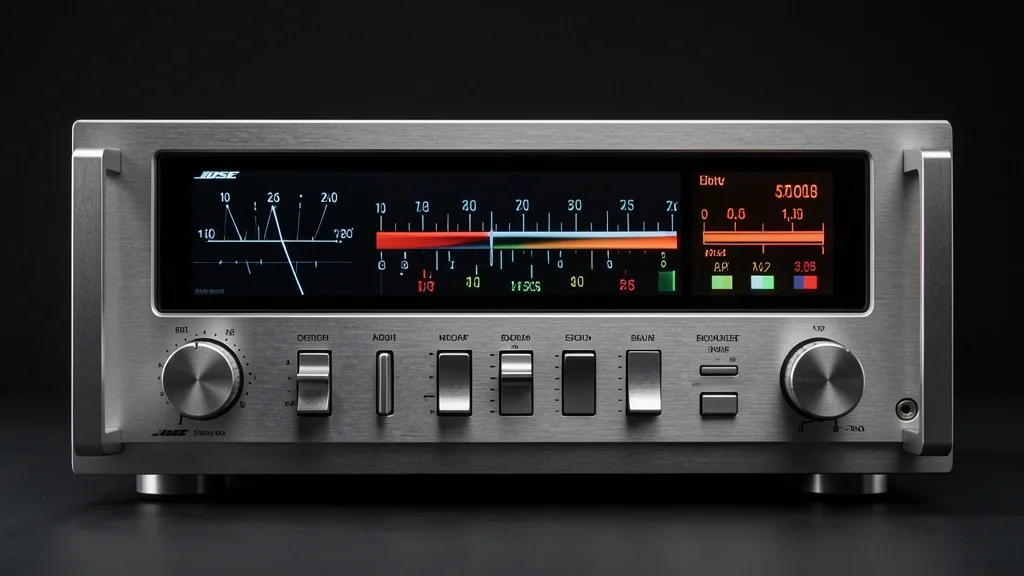
For decades, the “Bose sound” has been built for the casual listener, prioritizing immediate impact over clinical accuracy. By default, Bose products use a processed frequency curve with a heavy V or U-shaped contour. This emphasizes the mid-bass to compensate for the smaller drivers found in their speakers and headphones. Finding the right bose equalizer settings for best audio output is essential for audiophiles who demand refined sonic performance.
This approach sounds punchy and engaging at first. However, it often leads to harmonic distortion in tracks with fast, complex transients. When you listen to intricate jazz, orchestral arrangements, or prog rock, these factory calibrations tend to struggle.
Heavy reliance on DSP-assisted resonance creates a “mid-bass mud” that masks lower-midrange details. Because Bose engineers tune for consistency across many environments, they often sacrifice soundstage transparency. Instead of music feeling like it’s breathing in an open space, it stays trapped inside the driver housing.
Most Bose hardware uses aggressive psychoacoustic processing to simulate depth while pushing high preamp gain. This is where most listeners hit a wall. By the time you reach standard high-volume playback, you’re likely hitting digital clipping, especially if your source file is already mastered with limited dynamic range. Reclaiming your audio fidelity starts with understanding that you are fighting an intentional, pre-baked “house curve.”
Key Takeaways
- Bose hardware uses pre-applied DSP curves that prioritize mid-bass elevation over flat, reference-grade reproduction.
- Factory sound profiles often suffer from compressed dynamic range, which requires manual intervention to avoid listener fatigue.
- Preamp gain management is the hidden variable that determines whether your EQ adjustments result in clean audio or unwanted digital distortion.
The Diagnostic Matrix: Identifying Your Audio Weaknesses
Before moving sliders in the Bose Music app, audit your audio chain. Is your system truly lacking detail, or is the bass just poorly controlled? If your lows feel “hollow” or “boomy,” you are likely dealing with standing waves in the 300–600Hz range. This excessive energy creates a layer of mud that blurs transient attacks.
If your vocals feel recessed or thin, you are missing the “air” in the 7–11kHz range. This isn’t a hardware failure; it’s a result of vocal presence being buried under aggressive crossover settings. You need to distinguish between a hardware limitation and a simple EQ mismatch to calibrate correctly. Readers looking for further adjustments might also benefit from our Pro Guide: Best iPhone EQ Settings for Better Car Audio to bridge the gap between their mobile and vehicular sound profiles.
| Symptom / Error | Possible Cause | Quick Check | Resolution |
|---|---|---|---|
| Mid-bass mud | 300-600Hz peak | Listen for “boomy” bass guitars | Attenuate 300-500Hz by -2dB |
| Metallic highs | Over-boosted 8kHz+ | Sibilance in “S” sounds | Apply shelf-cut to 7kHz+ |
| Lack of depth | Soundstage compression | Verify source bit rate | Switch to FLAC/ALAC sources |
| Digital clipping | High preamp gain | Distortion at max volume | Lower preamp gain by -3dB |
In automotive Bose systems, users often hit phase-alignment issues when messing with faders. Moving the fader without considering the multi-speaker mapping disrupts the factory-calculated time-alignment. This causes the imaging zone to collapse. If the sound feels thin or disconnected, reset your balance and fader to the center before you try any frequency tuning.
Check your EQ tool, too. A basic 3-band app EQ often introduces phase shift across a wide range. A dedicated DSP tool like Wavelet allows for surgical, parametric adjustments. Figure out if your current tool is actually solving the problem or just changing the “color” of the output.
Prerequisites for Precision Tuning
Calibration is a technical process, not a guessing game. First, ensure your source material matches your hardware. Streaming low-bitrate 128kbps MP3s through a high-end Bose setup is a waste of time. Compression artifacts like pre-echo and rolloff make dynamic range optimization impossible. Use FLAC, ALAC, or premium lossless streams at 96kHz/24-bit to give your EQ enough data to work with.
Do a “hard reset” to factory settings in the Bose Music app. Many users try to EQ on top of old, forgotten settings, which leads to cumulative phase distortion. Clearing the registers ensures every decibel of attenuation you apply is intentional and not fighting a ghost setting from months ago.
Test in a quiet, treated space. If you’re tuning a vehicle, keep it parked to eliminate cabin noise. Learn the concept of “gain staging.” If you boost an EQ band by +3dB, you’re asking the amp to work harder. If your source audio is already loud, you will hit the digital ceiling and create harmonic clipping.
Prioritize subtractive EQ. Don’t boost highs to get clarity; cut the low-mids to remove mud. This keeps your headroom intact and prevents the preamp from clipping. Treat the system as a closed circuit where every gain adjustment impacts the rest of the signal path.
Step-by-Step Workflow: Calibrating Your Equalizer
Professional calibration requires a shift in mindset: stop treating your EQ as a “boost” tool and start respecting it as a corrective filter. Additive EQ pushes signals past the 0dBFS limit, creating digital clipping. Subtractive EQ is the standard for clearing mud without distorting the driver.
Phase 1: Neutralizing the Baseline
Go to your Bose Music App or vehicle’s Infotainment EQ menu: Settings > Sound > Equalizer. Reset all bands to 0 (flat). Play a high-quality, uncompressed file with complex instrumentation and clear vocals.
Phase 2: Executing Subtractive Corrections
Bose DSP profiles often suffer from “boxy” lower-midrange resonances. Try these shifts:
- 300Hz–600Hz: Reduce by -2dB to -3dB. This is the primary zone for “mud” and digital boxiness.
- 130Hz–160Hz: If the system sounds hollow, try a slight +1dB bump, but always cut the 400Hz range first. Clarity comes from subtracting, not adding.
- 3kHz–4kHz: If vocals sound harsh or fatiguing, cut by -1dB.
- 7kHz–11kHz: To improve “air,” apply a gentle +1dB shelf boost. Don’t overdo it, or you’ll end up with sibilance.
Advanced Soundstage Management and Fading
Bose systems are often tuned to favor rear-seat coverage, which kills the center-stage imaging needed for high-quality listening. Since your car speakers are physically asymmetric, time-alignment errors are common.
Step-by-Step: Calibrating Your Center-Stage
- Access Navigation: Go to Settings > Vehicle/Sound > Balance & Fader.
- The Fader Adjustment: Shift the fader 1-2 points toward the rear. This sounds counter-intuitive, but it helps the rear soundstage support the front, preventing the speakers from feeling like the sound is only coming from the dashboard.
- Balance Tuning: While centered is standard, try shifting the Balance 1 point toward the driver side. This builds a “sweet spot” at your head position to account for your off-center seat.
- The Result: You are forcing the system to better blend its front-loaded DSP with the cabin reflections, resulting in a deeper, more immersive soundstage.
Troubleshooting Pitfalls and Gain Staging
The cardinal sin of EQ is uncompensated gain. When you boost a frequency, you increase signal intensity. If that push goes above the digital ceiling, the system clips, causing that harsh, metallic crackle often mistaken for a blown speaker.
The Golden Rule: Never increase a band without lowering the preamp or master level by the same amount. If you boost a band by +3dB, lower the master gain by -3dB. This keeps your headroom intact.
Clipping vs. Distortion: Identify the cause. “Clipping” is sharp, metallic, and appears on loud peaks. “Distortion” from a blown component is present at all volumes and sounds like a rattling paper cone. If you hear metallic crackles, cut your boost immediately.
Long-Term Care and Firmware Integrity
Bose relies heavily on DSP. Firmware updates via the Bose Music app or OTA vehicle updates often overwrite your EQ profiles or reset internal settings.
Document your settings with a screenshot or notes. If the sound shifts unexpectedly after an update, perform a “Power Cycle Reset.” Hold the power button for 15-30 seconds until the system reboots. This forces the DSP to re-initialize and clears out any post-update software bugs.
Frequently Asked Questions
Why does my Bose system sound muddy when I increase bass EQ?
Mud happens when the 300Hz–600Hz range overflows the low-frequency energy. When you boost the “Bass” slider, you are often boosting mid-bass, not sub-bass. Keep the Bass slider moderate and cut the 400Hz band instead; this lets the true sub-bass bloom without interference.
What is the recommended preamp setting to avoid speaker distortion?
Use a 1:1 ratio. For every decibel (dB) you add to a specific band, subtract one decibel from the master gain. This maintains your headroom and prevents clipping that can prematurely degrade your speaker voice coils.
How do I improve the soundstage in an 8-speaker automotive Bose setup?
Factory defaults often feel thin and localized. Move your Fader 1-2 clicks toward the rear to blend the rear speakers into the space. This fills in the “gap” and provides a fuller, more surround-like experience.
Should I use the built-in Bose app EQ or third-party apps like Wavelet?
The built-in Bose app is generally cleaner because it acts directly on the hardware’s DSP. That said, Wavelet offers an “AutoEQ” feature that uses measured curves for a flatter response. Use Wavelet if you want more technical control; use the Bose app if you want consistent performance across every device without running background software.
How can I fix the lack of low-end depth in my Bose audio configuration?
Low-end depth is often masked by hardware limitations below 70Hz. Don’t boost the bass, as this just causes distortion. Instead, cut the boxiness in the 300Hz–500Hz region. Removing those mid-range frequencies makes the bass feel more defined and punchy, effectively simulating deeper sound without straining the drivers.