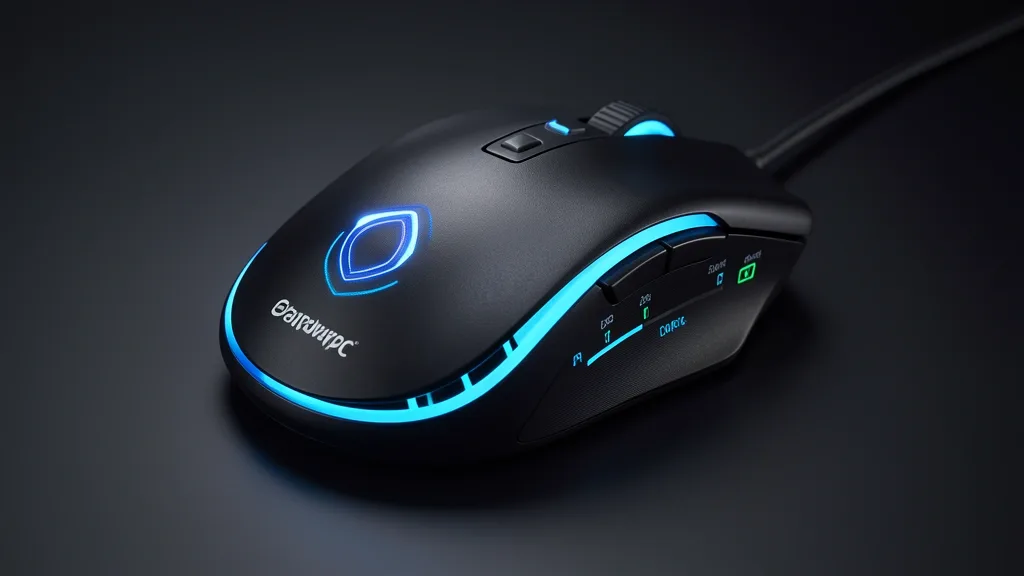
Mastering your cyberpowerpc mouse dpi settings is the vital first step toward achieving high-fidelity input control. As a systems engineer, I frequently see users struggle with inconsistent aim because they rely on variable Windows acceleration rather than the hardware-level precision of the Gaming Optical Mouse Elite. This guide deconstructs the M1-131 calibration process, focusing on why hardware-based inputs are the gold standard for latency-free performance.
Key Takeaways
- Hardware-based DPI switching bypasses OS latency for immediate, consistent response.
- Disabling Windows acceleration is mandatory to prevent the “cursor drift” effect.
- Periodic sensor cleaning and surface optimization are critical for M1-131 DPI calibration.
Technical Overview of Mouse DPI
Dots Per Inch (DPI) represents your hardware’s sensitivity threshold. It dictates how many pixels the cursor moves on-screen for every inch of physical mouse movement. On the Gaming Optical Mouse Elite, the sensor captures images of your desk surface, calculating trajectory via a dedicated DSP (Digital Signal Processor). Unlike software-buffered alternatives, hardware-level DPI processing ensures inputs are interpreted at the sensor’s native cycle rate.
The M1-131 series uses specific LED color coding to indicate internal DPI stages. This design avoids reliance on bloated peripheral software that consumes CPU cycles and increases input latency. By mapping DPI stages directly to an internal microcontroller, the mouse ensures switching between profiles remains instantaneous even when your system is under heavy load, such as during intensive texture streaming or high-frame-rate rendering.
Internal DPI colors act as a visual feedback loop. Typically, the M1-131 maps 800 DPI to red, 1200 to blue, 1600 to green, and 2400 to purple. These values define the hardware’s sampling density. Leveraging these native settings is superior to adjusting sensitivity scales within games, as game internal settings often add “fake” pixels that degrade tracking precision.
On-the-fly sensitivity adjustment bypasses the OS mouse driver, feeding coordinates directly through the USB controller. This is why you may notice “polling rate synchronization” issues if your device is plugged into a generic USB hub; a direct motherboard connection is always required. Understanding these mechanics turns your mouse into a deterministic machine rather than a black-box accessory, ensuring consistent muscle memory across different game engines.
Diagnostic Matrix for DPI Performance
When you encounter irregularities in DPI toggle mechanics, the cause is rarely physical component failure. It is usually a conflict between the mouse’s saved profile and the USB bus’s power-management state. When the mouse fails to cycle through its color modes, a firmware refresh is usually necessary to re-initialize the internal staging logic.
| Symptom / Error | Possible Cause | Quick Check | Resolution |
|---|---|---|---|
| LEDs cycle, but cursor speed remains stagnant | OS-level acceleration override | Check Windows “Pointer Precision” | Turn off “Enhance Pointer Precision” |
| Toggle button unresponsive | USB power suspension | Device Manager: Power Management | Uncheck “Allow Windows to turn off device” |
| Erratic jumps / tracking spikes | Sensor occlusion or debris | Inspect lens under magnification | Clean with 99% isopropyl alcohol |
| Colors blink but fail to lock | Firmware handshake failure | Reconnect USB while holding DPI key | Perform a hard-state power cycle |
To perform a diagnostic soft reset, shut down the workstation and disconnect the USB cable for 60 seconds. This allows the capacitor on the internal board to drain, flushing the volatile cache holding your DPI state. Upon reconnection, test the toggle functionality immediately on the desktop before launching background applications.
If DPI color indicators remain incorrect, inspect your connection path. Many cyberpowerpc mouse dpi settings issues originate from front-panel USB ports, which often possess lower signal integrity than rear I/O ports connected directly to the motherboard. Moving the peripheral to a dedicated USB 3.0 or 3.1 port—which provides more stable voltage—often resolves communication issues.
Finally, verify no third-party game-launchers are attempting to force a profile override. Some modern hardware suites will try to “hook” the mouse controller to adjust sensitivity based on the active application. I recommend stripping these processes to verify if the native DPI toggle restores its expected, deterministic behavior. Clean output is always preferable to software-emulated sensitivity levels.
Prerequisites for Optimal Tuning
Sensor optimization is grounded in how you interact with your physical tracking surface. Optical sensors operate by bouncing infrared or visible light off a surface; therefore, a dirty lens or inconsistent texture causes the sensor to “miss” packets of movement data. Use a micro-fiber cloth and a touch of non-conductive isopropyl alcohol to ensure the optics are free of dust or oils.
Avoid glossy or reflective surfaces. The M1-131 requires a high-friction, matte-finish mouse pad to calculate displacement accurately. If you use a bare wooden desk or glass, the sensor will consistently fail to reach its peak polling rate synchronization, leading to jitter as it struggles to register the hand-to-surface movement delta.
In Windows, you must disable the “Enhance Pointer Precision” setting. This is a form of mouse acceleration that modifies cursor speed based on how fast you move your hand. It is fundamentally at odds with native M1-131 calibration because it introduces a variable, non-linear movement model that destroys the consistent muscle memory required for precise flick shots.
Confirm your polling rate is set consistently within your device settings. Standard rates like 500Hz or 1000Hz dictate how often the mouse reports its position. For competitive CyberpowerPC hardware, I recommend locking this at 1000Hz. This ensures 1ms input latency, keeping your physical DPI settings aligned with on-screen responsiveness and preventing the “laggy” feeling of lower frequencies.
Step-by-Step Sensitivity Workflow
Navigating Native DPI Cycles
Unlike high-end enthusiast mice that rely on heavy software suites, the CyberPowerPC series uses a hardware-based toggle located behind the scroll wheel. This button is designed for rapid transitions during gameplay.
To cycle through your native DPI steps, follow this workflow:
- Identify the Toggle: Locate the button situated immediately beneath the scroll wheel.
- The Cycle Sequence: Press the button once to advance to the next preset. The firmware uses a fixed loop, so you must cycle through the entire sequence to return to a previous setting.
- Color Mapping Verification: Watch the LED luminescence on the side grips or scroll wheel.
- Purple: Lowest sensitivity, ideal for high-precision tasks like sniping or digital editing.
- Red: Highest sensitivity, intended for rapid-fire “flick” motion and twitch gameplay.
- Intermediate Colors: Blue, Green, or Yellow denote incremental steps between the Purple and Red poles.
- Stabilizing Preference: Once you locate the color that matches your desired “feel,” stop. These mice lack OSD notifications, so the chassis color is your only confirmation.
Mapping DPI to In-Game Sensitivity
A common mistake is setting high DPI on the mouse while keeping Windows or in-game sensitivity at default values. To achieve pro-level tracking, synchronize the two. Set your mouse color to your “neutral” (usually Blue or Green) state, then enter your game’s Settings/Controls menu. Adjust the ‘Mouse Sensitivity’ slider downward to increase your micro-adjustment control. This “DPI-to-Software” balance is the industry standard for reducing input latency and sensor jitter.
Emergency Recovery for Unresponsive Toggles
Hard Reset and USB Bus Verification
If your DPI toggle button becomes unresponsive, isolate the issue between software “hangs” and hardware failure. Firmware sometimes freezes during high-load scenarios like system wake cycles.
Step-by-Step Hard Reset Workflow
- Force Power Cycling: Disconnect the USB cable. Leave it unplugged for 30 seconds to drain the internal capacitors.
- Port Auditing: Inspect your motherboard I/O panel. Move the connection to a rear USB 3.0 port—the blue-colored ones—to ensure stable, unfiltered power.
- Re-initialization: Reconnect the device. You should see the chassis lights flicker in a “rainbow” sequence before settling. If this does not happen, the mouse is failing its power-on self-test.
- Driver Flushing: Navigate to Device Manager. Locate “Mice and other pointing devices.” Right-click your mouse and select “Uninstall Device.” Unplug the mouse, reboot, and plug it back in. Windows will re-enumerate the device and load standard HID drivers, often resolving DPI toggle lag.
If the button still refuses to cycle, the tactile switch has likely suffered mechanical failure. In a professional audit, this is classified as a Critical Hardware Failure, and a warranty claim is the appropriate solution as physical switches are not field-serviceable.
Long-Term DPI Calibration Strategy
Maintenance and Sensor Hygiene
Maintaining accuracy is about environmental discipline. Any occlusion or dust accumulation contributes to “sensor drift,” leaving you chasing settings when the hardware is technically “blind.”
Deep Calibration Workflow
- Surface Sanitization: Use a microfiber cloth and minimal isopropyl alcohol to wipe the aperture where the optical sensor resides. Debris buildup is the leading cause of DPI inconsistency.
- Tracking Profiling: Use a tool such as Mouse Movement Recorder to check for dropped counts. If you see erratic lines during horizontal movement, your surface or your sensor lens is compromised.
- USB Power Management Tuning: In Device Manager, find Universal Serial Bus controllers. Right-click your root hubs, go to Properties -> Power Management, and ensure “Allow the computer to turn off this device to save power” is UNCHECKED. This prevents the OS from throttling your mouse mid-game.
- Synchronized Benchmarking: Once you determine your “Goldilocks” DPI frequency, stop changing it. Modern sensor firmware performs optimally when stabilized. If your aim feels off, adjust in-game sensitivity rather than cycling the DPI toggle to protect your muscle memory.
📌 Save to Pinterest
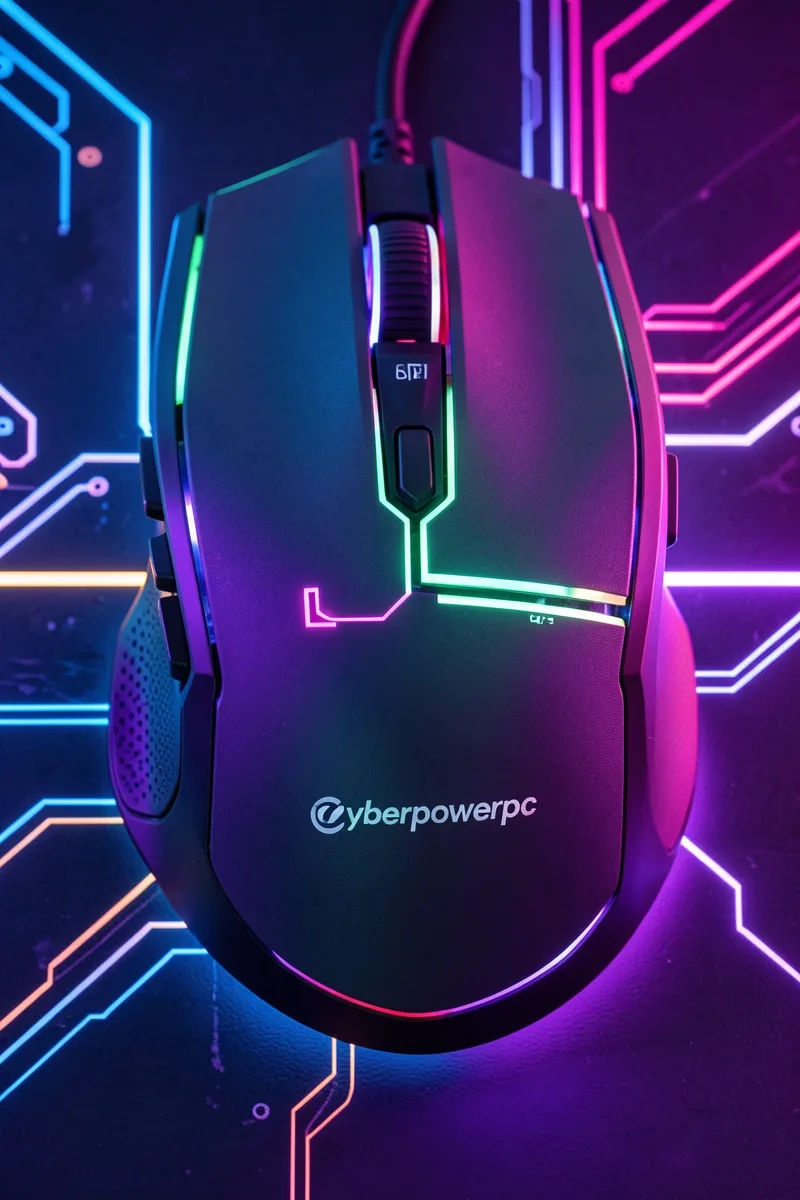
Frequently Asked Questions
What do the different LED colors mean on my M1-131 mouse?
The LED colors act as a visual indicator for your current DPI stage. Purple denotes the lowest DPI, while Red signifies the maximum. Intermediate colors like Blue or Green represent the stages in between. Because these settings are hard-coded into the mouse’s internal memory, these colors remain consistent even when you move the mouse between different computers.
Can I custom program the DPI levels on CyberpowerPC mice?
Most base-model M1-131 mice are hardware-fixed. Unlike premium mice that offer custom DPI increments (e.g., 450 or 600) via desktop software, the entry-level line utilizes fixed, pre-programmed tiers. You cannot adjust the exact DPI value beyond the options provided by the toggle button.
Why does my mouse speed feel different after changing DPI settings?
Differentiate between physical DPI and Windows “Pointer Precision.” When you increase DPI, the sensor reports more dots per inch to the OS, which makes the cursor travel further. If the movement feels erratic, “Enhance Pointer Precision” is likely enabled in Windows. Disabling this creates a consistent, linear ratio between your hand movement and the cursor.
How do I reset my CyberpowerPC mouse to factory DPI defaults?
There is no dedicated “reset” button, but you can return to the factory state by cycling through all stages until you reach the lowest (usually Purple). Additionally, disconnecting the device while the computer is off and holding the buttons for 10 seconds can force the onboard microcontroller to re-initialize to its default state.
Does the DPI setting affect mouse polling rate or gaming performance?
DPI and polling rate are distinct. Polling rate—typically 500Hz or 1000Hz—is how often the mouse reports to the PC. Changing your DPI via the toggle button does not change the polling rate. For competitive gaming, I suggest picking a mid-range DPI and compensating with in-game sensitivity controls for the cleanest possible tracking results.