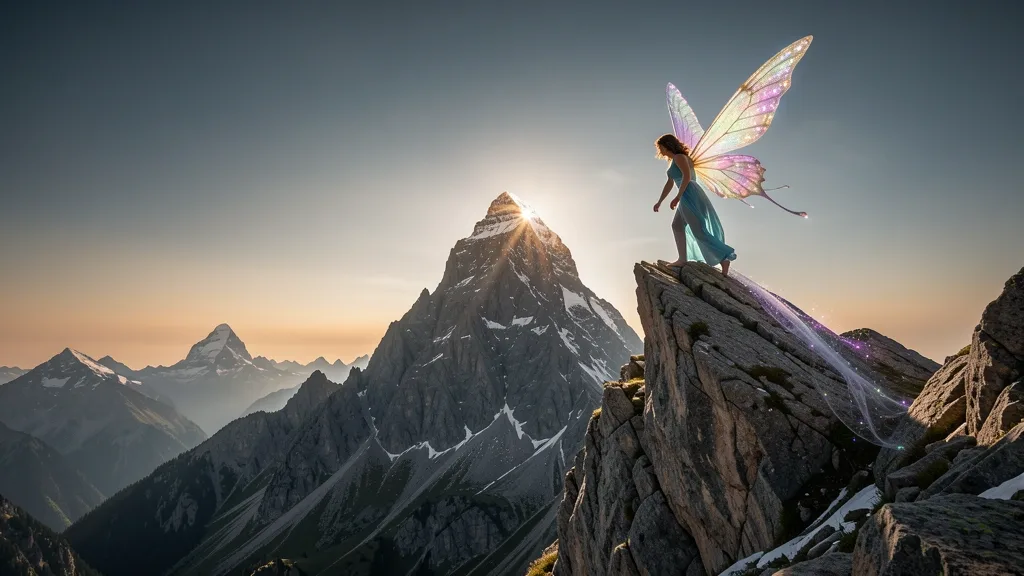
Achieving professional-grade imagery requires mastering fairy peak camera settings. High-altitude environments present atmospheric challenges that demand precise sensor control. Whether you are navigating the jagged spires of the Rockies or capturing the golden hues of the Sierra Nevada, your ability to handle light-to-shadow transitions dictates the final quality. This guide bridges the gap between field-testing and commercial-grade photography.
Key Takeaways
- Prioritize a base ISO of 64-100 to maintain maximum dynamic range and keep shadow noise floors minimal.
- Set custom white balance Kelvin values between 5200K and 6500K to counter the blue-tinted shift common at altitude.
- Use a Circular Polarizer to manage micro-reflections on glaciated or high-alpine terrain.
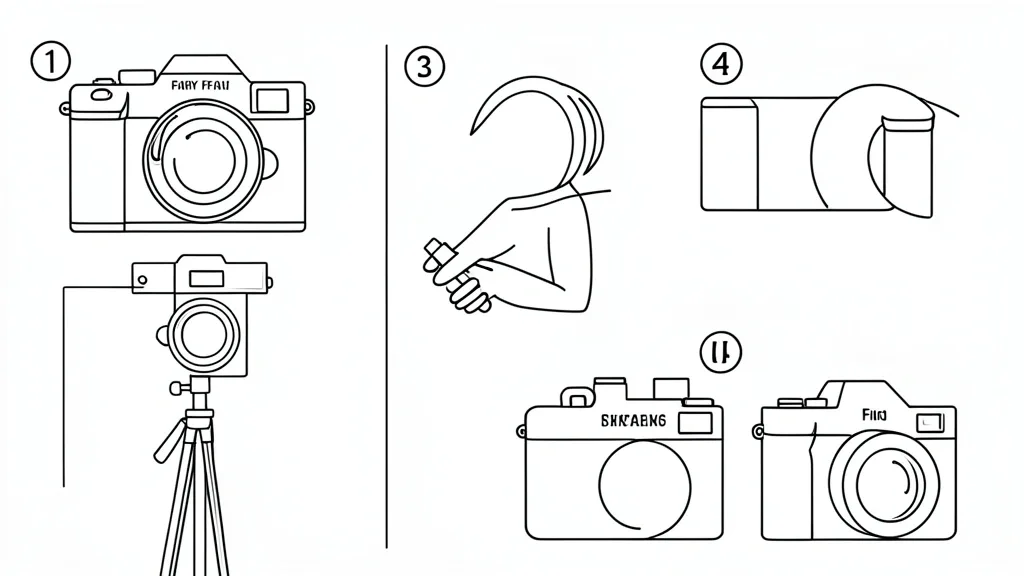
Technical Overview: Mastering Your Sensor at Altitude
High-altitude environments act like a magnifying glass for light. This creates a brutal dynamic range that pushes your sensor to its limits. Above 8,000 feet, the thinner atmosphere allows intense UV light to hit your lens, often leading to blown-out highlights on snow or granite faces.
Effective dynamic range management requires understanding how your sensor handles photon saturation. Stay locked at your native base ISO—typically 64 or 100. This ensures the cleanest possible read-out from your photo-sites.
Pushing ISO beyond base levels causes the noise floor to rise aggressively in high-contrast scenes. This makes shadow recovery in post-production nearly impossible. Aim to keep shadow noise floors below -60dB; anything higher degrades the integrity of your RAW files.
During the pre-dawn “blue hour,” standard auto-white balance often fails to interpret cool light accurately. Perform a manual white balance calibration or set your Kelvin value between 5800K and 6200K. This counteracts the atmospheric Rayleigh scattering that makes peaks look unnaturally cyan.
Watch your histogram for a clipped top end. Use “Expose to the Right” (ETTR) techniques, but keep a close eye on your zebra or blinkies function. Once the highlights are gone, your recovery software will struggle to fix color artifacts.
For a deeper look into the physics of how light behaves, consult the principles of atmospheric optics. Balancing these factors is what separates a snapshot from a definitive landscape image.
The Diagnostic Matrix: Identifying Optimal Exposure
Selecting the right shooting mode is a tactical choice based on terrain and your own movement. While manual exposure mode offers total control for bracketing, keep it simple. Most professional mountain photographers rely on aperture priority mode when conditions change at a moment’s notice.
If wind speeds exceed 20 knots, manual dial manipulation becomes a liability. Aperture priority keeps your shutter speed optimization within safe, tripod-stabilized thresholds while you focus on the composition.
| Symptom / Error | Possible Cause | Quick Check | Resolution |
|---|---|---|---|
| Blown-out highlights in snow | Over-exposure metering | Histogram clipping at right | Underexpose by 0.7 to 1.3 stops |
| Noisy foreground shadows | High ISO sensitivity | Shadow clipping (left side) | Return to base ISO; use tripod |
| Soft peaks across the frame | Incorrect focus point | Focus peaking visualization | Set to Manual; check infinity |
| Off-color blue shadows | Incorrect Kelvin value | LCD monitor check | Adjust Kelvin to 6000K+ |
Choose an aperture between f/8 and f/11 for a deep depth of field adjustment. Pushing beyond f/16 often introduces diffraction, which softens the edges of jagged peaks and destroys micro-contrast. Check diffraction limits on sites like DPReview to ensure your glass stays sharp.
For panoramic stitches, use manual mode exclusively. Meter for your brightest frame, lock the exposure for the full sequence, and verify your focus peaking configuration. This prevents the sensor from hunting for contrast on featureless horizons.
As for lens focal length selection, remember that telephoto compression (70mm+) changes how depth appears in high-altitude layers. Use a wider angle (16-35mm) for foreground scale, then switch to a long lens to pick out the specific granite textures of the summit.
Prerequisites: Gear Calibration for Peak Conditions
High-altitude logistics provide no room for error. A circular polarizer is non-negotiable; it cuts glare off high-alpine ice and deepens sky saturation without heavy post-processing.
Use high-quality, multi-coated filters only. Cheap glass creates haze and internal reflections, especially when shooting toward the sun. This will instantly negate the sharpness you gained from careful shutter speed optimization.
Tripod stability is your primary defense. Do not rely on lightweight travel tripods alone in wind. Use a stone-filled weight bag or a center column hook. Micro-vibrations—invisible at sea level—become massive at high elevations, leading to soft RAW files.
Before you leave the trail, turn off internal stabilization (IBIS) or set it to ‘Tripod Mode’ when mounted. Leaving it on while locked to a tripod can trick the sensor into fighting for stability and creating blur.
Keep batteries warm, too. Cold temperatures drain lithium-ion capacity rapidly. Carry at least three extra batteries in an internal, insulated pocket of your pack so they stay warm until the exact moment you need them.
Step-by-Step Workflow: Achieving the Perfect Composition
1. Establishing Base White Balance (Kelvin)
At Fairy Peak, light temperature shifts fast. Avoid “Auto White Balance” (AWB), as it usually struggles with blue-tinted mountain shadows. Go into your Menu > Shooting/White Balance and select K (Kelvin). Set your temperature between 5200K and 5600K for standard daylight. If the light feels “thin” or cold, push to 5800K to add warmth to the peaks.
2. Establishing Hyperfocal Distance
Don’t just set your lens to infinity. To keep foreground flowers and distant peaks sharp, use hyperfocal distance. Switch your lens barrel to Manual Focus (MF). Use Focus Magnification or Peaking to zoom into the mid-ground. Rotate the ring until everything from your foreground to the summit looks sharp on your EVF. This lock prevents “hunting” if the wind shakes your tripod.
3. Metering and Compositional Framing
Use Spot Metering (typically in Menu > Exposure). Point your focus point at the brightest section of the peak. Set your exposure compensation to -0.3 or -0.7 EV to protect your highlights. Use the grid lines in your Setup/Display settings to keep your horizons perfectly level—this is the mark of a pro.
Emergency Recovery: Handling Overexposure and Blur
1. Rescuing Blown-Out Highlights
Sunlight at high altitude is punishing. If you see the “blinkies” (zebra patterns), you are losing data. Check your Histogram immediately. If the right side is hitting the wall, stop your aperture down (e.g., from f/5.6 to f/11) or increase your shutter speed. If you are in RAW, you can recover significant data by pulling the “Highlights” slider down in Lightroom, provided you haven’t hit pure white pixels.
2. Correcting Sudden Motion Blur
Weather at the peak can destroy a shot in seconds. If images are fuzzy, your shutter speed is likely the culprit. Check your ISO Sensitivity—if your Auto-ISO max is too low (e.g., 1600), the camera will sacrifice shutter speed. Raise your max sensitivity to 6400. In manual mode, stick to at least 1/focal length (if shooting at 200mm, use 1/200th or 1/500th). Verify IBIS is engaged or disengaged depending on your tripod usage.
Refining Your Aesthetic: Avoiding Common Pitfalls
Many photographers over-index on “bokeh.” At a spot like Fairy Peak, the mountain itself is the subject, not the blur. Avoid settings between f/1.4 and f/2.8. That “over-blur” approach treats a grand vista like a portrait, which removes the sense of scale.
To keep the vista looking grand: 1. Stop Down: Keep your aperture between f/8 and f/11. This is the sweet spot for corner-to-corner clarity. 2. Disable “Cinematic” Filters: Ensure software-based background blur or “Film Simulation” settings are Off. 3. Compositional Integrity: Use wide-angle glass (16mm to 35mm) to show the peak in its environment. Capture the rocks, the snow, and the clouds with equal intensity.
Long-Term Care and Data Management
High altitude is tough on gear. Rapid temp changes and fine dust can kill a sensor. Moisture Management: When coming in from the cold, do not expose your camera to warm air instantly. Condensation will form on the sensor. Place the camera in an airtight Ziploc bag/dry bag before entering a warm cabin. Let it sit for 60–90 minutes to acclimatize. Keep silica gel packs in your bag at all times.
Data Management: High-res RAW files add up. Use an efficient workflow: 1. Culling: Use Photo Mechanic to ditch “soft” images before you even touch Lightroom. 2. RAID Backup: Run a dual-drive system. Use an NVMe SSD for active projects and a cloud-synced HDD for archival. 3. File Naming: Use a YYYYMMDD_Location_Sequence format to avoid the “DSC_0001” madness.
📌 Save to Pinterest

Frequently Asked Questions
What is the best aperture setting for capturing sharp landscapes at Fairy Peak?
Aim for f/8 to f/11. This strikes the best balance between depth of field and avoiding diffraction, which can soften your shot at higher f-stops.
How do I manage high-altitude lighting to prevent blown-out highlights?
Use spot metering to prioritize highlights. Shoot in RAW to pull back detail, and use a circular polarizer to cut glare and limit the tonal range in-camera.
Should I use RAW or JPEG for mountain photography for the best results?
Always shoot in RAW. You need the uncompressed data for mountain textures and highlight recovery; JPEGs lose too much information in the processing phase.
How does focus peaking help in capturing distant mountain peaks?
It highlights high-contrast edges in your EVF or screen, allowing you to see exactly what is in focus in real-time, which is vital for sharp summits.
Which ISO range is recommended to minimize grain in low-light peak photos?
Keep it at native base ISO (100 or 200). Rely on a sturdy tripod and slower shutter speeds rather than boosting sensitivity, which introduces noise into your textures.