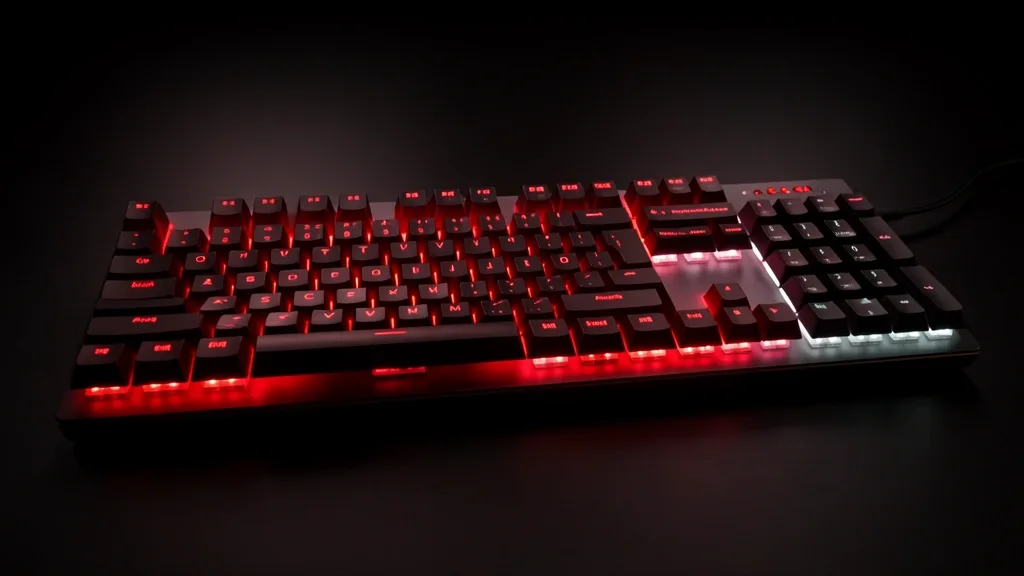
Mastering your redragon keyboard light settings requires a solid grasp of how your peripheral communicates with your PC. I see users struggle with glitchy lighting loops or unrecognized profiles daily, usually because they haven’t distinguished between hardware-level controls and OS-driven software. This guide covers the technical foundation you need to troubleshoot, optimize, and customize your RGB mechanical setup.
Key Takeaways
- Understand the divide between immutable onboard hardware profiles and volatile software-driven lighting.
- Master diagnostic steps to fix firmware corruption before diving into complex customization.
- Optimize your physical setup—from USB power delivery to LED orientation—for the best visual output.
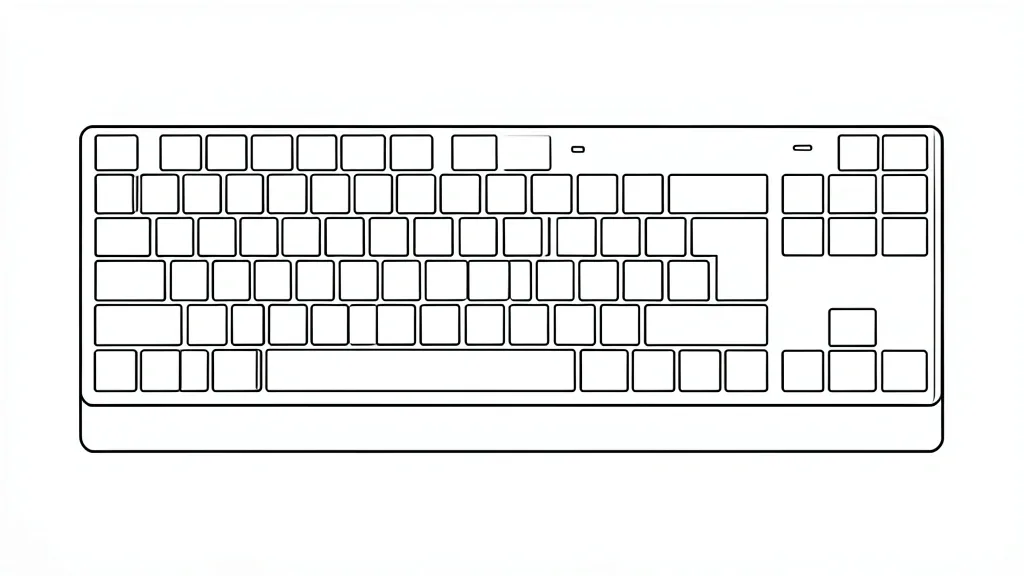
Technical Overview: Decoding Redragon RGB Architecture
Redragon keyboards use two distinct ways to manage lighting: hard-coded Fn-layer instructions and software profiles. Hardware-coded lighting lives in the keyboard’s internal controller memory (MCU). This system executes RGB color model commands without needing your OS to be active.
The MCU manages backlight modes when no software is running. This memory is non-volatile but limited. Each profile saved here acts as a fixed byte-code string, sending specific voltages to your Outemu switch diodes.
Software-coded profiles sit on your PC’s drive. When you use official Redragon device drivers, these settings stream to the keyboard in real-time. This is the only way to achieve complex macro management and per-key illumination, as it bypasses the limited memory bank of the MCU.
Avoid pushing high-latency software animations to the internal firmware. If a profile write fails, you’ll get a lighting loop because the controller loses its “instruction set.” A hard reset is your only fix here.
Watch your LED orientation. Most Redragon boards use South-Facing LEDs to fit Cherry profile keycaps. If your lights look dim or dull, it’s likely keycap stem obstruction, not a failing LED. Don’t waste time troubleshooting the brightness logic if the hardware is simply blocked by the cap design.
Syncing gaming profiles creates a “handshake” between your Windows USB root hub and the keyboard controller. If your USB bandwidth is crowded, lighting transitions will look stuttery or, as tech enthusiasts say, “choppy.”
Diagnostic Matrix: Identifying Your Lighting Version
First, identify your keyboard’s capabilities. Many entry-level Redragon models are “hardware-only,” meaning they lack the HID descriptors needed for software talk. These models rely entirely on Fn key combinations like Fn+Ins or Fn+Del.
Check your status: open Windows ‘Device Manager’ and look under ‘Keyboards’. If you see ‘HID Keyboard Device’ but no ‘Redragon Gaming Keyboard’ vendor entry, you are on a hardware-locked model. It won’t accept software profiles.
If your device is recognized by software but forgets your settings after a reboot, clear the CMOS or force a factory reset. Disconnect the device, hold the ‘Esc’ or ‘Spacebar’ key for ten seconds, then reconnect. This usually clears the MCU state on most Redragon variants.
| Symptom / Error | Possible Cause | Quick Check | Resolution |
|---|---|---|---|
| Lighting resets on PC restart | Power settings / Software not loading | Check Task Manager startup apps | Enable ‘Auto-start’ in driver settings |
| RGB keys flickering | USB power starvation | Test a different USB port | Avoid passive hubs; use mobo I/O |
| Lighting loop | Corrupted MCU profile | Try Fn+Esc factory reset | Re-flash firmware via official patch |
| Dim light output | Keycap orientation conflict | Verify North vs South facing | Swap for compatible low-profile caps |
Check your switch type. Outemu housing affects light diffusion. If you swapped stock caps for dense PBT, you will notice significant light bleed reduction. This is a physical constraint of the internal LED position and isn’t something software can “fix.”
Finally, ensure your system isn’t strangling the USB power. Windows loves to put controllers into a “suspend” state to save power. Go into Device Manager, find your USB Root Hubs, and uncheck “Allow the computer to turn off this device to save power.”
Essential Prerequisites for Advanced Customization
Don’t use passive USB hubs. They bridge data reliably but often fail to push the sustained 500mA current needed for high-intensity, per-key RGB. Plug directly into your rear motherboard USB 3.0 port.
Always run the software as an Administrator. Setting an RGB parameter isn’t just a UI change; it writes configuration packets to the Windows Registry and the keyboard’s EEPROM. Without elevated permissions, these writes fail silently.
Check your BIOS/UEFI polling rate. While 1000Hz is the gaming standard, some lower-end USB controllers jitter at that frequency, causing lighting “tears.” If your lights look erratic, drop the polling rate to 500Hz to stabilize the stream.
Keep your lighting software active in the system tray. If your antivirus sandboxes the app, it will block the firmware commands. Also, check to be sure your firmware version matches your software. Mismatching these is a common way to “brick” a lighting controller.
Step-by-Step Workflow: Configuring RGB Effects
You have two main paths: the physical hardware cycle and the software suite. For quick tweaks, use the onboard controller.
1. Hardware-Level Cycling (The “Hotkey” Approach)
You don’t need drivers to change the vibe. Try these common mappings found on most K552/K556 models:
- Cycle Lighting Modes:
Fn + InsorFn + Homerotates through pre-configured animations. - Adjust Brightness:
Fn + Up Arrowto boost,Fn + Down Arrowto dim. - Adjust Effect Speed:
Fn + Minus (-)orFn + Plus (=)toggles animation pace. - Per-Key Customization: Use
Fn + Delto enter recording mode. Toggle specific LEDs, then hitFn + Delagain to lock the profile to memory.
2. Software-Suite Customization
For granular control, use the model-specific software from the official site:
- Launch the software and navigate to the “Lighting” or “RGB” tab.
- Select “USB Mode” to ensure a direct connection.
- Choose an animation preset, like “Color Stream” or “Reactive.”
- Use the color picker to set your specific glow.
- Click “Apply” or “Save.” If you ignore the save button, your settings will vanish the moment you restart.
Emergency Recovery: Resetting Corrupted Light Profiles
If your LEDs act weird—flickering, wrong colors, or refusing to talk—the firmware logic is likely corrupted. Try the recovery protocols below.
The Universal Factory Reset:
- The Escape Method: Unplug the keyboard. Hold
Fn + Esc. Keep holding while you plug the USB back in. Wait 5–10 seconds. When the LEDs flash, the board is reset. - The Spacebar Method: On 60% models, hold
Fn + Spacebarfor 5 seconds until the LEDs blink. - Software Restore: Check the ‘Settings’ or ‘About’ tab in your driver for a “Restore to Factory Settings” button.
Still frozen? Go to Device Manager, find your keyboard, right-click, and “Uninstall Device.” Unplug the board, reboot your PC, and plug it back in. This forces Windows to reload the driver stack without legacy errors.
Common Pitfalls and Troubleshooting
If your color shades look off—like a dull orange or muddy violet—don’t worry. This is a hardware limitation. Budget-tier 16.8M color diodes often lack the sub-pixel precision to render certain distinct shades accurately.
Software Crashes During Updates
Never unplug your keyboard during a firmware update. If the flash process gets cut, you will brick the hardware. If the software hangs, kill the process in Task Manager, leave the keyboard connected for 5 minutes, and then try again.
Keycap Interference
Thick-walled PBT caps can catch the light differently than stock ABS. If you notice shadow spots below your keys, the light isn’t being diffused correctly by the cap stem. Stick to “shine-through” compatible keycaps for the best results.
Long-Term Care for Mechanical LED Performance
Mechanical LEDs are basically Surface-Mounted Devices (SMD) on your PCB. They are tough but hate dust. Dust buildup creates a “clouding” effect that dims your lighting significantly.
Preventative Cleanup:
- Compressed Air: Hit the area between switches with compressed air every 3–4 months. It’s the easiest way to keep your light output crisp.
- Avoid Liquid: Keep alcohol and cleaning agents away from the PCB. If you clean your keycaps, take them off the board and soak them in mild soap. Never spray anything directly onto the board.
Preventing Electrical Shorts:
Own a hot-swappable board? Always disconnect before touching switches. A loose metal pin touching an SMD LED terminal while powered will fry the diode instantly. Ensure your switch pins are straight before seating them to avoid permanent contact point damage.
📌 Save to Pinterest
Frequently Asked Questions
How do I reset my Redragon keyboard lighting to factory settings?
Unplug the keyboard. Hold ‘Fn’ + ‘Esc’ or ‘Spacebar’. While holding, plug it back into your USB port. Hold for 5-10 seconds until the board cycles through a rainbow pattern.
Why won’t my Redragon keyboard respond to software-based light profiles?
You likely have a conflicting hardware profile saved. Switch the board back to ‘Software Control’ within your driver or perform a full factory reset to clear the internal memory.
Which key combinations control brightness and speed on my specific Redragon model?
Most models use ‘Fn + Up/Down’ for brightness and ‘Fn + Left/Right’ or ‘Fn + -/=’ for speed. Check your specific manual for ‘Fn + Ins’ or ‘Fn + PrtSc’ to cycle modes.
Can I sync Redragon RGB settings with other gaming software like Razer Chroma or Corsair iCUE?
Redragon uses proprietary protocols. You can’t sync them natively, but experienced users sometimes use ‘OpenRGB’ to bridge the gap—though this is at your own risk.
What should I do if my Redragon keyboard LEDs are stuck on one color?
You might have accidentally toggled a static mode. If a factory reset doesn’t work, unplug the board and leave it alone for an hour to drain the capacitors, then try resetting again.