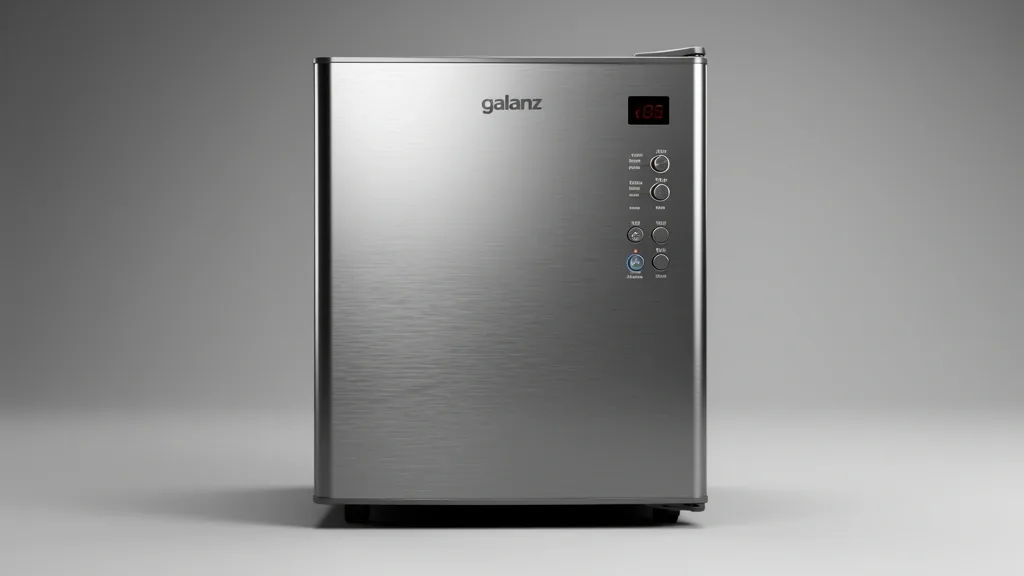
Getting the best performance from your appliance starts with understanding galanz mini fridge temperature settings. Many owners treat these compact units as “set-and-forget” appliances. This mindset often leads to premature component failure or spoiled food because the mechanical limits of the refrigeration cycle are ignored.
Key Takeaways
- Calibration requires a strict 24-hour stabilization window after any dial adjustment.
- Ambient temperature fluctuations in non-climate-controlled spaces drastically alter unit performance.
- Most perceived cooling failures are actually gasket integrity issues or airflow obstructions rather than faulty compressors.
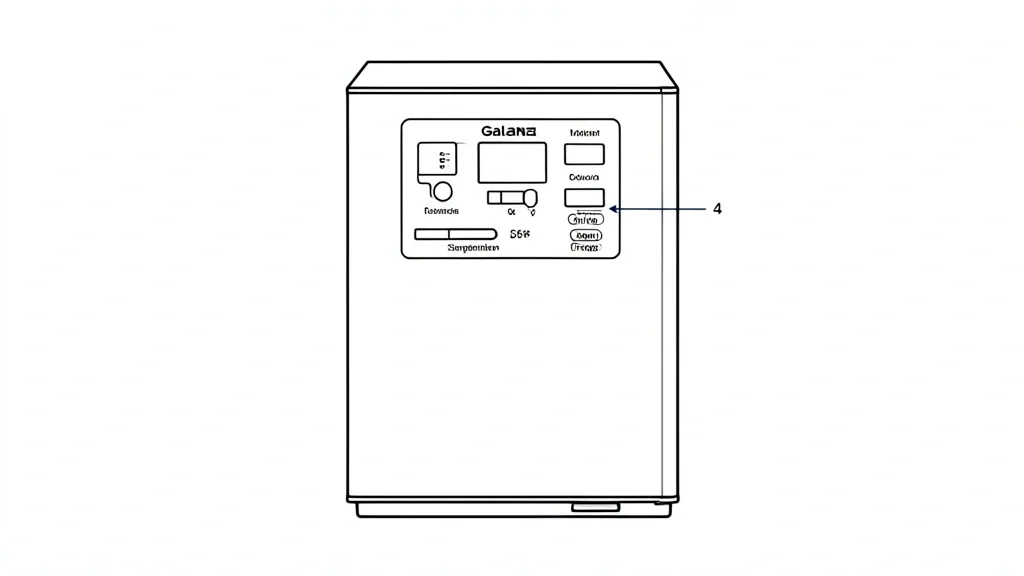
Technical Overview of Galanz Cooling Systems
Galanz mini fridges use a vapor-compression cycle. This relies on thermal exchange between the refrigerant, the compressor, and the metallic coils. Unlike larger residential refrigerators, these units feature a simplified mechanical thermostat. This dial monitors temperature via a bulb attached to the evaporator plate rather than a complex digital probe.
The system runs on an on-off duty cycle based on the cooling capacity at that specific contact point. When the thermostat calls for colder air, the compressor engages to circulate refrigerant and extract heat from the cabinet. It is a robust, simple design, but it lacks the precision found in dual-probe digital systems.
These units do not have variable-frequency drive (VFD) technology. Adjusting the dial doesn’t speed up the motor; it simply changes the setpoint at which the compressor cuts out. Overloading the fridge disrupts this thermal balance. The unit will run continuously, causing thick ice to build up on the back wall, which acts as an insulator and blocks heat exchange.
You can read more about the scientific principles behind these mechanical refrigeration systems to see why airflow is critical. When coils are blocked, the thermostat reads a warmer environment than reality. The system then overworks the compressor, which can lead to a burnout if the unit isn’t ventilated properly.
Energy efficiency also depends on the unit’s ability to shed heat from the rear condenser area. If the fridge is flush against a wall or stuck in a hot cabinet, ambient heat prevents the condenser from off-loading effectively. The thermostat will then cycle improperly, failing to reach safe food storage temperatures.
Diagnostic Matrix for Thermal Variance
Don’t guess when troubleshooting cooling drift. Use an empirical approach. Many users replace a perfectly fine thermostat when the real culprit is a compromised magnetic seal or poor internal circulation.
Start by inspecting the evaporator plate. If you see uneven ice patterns or spikes in one area, you likely have a refrigerant issue or an internal airflow blockage. A thin, even layer of frost indicates a healthy cycle. If the frost is melting while the compressor is running, check your door gasket immediately.
| Symptom / Error | Possible Cause | Quick Check | Resolution |
|---|---|---|---|
| Warm spots | Airflow obstruction | Check for items blocking rear fins | Clear 1 inch around all sides |
| Excessive rear icing | Thermostat set too low | Check dial vs. current load | Adjust dial toward a warmer setting |
| Door condensation | Gasket failure | Perform a ‘Dollar Bill’ test | Clean gasket or replace seal |
| Fridge runs constant | High ambient load | Measure room vs. unit exhaust | Move to a ventilated space |
Gasket wear is the most ignored factor in appliance maintenance. If the unit loses air, the thermostat never hits its target point. The compressor stays on, and frost builds up indefinitely. If a dollar bill trapped in the door pulls out without resistance, your climate seal is failing.
Also, consider the thermal mass of your fridge. An empty unit cycles faster and fluctuates wildly. Keep the fridge somewhat full—use water bottles or cold packs if needed. These items act as a thermal buffer, smoothing out the peaks and valleys when the door is opened.
Finally, check the defrost setting. Some models have a manual defrost button or a specific position on the dial. If this is engaged by mistake, the cooling cycle stops. Check that your dial isn’t accidentally set to a service or defrost mode before you reach for your toolkit.
Prerequisites for Accurate Calibration
Calibration takes time. A common error is adjusting the dial and expecting instant changes. Because the refrigerator is a thermodynamic system with significant inertia, you must wait 24 hours after any adjustment to see the actual result.
Use a digital thermometer submerged in a glass of water on the center shelf. Avoid measuring the air temperature directly, as it spikes every time the door opens. Liquid temperature gives a true reading of your food storage conditions.
Account for ambient temperature. If your mini fridge sits in a garage or workshop, the thermostat’s accuracy drops as the room gets hotter. You might need to adjust your expectations for how cold the unit can get in such environments.
Check the official Galanz support documentation, but note that manufacturer ideal settings rarely account for your specific room conditions. Start at the mid-point (usually marked ‘3’ or ‘4’) and wait a full day.
If the internal temperature isn’t at or below 40°F, move the dial one notch colder and wait another 24 hours. This methodical approach protects the compressor. Frequent, drastic changes to the thermostat put unnecessary stress on the electrical contacts and the motor, cutting the unit’s lifespan short.
Step-by-Step Workflow for Dial Adjustment
1. Establish Your Baseline
Before touching the mechanical settings, know your current performance. Use a standalone internal thermometer. Place it in a glass of water on the center shelf for at least 4 hours. This captures the internal thermal mass temperature rather than just the fleeting air temperature when you open the door.
2. Incremental Calibration
Locate the dial, usually on the right sidewall or near the light. Most Galanz units use a 1-7 scale. Rotate the dial no more than one-half increment at a time. Don’t jump from 3 to 7 instantly; you will overwhelm the compressor and lose control of the temperature. Ensure it clicks into the new position.
3. The 24-Hour Stabilization Protocol
Leave the unit alone for 24 hours after any adjustment. The small compressor needs this time to reach a new steady-state equilibrium. Keep the door closed as much as possible, as an influx of room air will invalidate your test results.
Emergency Recovery for Temperature Drift
Manual Defrosting for Icing
If the back evaporator plate shows more than 1/4 inch of ice, your cooling efficiency is dead. This ice is an insulator. Move your food to a cooler, turn the dial to ‘0’ or ‘Off’, and unplug the unit. Let the ice melt naturally. Never use knives or ice picks to scrape the plate. One puncture to the refrigerant lines ruins the entire fridge.
Handling Over-Cooling
If beverages are freezing in the main compartment, your dial is likely too high for the current room temperature. Back the dial down to ‘1’ or ‘2’. If it stays below 32°F after 24 hours, your thermostat sensor may be failing. Ensure no items are touching the rear wall.
Common Calibration Pitfalls
The Overpacking Trap
Don’t jam your fridge full. Refrigerators need air to circulate. If shelves are packed edge-to-edge, you create “warm spots” where bacteria thrive and “cold spots” where food freezes. Keep at least 1-2 inches of clearance at the back wall.
Ambient Temperature Oversight
Your fridge’s cooling capacity is relative to room temperature. A hot garage forces the compressor to run constantly. Conversely, if a basement is too cold in winter, the thermostat won’t sense the need to kick the compressor on, and the fridge will effectively turn off.
Ventilation Blockage
Your fridge needs to breathe. It exhausts heat from the interior to the outside. Galanz units need 3-5 inches of gap behind and on the sides. Putting a unit in a tight, closed cabinet will make it overheat and cycle prematurely.
Long-Term Care and Energy Management
Maintaining Door Seals
The gasket is the gatekeeper. Even small gaps let in humid air, which causes constant frost and motor strain. Clean the rubber with warm, soapy water monthly. If the seal feels loose, use a hairdryer on a very low setting from a safe distance to gently warm and restore the rubber’s shape.
Coil Maintenance
Condenser coils on the back or bottom gather dust like a blanket. Vacuum the coils every six months with a soft brush attachment. This prevents heat buildup, lowers your electricity bill, and preserves the life of the compressor.
📌 Save to Pinterest
Frequently Asked Questions
Why do cooling and freezing share a setting?
Most Galanz models use a single-compressor system. The “freezer” is just an area in direct physical contact with the coldest part of the evaporator plate. It isn’t a separate zone. The thermostat controls the whole cooling cycle, so the freezer temperature will always drop if you turn the dial lower.
What is the ideal dial position?
For most homes, the middle setting (‘3’ or ‘4’ on a scale of 1-7) is the sweet spot. This keeps food in the FDA-safe range of 37°F to 40°F. Only go higher if your ambient room temperature is unseasonably hot or if the unit is packed quite full.
How long until the temp stabilizes?
Always wait 24 hours. The compressor needs multiple start-stop cycles to reach a consistent internal climate. Do not judge performance based on a change made only a few hours ago.
Does humidity affect performance?
Yes, significantly. In humid weather, every time you open the door, moisture enters the unit. This moisture turns to frost on the cooling plate. That frost acts as a thermal barrier, forcing the motor to work harder than it should.
My food is freezing. What gives?
Your setting is likely too high for the current room environment. Lower the dial by one increment and wait 24 hours. Also, ensure nothing is pushed flush against the back wall, as that is the primary area for the cooling elements.