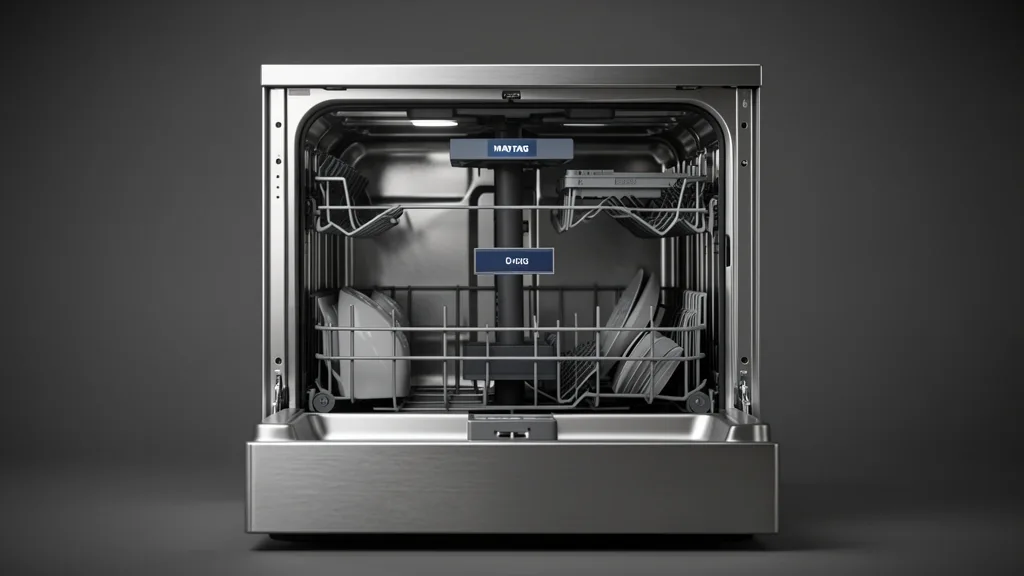
I’ve worked in the field for years, and I’ve seen countless clients lose time and money on service calls for intermittent dishwasher issues. The maytag dishwasher diagnostic mode is the most underutilized tool for solving these problems quickly. It’s not just a way to see blinking lights; it’s a direct port into your machine’s logic. This mode lets you check control board health, component impedance, and sensor feedback loops.
When you start this sequence, you bypass the standard user interface to perform a forced interrogation of the internal hardware. Whether you are dealing with a false detergent leak alarm or a failed drain pump, this routine is the bridge between cryptic error messages and actual hardware identification.
Key Takeaways
- Diagnostic entry sequences vary between Hidden Top Control (HTC) and Front Control (FC) models.
- Always perform a hard power reset if the unit stays unresponsive after clearing fault codes.
- Service Test Mode allows for real-time electrical testing of water valves, motors, and pumps.
Understanding Maytag Diagnostic Architecture
Maytag uses a two-tiered system that separates basic operation logic from high-level peripheral testing. When you trigger the Whirlpool Group service architecture, the unit logs events into non-volatile memory. Your first step is determining if you have a board-level issue or a failed part.
If the service mode initializes but immediately flashes a communication error, you are likely looking at a logic board failure or a loose ribbon cable. Peripheral failures often hide behind cascading signals. A failing turbidity sensor can force the control board into a “safe mode,” which disables the heating element and shortens cycle times.
Diagnostic mode lets you conduct a drain pump continuity test without pulling the dishwasher out from under the counter. If the pump doesn’t pulse during the test, you’ve isolated the fault to the wiring harness or the control board’s TRIAC switches. This approach stops the “parts-swapping” guessing game and prioritizes data-driven repair.
Distinguish between historical error codes and active testing. Error codes show what happened; test mode exercises the hardware. Always clear your error history after a successful repair to keep future diagnostic attempts clean.
Safety Protocols and Prerequisites
Safety is the priority. Before engaging the maytag dishwasher diagnostic mode, confirm the unit is in a neutral state. Ensure the basin is empty of standing water and debris. Any blockage in the drain line can manifest as a false pressure-switch error, leading you to misdiagnose a perfectly good pump.
Water pressure is vital for sensor accuracy. If the inlet valve isn’t providing enough flow, the diagnostic routine will trigger a “fill error.” Check your supply line GPM (gallons per minute) before starting. Don’t waste time troubleshooting a flow meter if the issue is just an clogged inlet screen or a restricted supply line.
Watch your power supply. Thermal fuse issues are common on certain chassis, but trying to bypass a fuse during diagnostics can feed bad data to the sensors. Ensure the power is stable. Voltage drops during high-amperage draws, like heating cycles, can flush the memory buffer and cause the controller to lag or reset unexpectedly.
Finally, always perform a hard power cycle—unplug the unit or flip the breaker for at least 60 seconds—before you start. This clears transient logic errors and gives the diagnostic routine a clean slate.
The Diagnostic Matrix: Identifying Your Control Type
The physical interface—Hidden Top Control (HTC) versus Front Control (FC)—defines how you enter the diagnostic menu. If you miss the sequence, the unit stays in standby mode. Don’t fight the buttons. If you fail, let the unit rest for 30 seconds before trying again.
Unresponsive touch-panels often hint at a grounding issue in the membrane switch, not a board failure. When you finish your testing, exiting is just as important as entering. Most units require pressing ‘Cancel’ or ‘Power’ twice, followed by a power cycle, to return to normal operation.
| Symptom / Error | Possible Cause | Quick Check | Resolution |
|---|---|---|---|
| F1-E1 | Control Board Logic | Factory reset | Replace main control board |
| F4-E1 | Drain Pump Malfunction | Drain pump continuity | Clear debris or replace pump |
| F6-E4 | Inlet Water Issue | Pressure test | Clean inlet screen or replace valve |
| No Response | Thermal Fuse / Power | Voltage test | Replace fuse or harness |
| Control Loop Error | Membrane/Button Lock | Button testing | Clean ribbon cable or replace pad |
Stick to professional standards. By following a rigorous, step-by-step methodology, you remove the guesswork. Whether it’s a sensor calibration glitch or a burnt-out motor, the Maytag diagnostic mode gives you the intel needed for a first-time-right repair.
Step-by-Step Entrance Workflows
The “3-Key Sequence” for Modern Consoles
Modern boards are picky about timing. They use a “buffer” that looks for a specific rhythm. If you press too fast or too slow, the board ignores the input. Think of it as a 1-2-3 pulse.
Ensure the unit is in Standby Mode (no lights). Pick any three buttons. Press them in the same sequence, three times in a row. You have about 6 seconds for each 3-button set. If it doesn’t work, wait 30 seconds and try a slightly slower, even cadence.
The “Heated Dry + Normal” Mechanical Trigger
For models with tactile buttons instead of touchscreens, use the “Heated Dry” and “Normal” cycle buttons. With the unit in standby, press and hold “Heated Dry” for exactly three seconds. Release it. Immediately hold “Normal” for three seconds. If successful, all cycle LEDs will light up. Some models will show “E:1” or “F:0” on the display.
Navigating the Service Mode
Once you are in, use the “Start” or “Resume” button to cycle through test phases. Avoid mashing buttons; some inputs trigger a “Calibration Mode” that could lock the door latch unexpectedly. Watch the LED indicators; if a specific cycle light blinks, that part of the machine is being tested.
Decoding Common Error Codes
Interpreting LED Blink Patterns
Maytag uses blink codes for many faults. A “1-2” blink sequence usually means an “Inlet Water” issue. It blinks once, pauses, then blinks twice. This tells the board the water pressure is too low or the intake valve is stuck. Always verify your house water source before blaming a sensor.
Heater and Sensor Faults (E:X-Y Format)
If you see “E:2-1,” you are likely dealing with a thermistor failure. If the dishwasher can’t see the water temp, it skips the heated dry and hot wash cycles. Run the “Heater Verification” sub-test. If the temperature doesn’t rise by 2 degrees within 3 minutes, your heating element or thermal fuse is likely bad.
Drainage and Flood Logic
“F:4” codes point to drainage issues. If the OWI (Optical Water Indicator) detects water after a drain cycle, you probably have a clogged check valve or drain hose. Run the drain pump test. A grinding noise indicates the pump is struggling with physical debris, while silence indicates an electrical failure.
Emergency Recovery and Factory Reset
Hard Reset vs. Factory Reset
A “hard reset” (flipping the breaker) doesn’t always clear deep firmware bugs. To do a soft reset, get to the final stage of the service cycle (usually the “Done” light). Press and hold “Start” for five seconds to wipe the RAM.
Factory Default Restoration
If you replaced a control board and need a fresh start, cycle through until the display shows “88.” Press “High Temp” or “Sanitize” while holding “Start.” The lights will flash to confirm that all custom cycles and preferences were wiped. Let the unit sit for 5 minutes after a reset so the capacitors discharge fully.
Common Pitfalls and Avoiding ‘Infinite Loops’
Avoiding the ‘Service Loop’
The most common mistake is failing to close out of testing. Don’t just unplug the unit while it’s in a test. Press “Cancel/Drain.” Let the machine run its 60-second pump-out cycle completely. If you open the door to interrupt the pump-out, the board may stay trapped in the test loop.
The Door Latch Trap
Never force the door if you get an error code in test mode. The diagnostic software often powers the door solenoid as a safety catch. If you pull the handle while it’s latched, you might break the plastic catch. Wait until all lights are dark. If the display stays on, pull the plug and leave it for 60 minutes for a complete power-on reset.
📌 Save to Pinterest
Frequently Asked Questions
What is the ‘1-2-3’ button sequence?
This is a handshake protocol. It tells the BIOS to ignore standard wash cycle logic and switch to the testing firmware. It prevents accidental entry during everyday use.
Will diagnostic mode delete my custom settings?
Just entering the mode won’t delete anything, but if you perform a full factory reset through the menu, you will lose your custom cycle overrides and soil-level memory.
How do I exit if the machine is frozen?
If the cancel button doesn’t work, perform a hard power-down. Flip the breaker and leave it off for at least 60 seconds. This drains the capacitors on the main board and forces a hard reset.
Why does the light flash after the test?
A flashing light (like “Clean” or “Start”) confirms that the board has recorded an error code. Look closely at the blink pattern—e.g., three short flashes followed by two long ones—and map that to your service manual.
Does this void my warranty?
No. Diagnostic mode is a built-in feature for maintenance. As long as you aren’t modifying the hardware or hacking the circuit board, your warranty remains intact.