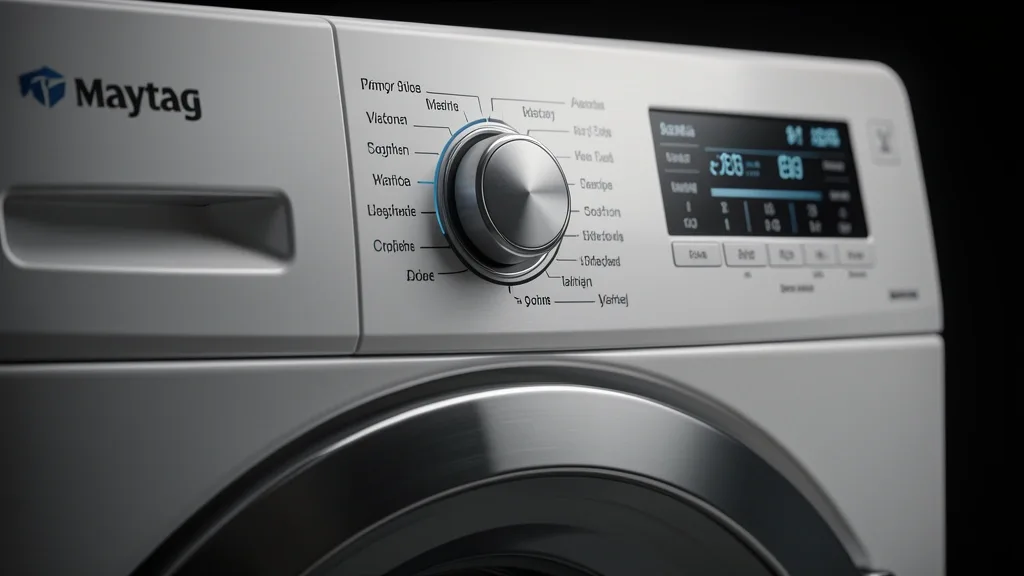
Mastering your maytag washer settings requires more than just pushing buttons. It demands an understanding of the sensor-based architecture powering modern high-efficiency (HE) laundry appliances. As these units move away from the predictable mechanical timers of the past, you need to adapt to a logic-driven interface built to optimize water usage, energy consumption, and fabric care.
Key Takeaways
- Maytag’s digital boards require specific recalibration for effective sensing.
- Indicator lights serve as your primary diagnostic tool for cycle interruptions and load imbalances.
- Leveling and calibration are non-negotiable prerequisites that prevent the common ‘sensing’ timeout error.
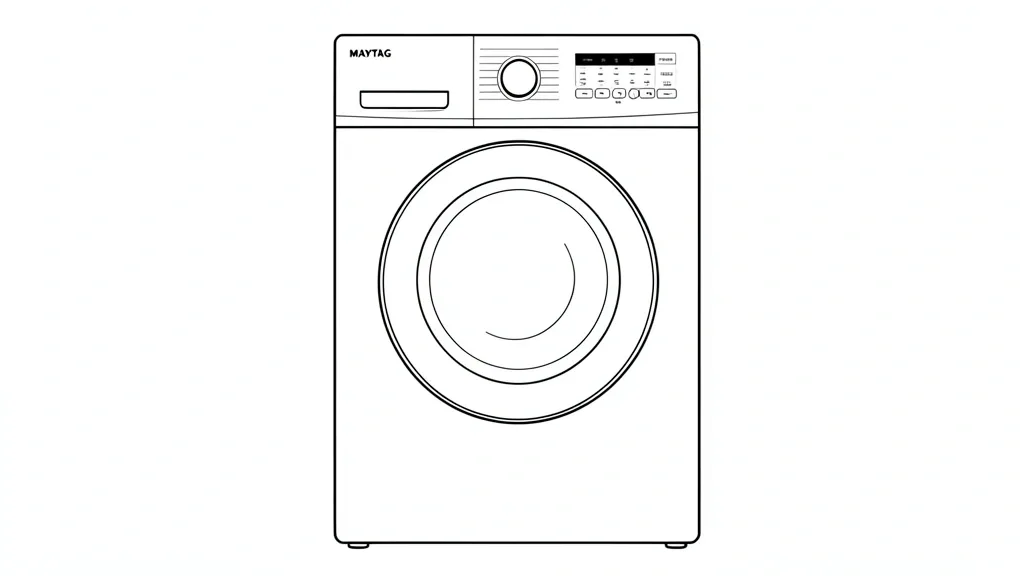
Technical Overview of Maytag Control Systems
The evolution of Maytag laundry appliances is a move from simple gear-driven timers to complex, digitized control panels. Historically, your cycle selector was a physical switch closing metal contacts. Today, that dial is just an input sensor sending low-voltage signals to an electronic control board.
This commercial technology relies on integrated microprocessors. These boards monitor inputs like load size, motor torque, and water levels before initiating the wash cycle.
Modern HE models use proprietary algorithms to switch between agitator and impeller movement. By calculating the resistance against the drum, the board modulates motor frequency to balance the wash action, protecting your clothes from unnecessary mechanical strain.
A common mistake is treating digital interfaces like old analog dials. When you rotate the selector, the board enters a “sensing mode” to probe drum weight. Opening the lid or toggling settings during this phase can confuse the board and break program synchronization.
If your washer stops responding, remember that the EPROM chip on the motherboard is sensitive to voltage spikes. A hard power cycle—unplugging the unit for ten minutes—is the standard way to clear transient memory errors and “reboot” the system.
The modern interface also prevents user error through locked parameters. For example, high-spin or heavy-soil settings are often disabled if the board detects that a water level override violates HE detergent regulations. This is a software safeguard designed to protect your machine’s suspension.
The Diagnostic Matrix: Interpreting Indicator Lights
Interpreting the interface when the machine stalls is a critical skill for any owner. When a Maytag cycle pauses, the difference between a blinking ‘sensing’ light or a flashing ‘lid lock’ light tells you exactly what the computer is thinking.
A flashing light on the “Done” or “Wash” indicators usually points to a specific fault code. If these blink in a sequence, the board has hit a communication error with its peripheral components.
Users often mistake a “sensing” timeout for a broken motor. In reality, the board is performing a “spin-sensing” reset. If the load is too unbalanced, the system detects a centrifugal variance that exceeds safety specs and cancels the cycle to prevent chassis damage.
To avoid this, keep your laundry distributed evenly. If the unit still blinks error codes, you may need to enter “service diagnostic mode” to clear the fault history and reset the board to factory defaults.
| Symptom / Error | Possible Cause | Quick Check | Resolution |
|---|---|---|---|
| Lid Lock Light Flashing | Interlock Malfunction | Check for physical debris | Replace lid strike or switch |
| ‘Sensing’ Stalled | Unbalanced Load | Redistribute items | Execute calibration sequence |
| Rapid Flashing LED | Fault Code Present | Count the blink cycles | Refer to manual fault index |
| No Response to Start | Control Board Freeze | Hard power reset | Clear cache/unplug for 10m |
Learn to distinguish between a cycle pause and a critical error. A solid light signifies a normal operation. Erratic flashing is an alert. If the “spin” light flashes, the drive system is rejecting your load size detection due to instability.
Avoid the temptation to override the system with extra water or heavy loads. Because these machines are highly sensitive, bypassing “sensing” logic with non-standard overrides can trigger a permanent lock-out on newer control boards.
Prerequisites for Proper Machine Calibration
Before you select a cycle, the washer must be physically calibrated to its environment. The most common cause of motor failure and “sensing” errors is a failure to properly level the feet. A washer that isn’t level triggers a load-sensing error every time it attempts a high-speed spin.
Use a bubble level to check front-to-back and side-to-side orientation. Even a deviation of a few millimeters tilts the drum, forcing the machine to overestimate load weight and stop the agitator prematurely.
Water pressure is the other hidden variable. If your home’s inlet valves don’t provide steady pressure, the HE sensors fail to report “full” in the programmed time window. The machine assumes a leak or valve failure and halts the process.
Before configuring maytag washer settings, perform a recalibration sequence. This usually involves rotating the dial—left, right, right, right, left, right—to enter firmware calibration mode, allowing the board to map the tub’s movement relative to its orientation.
Always verify your electrical grounding. Control boards are highly susceptible to electromagnetic interference (EMI). Ungrounded wires create “ghost signals” that trigger the “sensing” light even when the drum is empty.
Treat the installation as a technical foundation rather than a cosmetic chore. Without a level machine, even the best software settings will fail, leading to poor cleaning results and expensive service calls.
Step-by-Step Workflow for Primary Wash Cycles
The Heavy-Duty/Bedding Workflow
1. Load your items loosely around the edges of the wash plate—never wrap them around the center agitator. 2. Turn the selector knob to ‘Bulky/Bedding’. 3. Select ‘Deep Fill’ in the water level menu to maximize capacity. 4. Set the wash temp to ‘Hot’ to break down organic oils. 5. Press and hold ‘Start/Pause’ for three full seconds.
The Delicates/Quick Wash Workflow
1. Balance the load evenly to prevent out-of-balance errors. 2. Turn the selector to ‘Delicates’. 3. Navigate to the cycle options and select ‘Cold’ water to avoid shrinkage. 4. Choose ‘Low’ spin to minimize fabric stress. 5. Press the ‘Start’ button once; for most modern digital displays, a single tap is sufficient.
The Everyday Load (Mixed Color) Workflow
1. Sort items by weight, not just color; don’t mix heavy denim with thin cotton tees. 2. Turn the dial to ‘Normal’. 3. Select ‘Auto-Sensing’ for the water level to let the onboard sensors weigh the load. 4. Set the ‘Soil Level’ to ‘Medium’ to calibrate agitation time. 5. Add the correct amount of HE detergent to the dispenser before starting.
Emergency Recovery: The Sensing-to-Complete Reset
Many users struggle with a “sensing loop” or an issue where the machine jumps from “Sensing” to “Complete” without adding water. This happens if the wash plate (the bottom agitator) becomes misaligned or stuck due to mechanical drift. Before calling a tech, try the “Manual Spin-the-Tub” reset.
Unplug the unit for 60 seconds to clear the board cache. Reconnect power, open the lid, and manually rotate the wash plate clockwise for three full rotations, then counter-clockwise for three. This forces the sensors to recalibrate the drum position. Once you feel a slight mechanical “click,” the sensors have reset. Close the lid and restart your cycle. In 80% of cases, this manual rotation clears the error by recalibrating the internal Hall effect sensor.
Common Pitfalls and Sensor Calibration Errors
The most common sensor failure is the “Overload-Induction” error. Sensors in HE machines rely on the free movement of the tub to calculate dry weight. If the load is too heavy, the wash plate cannot oscillate during the sensing phase, and the board defaults to “Complete” to protect the motor. Keep your load below the agitator line, even if you still have physical space.
Using too much detergent is another major pitfall. HE washers use high-concentration formulas. Too much soap creates a “suds cushion.” When the water sensors attempt to measure fill levels via conductivity pulses, the suds interfere with the reading. The machine assumes it is already full of water and terminates the cycle, leaving your clothes soapy and unwashed.
Long-Term Care and Routine Maintenance Cycles
Avoid mechanical drift and sensor buildup with a strict “Clean Washer” schedule. Every 30 loads, run the ‘Affresh’ or ‘Tub Clean’ cycle. This process dissolves hard water deposits and soap scum on the weight sensors and temperature probes. Over time, mineral buildup desensitizes thermometers, often causing the machine to misinterpret “Cold” for “Hot.”
Place one cleaner tablet directly into the center of the empty basket. Do not put cleaner in the dispensers. Use the ‘Clean Washer’ cycle or the ‘Heavy Duty’ cycle with the hottest water possible. This prevents future error codes, ensures the lid-lock engages smoothly, and extends the life of your internal sensors by preventing mineral-based corrosion.
📌 Save to Pinterest
Frequently Asked Questions
Why does my Maytag washer stay on ‘Sensing’ and never start?
This is usually caused by an out-of-balance load or an inability of the Hall effect sensor to register drum rotation. Rearrange your clothes for equal weight distribution or use our manual “spin-the-tub” reset procedure.
Should I leave my settings on ‘Deep Fill’ for every load?
No. ‘Deep Fill’ uses significantly more water and energy and is usually unnecessary. Only use this for bulky bedding, heavy denim, or heavily soiled items that require extra volume.
How do I manually reset the control board?
Perform a hard reset by unplugging the machine for at least 60 seconds. This allows the capacitors on the control board to discharge, clearing out minor software glitches before you plug it back in.
What is the difference between ‘Normal’ and ‘Power Wash’?
‘Normal’ is for maximum energy efficiency with moderate agitation. ‘Power Wash’ uses higher water temperatures and more aggressive pulses to break down tough, set-in stains on work clothes.
Why does my washer finish the cycle without adding water?
This happens when the machine detects an error during the initial sensing phase, often due to a lid lock malfunction or an “overload” detection. Verify the drum isn’t overloaded and perform a power reset to clear the internal logic error.