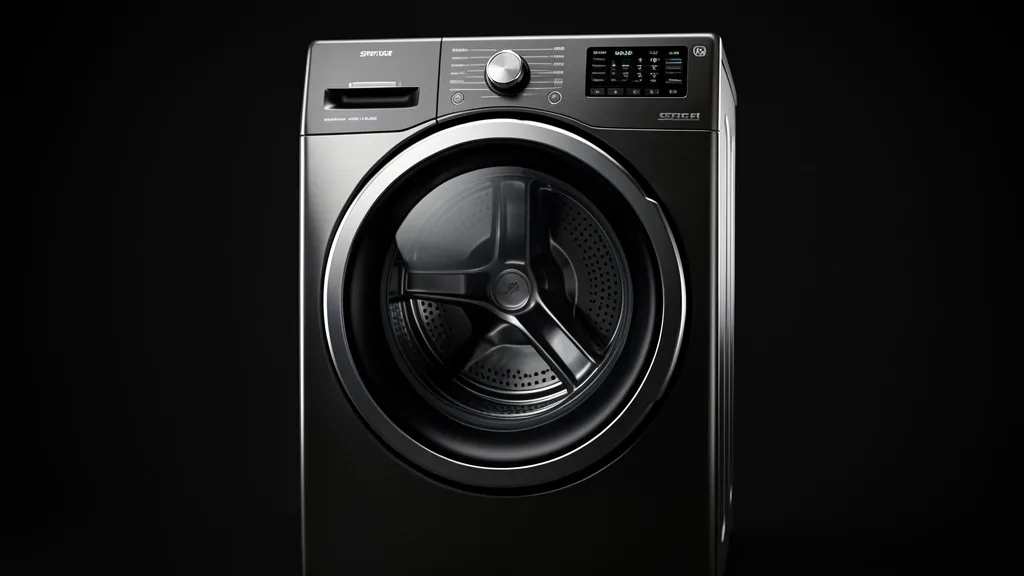
Mastering your speed queen dryer settings requires more than a quick look at the manual. It demands a clear understanding of the mechanical and electronic logic inside these heavy-duty machines. Whether you are using a commercial-grade rotary dial or a modern digital interface, getting perfect laundry results depends on how well you balance hardware architecture with moisture-sensing algorithms.
Key Takeaways
- Master the operational differences between mechanical dials and DC5 electronic control boards.
- Learn how to use manual overrides when auto-sensing fails to handle mixed loads.
- Identify hidden diagnostic protocols to check sensor health and heating status before calling a tech.
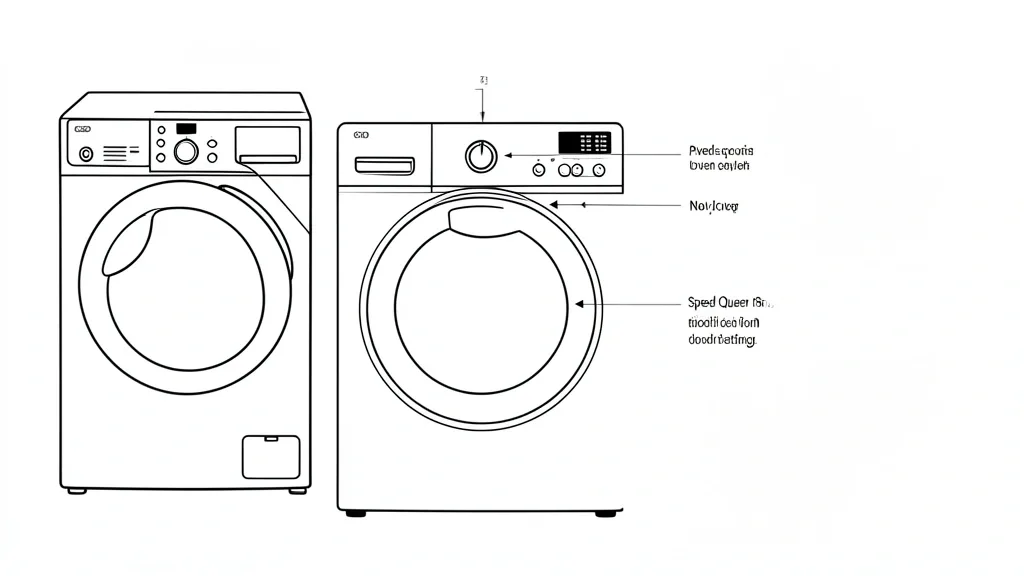
Anatomy of Speed Queen Control Architectures
Speed Queen builds machines around two distinct designs: the proven mechanical dial and the advanced DC5 electronic board. Mechanical units use electromechanical switches and fixed-heat timers. They offer a predictable, straightforward user experience.
When you pick a cycle on a mechanical unit, the drum rotates for a set time. These units ignore moisture sensor issues because they don’t use them, making them perfect for high-volume, uniform loads where you want to minimize user error.
The DC5 electronic board is a different beast. It uses sensor-driven logic to monitor electrical conductivity between sensors as clothes tumble. When these sensors detect an ionic bridge from damp fabric, the board keeps the heat running to prevent damp spots in your laundry.
A common pain point with the DC5 interface is the button multiplexing. Users often struggle with the overlap between “Signal” alerts and “Steam Boost.” On many boards, tapping or holding these buttons triggers hidden sub-menus that adjust audio or reset factory defaults.
The electronics are sensitive to your environment. Dry, synthetic-heavy loads build up static electricity that confuses the sensor voltage. If this happens, official technical support suggests using anti-static measures to keep sensor data accurate.
Unlike mechanical dials, the DC5 offers an extended tumble feature. This isn’t just for fluffing; it’s a calculated cool-down phase that keeps wrinkles from setting in the fabric once the moisture target is hit.
The Diagnostic Matrix: Identifying Cycle Failures
If your auto-sensing cycle runs too long or cuts off early, the signal-to-resistance chain is likely broken. The sensors need minerals in your water to work. If you use soft water or “residue-free” detergents, the lack of conductivity can cause the dryer to “short cycle.”
| Symptom / Error | Possible Cause | Quick Check | Resolution |
|---|---|---|---|
| Clothes remain damp | Low mineral/soft water | Check sensor bars for wax | Clean sensors with rubbing alcohol |
| Over-drying/Shrinkage | Sensor sensitivity offset | Check for dryer sheets | Remove lint screen buildup |
| No heat cycle | Thermal Fuse limit | Check airflow/vents | Check heating element |
| Non-intuitive buttons | Multiplexing conflict | Hold ‘Signal’ 5 seconds | Reset to Factory Default Mode |
Dryer sensors work by measuring electrical resistance as your laundry brushes against them. If your clothes are too dry or lack water minerals, the machine thinks the job is done. This leads to the “damp-cycle-end” issue.
Static is the silent enemy of sensor accuracy. High-friction synthetic loads create static charges that mimic the electrical signal of wet fabric, tricking the board. Also, dryer sheets leave a waxy film that coats the sensor bars.
To fix this, scrub the sensor bars with a cloth dipped in isopropyl alcohol. This wipes away the fabric softener film and restores the sensor’s factory-rated sensitivity.
DC5 units have hidden diagnostic modes. By holding specific button combinations during power-up, you can access a service menu to view error codes for thermistor or ignition issues. Try this before you pay for a service call.
If mixed loads constantly fail the auto-sensing test, don’t force it. Electronics are programmed for specific conditions and can’t perform miracles. When in doubt, switch to a manual timer to guarantee your clothes are actually dry.
Pre-Cycle Prerequisites for Maximum Efficiency
Efficiency starts before you touch the dial. Maintaining your lint screen is a critical airflow requirement, not just a fire safety tip. A clogged vent creates backpressure that forces the thermostat to kill the motor before the sensors can read the load.
Drum loading matters, too. The sensors need clothes to cascade over them. If you overstuff the drum, clothes “ball up.” The outer layers keep the inner ones away from the sensors, leaving you with a wet center and bone-dry edges.
To optimize your Speed Queen dryer settings, group clothes by weight and fabric type. Never mix heavy denim with lightweight synthetics. The synthetics dry in minutes, triggering the sensors and leaving the heavy cotton wet.
If you use Steam Boost, check your water pressure. Low pressure stops the nozzle from atomizing correctly, which leads to water pooling in the drum instead of a fine mist. This eventually wears down the heating element.
Using extended tumble? Ensure the room has space for the heat to escape. If your laundry closet is tiny and poorly ventilated, the heat can get trapped, causing the board to trigger a thermal shutdown to protect the components.
Finally, confirm your vent path is clear. No digital sensor can overcome the laws of physics. Keep the exterior exhaust port clean to maintain consistent dry times and extend the life of your heating parts.
Optimizing Workflows for Mixed-Fabric Loads
Step-by-Step Sensor Bypass Workflow
Speed Queen’s “Auto-Sensing” cycle shuts off when it hits a resistance threshold. In mixed loads, the thinner items dry first and trigger the shut-off, leaving items like towels damp. Use this “Hybrid Extraction” workflow to beat the logic:
- Load Preparation: Separate heavy items like denim or blankets from delicates. If you mix them, put the heavy items on the bottom to ensure they touch the floor-level sensors.
- The “Manual Override” Strategy: For high-density loads, skip “Auto-Sensing.” Move to “Time Dry.” Select 45 minutes on “Medium” or “High” heat to force the machine to keep running regardless of what the moisture sensors say.
- Post-Cycle Intermediate Check: If the cycle stops early, don’t restart an “Auto” cycle, as the sensor thinks the load is already dry. Switch straight to “Time Dry” for 15–20 minutes to finish the heavy pieces.
- UI Navigation: Turn the knob to “Time Dry,” then cycle the “Temperature Control” button until the LED matches your heat preference. Always press “Start/Pause” if you are extending a cycle after a reset.
Switching from “Auto-Sensing” to “Time Dry” bypasses the software bottlenecks that plague heterogeneous loads. This ensures the drum keeps moving and the heat keeps flowing for as long as you specify.
Emergency Recovery and Component Reset
Differentiating Control Lockups from Hardware Failures
Modern control boards can “freeze” due to power surges or software glitches. Before assuming your machine is broken, try a hard reset.
- Hard Power Reset: Unplug the dryer or flip the breaker off. Leave it for at least 60 seconds. This bleeds the capacitors on the board and clears out temporary logic errors.
- Identifying Thermal Trip: If the dryer runs but won’t heat, check the vent and screen first. A clogged vent triggers the high-limit thermostat—a safety shutoff to prevent fire. If the vent is clean, the heating element (electric) or igniter (gas) may be the culprit.
- Warranty Protocol: If your unit is less than 6 months old, do not open the control housing. That voids your warranty immediately. Find your serial number, then call support.
- Component Lockdown: If the unit hums but won’t spin, or runs cold, stop using it immediately. “No heat” scenarios in brand-new units are often just sensor miscalibration, but they shouldn’t be ignored.
Check if “Control Lock” is on (often shown as “LOC”). Consult your manual to find the specific button combo—usually holding “Signals” or “Temp”—to deactivate the lock.
Long-Term Thermal Management and Care
Preventive Maintenance for Airflow Integrity
Your heating system works best when it can dump moisture-rich air quickly. When airflow is blocked, the heating element cycles on and off too fast, killing the thermal fuse and heating coils over time.
- Quarterly Ventilation Audit: Every three months, disconnect the vent hose and vacuum out the transition duct. Check the exterior hood to ensure it isn’t blocked by dust or debris.
- Lint Trap Refinement: Clean the screen after every load, but occasionally wipe it with a damp cloth to remove waxy laundry detergent and softener buildup. That residue suffocates your airflow.
- Mechanical Leveling: Everything in this machine is sensitive. Use a leveler to ensure all four legs reach the floor equally. A wobbly unit vibrates, leading to micro-fractures in the control board soldering.
- Thermal Efficiency Habits: Stop over-drying. It wastes money and beats up your heating relays. For synthetics, use lower temperatures to prevent those limit switches from clicking on and off unnecessarily.
Treat your dryer like a system. Airflow, stability, and board health are all connected. Keep the ducts clear and the level solid to get the best return on your investment.
📌 Save to Pinterest
Frequently Asked Questions
Why does my Speed Queen leave heavy clothes damp on Auto-Sensing?
Auto-sensing uses conductivity strips. If you mix heavy towels with thin shirts, the shirts dry first. The sensors tell the machine to stop before the towels are dry. To fix this, sort your loads or use “Time Dry” for uniform results.
How do I override the moisture sensors for custom drying times?
Rotate the selector dial to “Time Dry.” This turns off the moisture sensors entirely, allowing you to set a fixed duration regardless of the load’s moisture level. This is the best way to handle heavy blankets or denim.
Is there a way to separate the Steam Boost and Signal button functions?
Many models require a quick tap for one feature and a 3-second hold for the other. Check the symbols near the buttons. If the “Signal” icon is smaller, it almost always requires a long-press. If it still doesn’t work, power cycle the unit for 60 seconds.
What causes a new Speed Queen dryer to lose heat after minimal use?
It is almost always a tripped high-limit thermostat due to a restricted vent or a faulty heating relay. Since the machine is new, do not attempt to repair it yourself—call an authorized service provider to keep your warranty valid.
Why is the extended tumble cycle signal not sounding on my unit?
The end-of-cycle signal usually triggers when the main drying cycle ends, not when the extended tumble ends. Check your manual to see if you can program the signal for the tumble phase, as this varies by model.