
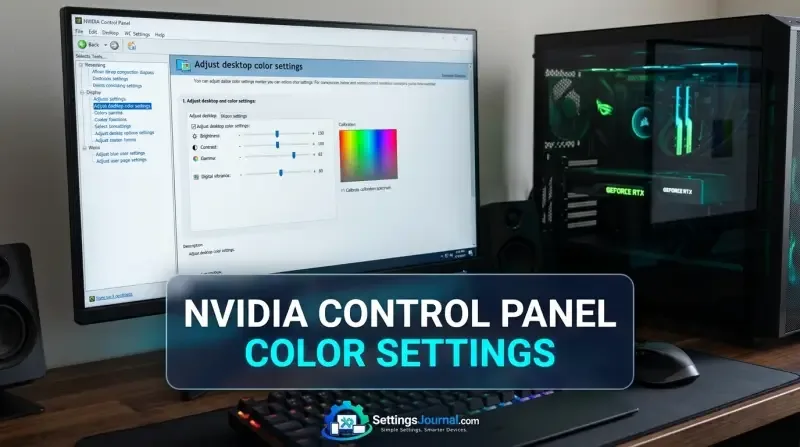
Master Calibration Matrix Table
The following table outlines the standard operational ranges for NVIDIA Control Panel color parameters. These values are based on the manufacturer’s technical documentation for the GeForce GPU driver suite.
| Parameter | Min Value | Max Value | Default Value | Operational Impact |
|---|---|---|---|---|
| Brightness | 0% | 100% | 50% | Adjusts black level floor |
| Contrast | 0% | 100% | 50% | Adjusts white level ceiling |
| Gamma | 0.50 | 1.50 | 1.00 | Adjusts mid-tone luminance |
| Digital Vibrance | 0% | 100% | 0% | Adjusts color saturation intensity |
| Hue | 0 | 359 | 30 | Rotates color spectrum phase |
| Video Brightness | 0% | 100% | 50% | Video-only black level offset |
| Video Contrast | 0% | 100% | 50% | Video-only white level gain |
| Video Saturation | 0% | 100% | 50% | Video-only color intensity |
Operational Pipeline Dynamics
The NVIDIA GPU color pipeline processes data through a specific sequence of operations. Understanding this order is essential for maintaining signal integrity. When you modify desktop color settings, the GPU applies a 3×3 Color Space Conversion (CSC) matrix before the Gamma and Look-Up Table (LUT) processing stages. Because Hue and Digital Vibrance are applied post-gamma, any adjustments made to these parameters cannot be perfectly reversed by simply returning the Gamma slider to its default position. This is because the mathematical transformation of the color space has already occurred in a non-linear state.
For those interested in the technical architecture of these adjustments, the Frame.io technical breakdown of the NVIDIA Control Panel provides additional context on how these pipelines interact with professional color grading workflows. Always prioritize hardware-level monitor adjustments (OSD menus) before resorting to GPU-side software adjustments to preserve the maximum bit-depth of the signal.
Display Output and Dynamic Range Configuration
One of the most frequent errors in display configuration is the incorrect setting of the Dynamic Range. By default, many HDMI connections default to ‘Limited’ (16-235) range, which is intended for television broadcast standards. This results in crushed blacks and clipped whites on PC monitors, which operate on a ‘Full’ (0-255) range. To correct this, navigate to the ‘Change resolution’ page, select your display, and ensure the ‘Output dynamic range’ dropdown is set to ‘Full’.
Furthermore, ensure the ‘Output color format’ is set to ‘RGB’ unless you are specifically using a YCbCr format for compatibility with legacy hardware. If your monitor supports 10-bit color, verify that the ‘Output color depth’ is set to 10-bit to prevent banding in gradients. This configuration is detailed further in the official NVIDIA monitor calibration guide, which emphasizes the importance of matching the output signal to the native capabilities of the display panel.
Professional Calibration Workflow
Professional calibration requires a controlled environment to ensure accuracy. Before initiating any software-based adjustments, allow your monitor to reach thermal equilibrium by leaving it powered on for at least 20 to 30 minutes. This ensures that the backlight and liquid crystal response times have stabilized. Always set your display to its native resolution and refresh rate before applying any ICC profiles or NVIDIA Control Panel adjustments.
When integrating Windows Color Management with NVIDIA settings, ensure that your ICC profile is correctly loaded. If you are using a hardware colorimeter, the NVIDIA Control Panel should generally be left at default settings (Gamma 1.00, Brightness 50%, Contrast 50%) to allow the calibration software to build the LUT without interference from pre-existing software offsets.
- Verify monitor is set to native resolution and maximum refresh rate.
- Allow 30 minutes of thermal warm-up time for the display panel.
- Set Output Dynamic Range to ‘Full’ (0-255) for all HDMI/DisplayPort connections.
- Reset NVIDIA Control Panel settings to factory defaults before applying new profiles.
Desktop Versus Video Color Pipelines
The NVIDIA Control Panel maintains a strict separation between desktop color settings and video color settings. The ‘Adjust desktop color settings’ page affects the entire Windows environment, including the desktop, browser windows, and applications. In contrast, the ‘Adjust video color settings’ page is designed specifically for media playback. By default, this is set to ‘With the video player settings’, which allows applications like VLC or MPC-HC to manage color output. If you choose ‘With the NVIDIA settings’, you can force specific color profiles for video content without altering the appearance of your desktop environment.
Troubleshooting Common Color Artifacts
If you observe banding in dark gradients, it is often a sign of an incorrect bit-depth setting or a conflict between the GPU output and the monitor’s internal processing. First, check the ‘Output color depth’ in the resolution menu. If the issue persists, reset all color settings to default. Clipping, where details in shadows or highlights are lost, is almost always caused by an incorrect Dynamic Range setting. Ensure that the ‘Full’ range is selected, as ‘Limited’ will artificially compress the signal, causing the GPU to discard data that the monitor is capable of displaying.
Community consensus indicates that ‘Digital Vibrance’ is highly subjective and often overused. Users report that values exceeding 80% lead to significant color clipping and loss of detail in high-saturation areas. Technicians advise that if you find yourself needing to push Digital Vibrance beyond 75% to make an image look ‘correct’, the underlying monitor profile or white point is likely misconfigured.
Expert Consensus on Digital Vibrance
Digital Vibrance is a saturation-boosting algorithm that increases the intensity of colors without affecting the luminance of the entire image. In competitive gaming, users often set this between 70% and 80% to improve target visibility against complex backgrounds. However, for color-accurate work, this should remain at 0%. Increasing this value shifts the color coordinates, which can lead to inaccurate representation of skin tones and neutral grays. Use this setting sparingly, as it is a destructive process that cannot be undone once the image is rendered.
Verification & Component Tolerance Notice: This guide assumes the use of the latest stable NVIDIA GeForce GPU driver suite. Hardware-level tolerances in monitor panels may cause slight variations in how these software settings manifest across different display models.
Frequently Asked Questions
Should I use NVIDIA color settings or Windows default settings?
You should use NVIDIA color settings when you need to override display-specific limitations or apply custom gamma ramps that Windows default management cannot handle.
Why does my screen look washed out when using HDMI?
Your screen likely defaults to ‘Limited’ (16-235) dynamic range, which clips blacks and whites; change this to ‘Full’ (0-255) in the NVIDIA Control Panel resolution page.
Does changing Digital Vibrance affect my monitor’s hardware?
No, Digital Vibrance is a software-based post-processing adjustment applied by the GPU and does not physically alter your monitor’s hardware components.
How do I ensure my color calibration remains consistent?
Ensure your monitor has reached thermal equilibrium (20-30 minutes of use) and verify that your ICC profile is correctly loaded in Windows Color Management.
Can I adjust video colors without affecting my desktop?
Yes, the NVIDIA Control Panel provides a dedicated ‘Adjust Video Color Settings’ page that operates independently of your desktop color settings.