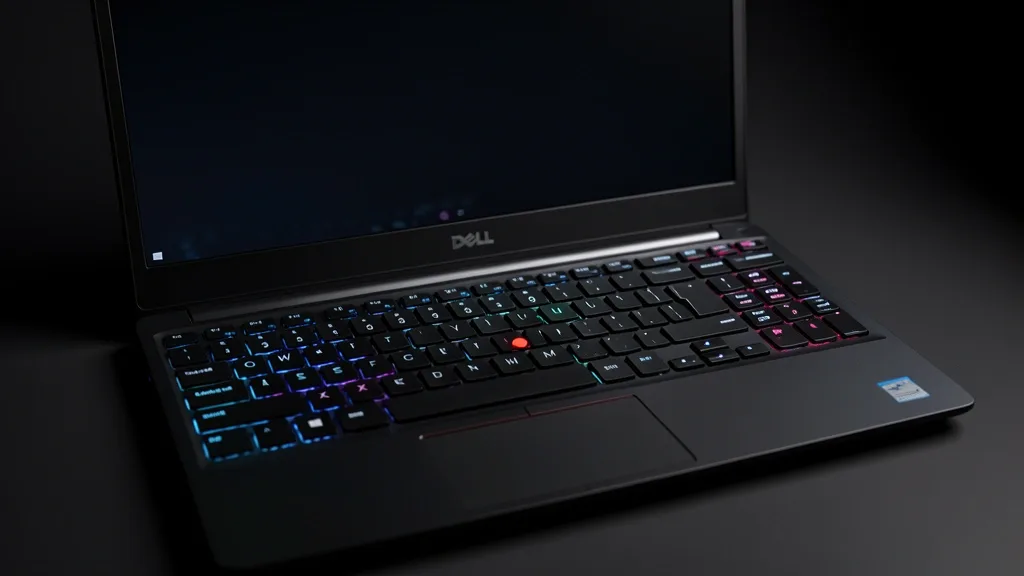
Optimizing keyboard backlight settings for your Dell PC requires a solid understanding of how firmware commands meet your Windows environment. As a field specialist, I often see users struggling with lighting issues caused by a sync error between the software and the physical hardware. This guide provides the technical steps needed to troubleshoot and stabilize your system’s lighting.
Key Takeaways
- Keyboard backlighting is managed by the integrated controller; if hardware check commands fail in BIOS, software settings won’t work.
- The FnLock state frequently overrides hardware toggle keys, preventing visual feedback during brightness adjustments.
- Always verify your internal parts list via your unique Service Tag before assuming a driver update will fix an uninstalled hardware feature.
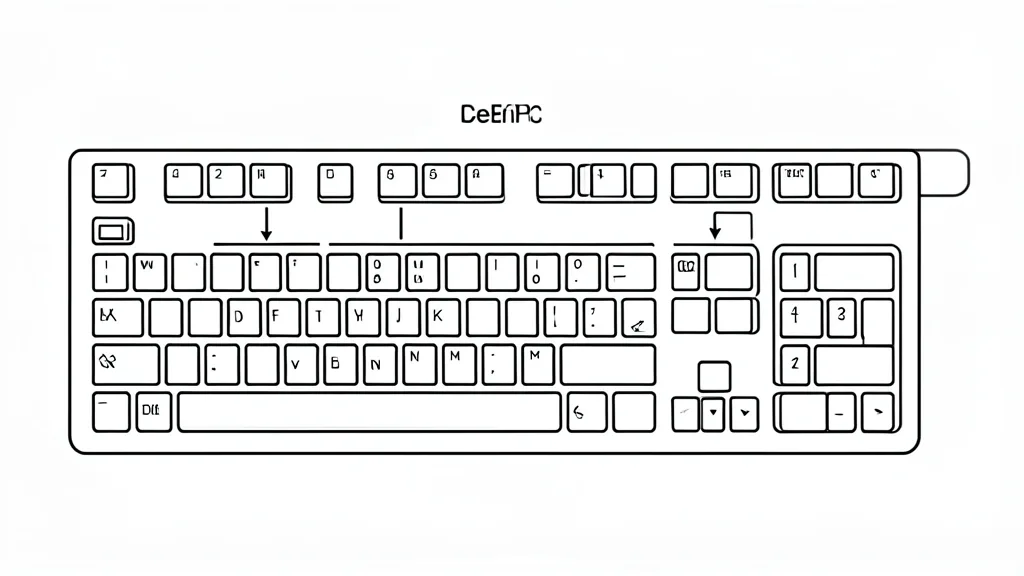
Technical Overview of Dell Keyboard Illumination
At the architectural level, Dell systems use an integrated keyboard controller (embedded within the EC) to manage power distribution to the electroluminescent keyboard cable. This controller acts as the gatekeeper between the SMBIOS and the physical LED matrix.
When you trigger a brightness change, the command travels from the firmware, through the Dell QuickSet driver (or Dell Power Manager service), and settles into the motherboard’s register. If the system is in a low-power state or if your Windows power plan is tightly restricted, these settings can be throttled.
A common failure point is the Fn key function lock. If your “FnLock” is on, your F1-F12 keys may be sending primary commands like “Refresh” or “File Edit” instead of the hardware-based commands like the backlight toggle. This often looks like a hardware failure when it is actually just a mapping issue.
Dell also uses a subsystem where the keyboard illumination timeout is defined in the BIOS. If the timeout is set to “0 seconds” (Always Off) during inactivity in your BIOS System Configuration, the Windows-side UI (Dell Power Manager) might look like it’s working, but the LED array will never get the voltage it needs to turn on.
OS-level software just acts as a UI for underlying ACPI calls. If the ACPI drivers in your Device Manager keyboard tree are missing or corrupt, the hardware stays in its default state, ignoring all “Brighten” or “Dim” requests.
To see exactly how hardware talks to the OS, take a look at the Microsoft ACPI driver specifications, which define the expected behavior for hardware controls on Windows PCs.
Diagnostic Matrix: Hardware vs. Software
Before you run complex driver reinstalls, we need to separate a backlight hardware toggle failure from a Windows software glitch. The best method is to bypass the OS entirely by using the Pre-boot environment.
Power on your machine and immediately tap F2 to enter Dell BIOS System Configuration. Check the “System Configuration” or “Keyboard Illumination” tab. If the backlighting option is missing entirely here, your motherboard controller doesn’t detect an LED-equipped keyboard.
If the option is there but the lights don’t fire up inside the BIOS menu, you likely have a physical connection defect. The ribbon cable connecting the keyboard to the motherboard for lighting power may have come loose during transit or temperature changes.
| Symptom / Error | Possible Cause | Quick Check | Resolution |
|---|---|---|---|
| Backlight off in BIOS | Missing Hardware/Defect | Inspect F10/F6/F10 key icon | Verify parts list via Service Tag |
| Fn-Lock active | Key mapping conflict | Check Lock light on Esc key | Toggle Fn+Esc to restore F-keys |
| Lights unresponsive | ACPI/Driver failure | Check Device Manager | Reinstall Dell Power Manager |
| Timeout issue | Power plan settings | Review BIOS System Config | Adjust inactivity timer in BIOS |
Do a physical verification. Look at your Function keys (usually F6, F10, or the right-arrow key). If you don’t see a keyboard-with-rays icon printed on them, your specific build likely lacks the hardware. This is a common point of confusion for users switching from premium business units to budget-tier models.
If the BIOS test confirms the hardware is fine, boot into Windows and open Dell Power Manager. If the illumination control is grayed out, you have an abstraction layer failure. This is often fixed by updating the system management software, which translates your clicks into BIOS register updates.
Finally, test the LED function by pressing the key while the computer is booting. If the keys light up during boot but go dark as soon as the Windows login screen appears, you have a software override or a corrupt Power Plan policy.
Prerequisites for Troubleshooting
Checking if your unit was manufactured with this hardware is the most important step for resolving keyboard backlight settings for your Dell PC. Many users assume all keyboards are backlit, but Dell manages a complex “Build-to-Order” catalog.
Go to the Dell Support site and enter your unique Service Tag to pull your Service Tag support specs. In the “System Configuration” tab, search for “Keyboard” or “Backlit.” If the description says “Non-backlit” or just “Internal Keyboard,” your troubleshooting ends here; no driver or update will enable LEDs that don’t exist.
Beyond the part check, ensure you have the latest Dell QuickSet driver and Chipset drivers. These provide the hooks for the keyboard controller to communicate with the OS. Without current chipsets, function keys are often dead in the eyes of the OS.
Verify your Device Manager keyboard driver. If you see multiple entries or a “HID Keyboard Device” with a yellow exclamation mark, the Windows power state transition is failing. Right-click the base “HID Keyboard Device,” choose “Uninstall Device,” and do a cold reboot to force a clean driver enumeration.
Check your physical environment, too. If you are using a dock (like the WD19/WD22 series), external power delivery can sometimes override local machine lighting profiles. Unhook all external peripherals to create a clean baseline before you tweak registry settings or flash firmware.
Step-by-Step Workflow for Enabling Backlight
Phase 1: Verification of Function Lock (FnLock)
Before tweaking the backlight, find out if your F-keys are mapped to media functions or standard F-keys. Press Fn + Esc. You should see a small padlock icon or a light on the Esc key, which means your F6 or F10 keys are now in “Function” mode. Once this is set, press your backlight key (the icon with a glowing square or keyboard rays) to test for illumination.
Phase 2: Executing the Toggle Sequence
Once you confirm your Function Lock status, try this sequence for Dell Inspiron and Latitude models:
- The Direct Toggle: Press the dedicated F-key (usually F10, F6, or the right-arrow) once. Some models require a 2–3 second press to enable or cycle through brightness levels.
- The Fn Combination: If a single press fails, hold the Fn key down while tapping the backlight key. If your laptop supports multi-stage lighting, repeating this will cycle intensity.
- The BIOS Override: If desktop toggles don’t work, restart and tap F2 to enter BIOS/UEFI. Navigate to System Configuration, then Keyboard Illumination. Set it to “Bright” or “Dim” rather than “Disabled.” Save and exit.
Phase 3: Windows Power & Sleep Integration
If the backlight works during startup but fails in Windows, it’s likely an aggressive power-saving plan. Go to Windows Settings > System > Power & battery. If you are in “Battery Saver” mode, many drivers kill non-essential hardware like keyboard LEDs to save juice. Connect your AC adapter; if the lights pop on, you’ve found the culprit. Check the Dell Power Manager app to see if the “Keyboard Backlight Timeout” is set to kill the lights after a short delay.
Emergency Recovery and Driver Correction
If the keys exist but stay dark despite BIOS settings, you likely have a driver communication error. The backlight needs a clean handshake between the motherboard controller and the “Dell Feature Enhancement Pack” or “Dell QuickSet” utility.
Flushing the Device Manager
You can force Windows to re-authenticate the keyboard hardware:
- Right-click the Start button and select Device Manager.
- Expand Keyboards.
- Right-click every entry (e.g., “HID Keyboard Device”, “Standard PS/2 Keyboard”) and select Uninstall device.
- Do a hard reboot (hold the power button for 10 seconds). Windows will scan for hardware and reinstall the drivers automatically, clearing out bad data.
Driver Reinstallation
If that doesn’t work, head to the Dell Support Website. Enter your Service Tag and go to Drivers & Downloads. Filter for “System Utilities” or “Input Devices.” Install the Dell Feature Enhancement Pack or Dell QuickSet. Check for a BIOS/UEFI firmware update, too; these often include patches to fix power delivery to backlit keyboards.
Pitfalls and Long-Term Care
Many users think their backlight is broken when they’ve actually just hit a “Keyboard Backlight Timeout” in the BIOS. This is a common, non-destructive setting that shuts LEDs off after 30 seconds of inactivity. Always check your timing settings here before you dig into hardware repairs.
Be careful with cleaning. Don’t use liquid on the keyboard. Dell’s backlighting relies on a thin, fragile ribbon cable under the keys. Moisture can seep into the membrane and short the backlight grid while leaving the keys working fine. Use a dry microfiber cloth or compressed air held at a 45-degree angle. If you are a power user replacing a keyboard, remember that “backlit-capable” motherboards have a specific data connector for the lighting ribbon. If that ribbon isn’t perfectly seated in the ZIF (Zero Insertion Force) connector, you won’t get light. Check the service manual on the Dell portal for the exact procedure before you start.
📌 Save to Pinterest
Frequently Asked Questions
Why does my Dell keyboard backlight turn off automatically?
This is usually due to BIOS or Dell Power Manager settings. Most Dell laptops have a timeout (e.g., 30 seconds to 5 minutes) to save battery. You can disable this by entering the BIOS (F2) and adjusting the Keyboard Illumination timeout.
How do I know if my Dell laptop model supports a backlit keyboard?
Check if your F6, F10, or right-arrow keys have a keyboard icon with light rays. If not, enter your Service Tag into the Dell Support page. Under “System Configuration,” look for “Backlit.” If it’s not listed, your machine likely lacks the physical LED layer.
What do I do if my Fn key shortcuts aren’t toggling the backlight?
Check your Fn Lock by pressing Fn + Esc. If that fails, uninstall your keyboard drivers in Device Manager and restart. If you still have no light, test the brightness in the BIOS—if the BIOS controls can’t toggle it, you may have a loose ribbon cable or a bad LED controller.
Is it possible to install a backlit keyboard on a Dell laptop that didn’t come with one?
Often, yes. Many Dell chassis are the same, meaning your motherboard might have the ZIF connector for the backlight cable even if your original keyboard lacked one. You would need to source the correct OEM part. Always check your service manual to see if your motherboard has the connector before you buy parts.
Can I enable keyboard backlighting through the BIOS settings?
Yes, the BIOS is the source of truth. Tap F2 on startup to get there. Look for “Keyboard Illumination” or “Built-in Device Options.” Here you can set brightness and timeout durations. If the setting is missing or grayed out, your specific model does not support this feature.