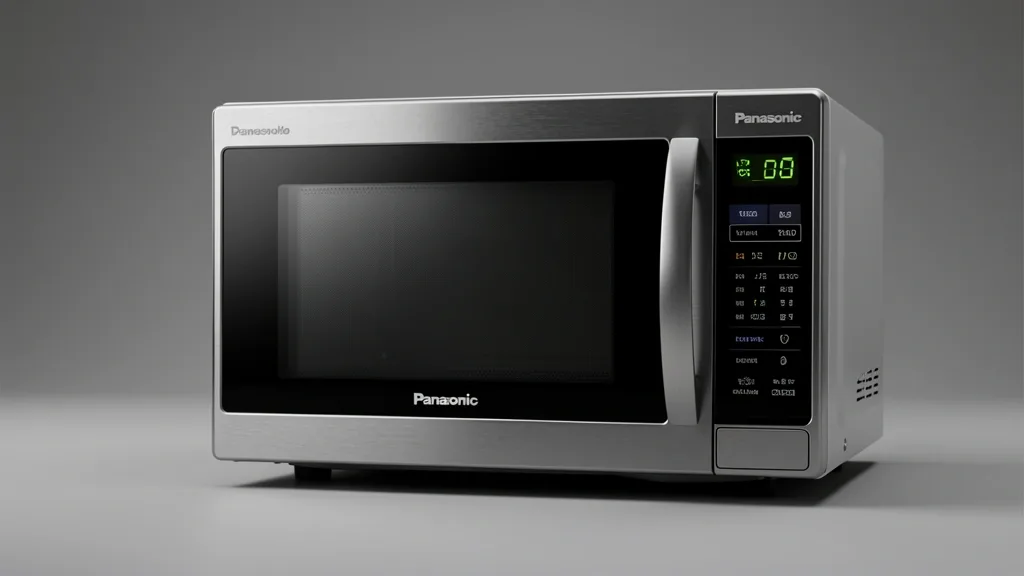
Troubleshooting a panasonic microwave demo mode state requires a precise understanding of the firmware logic governing your kitchen appliances. As a field specialist, I often see users mistake this retail-centric display setting for a catastrophic hardware failure. This leads to expensive, unnecessary service calls. This guide breaks down the architecture of Panasonic units, focusing on how inverter technology interacts with the control board to produce a functional diagnostic loop that mimics operations without engaging the high-voltage circuit.
Key Takeaways
- Demo Mode is a non-cooking state designed to show off LED panel brightness in retail stores.
- Inverter technology requires specific power-cycle protocols to exit standby status.
- Distinguishing between Child Lock and Demo Mode relies on observing the Magnetron tube activation status.
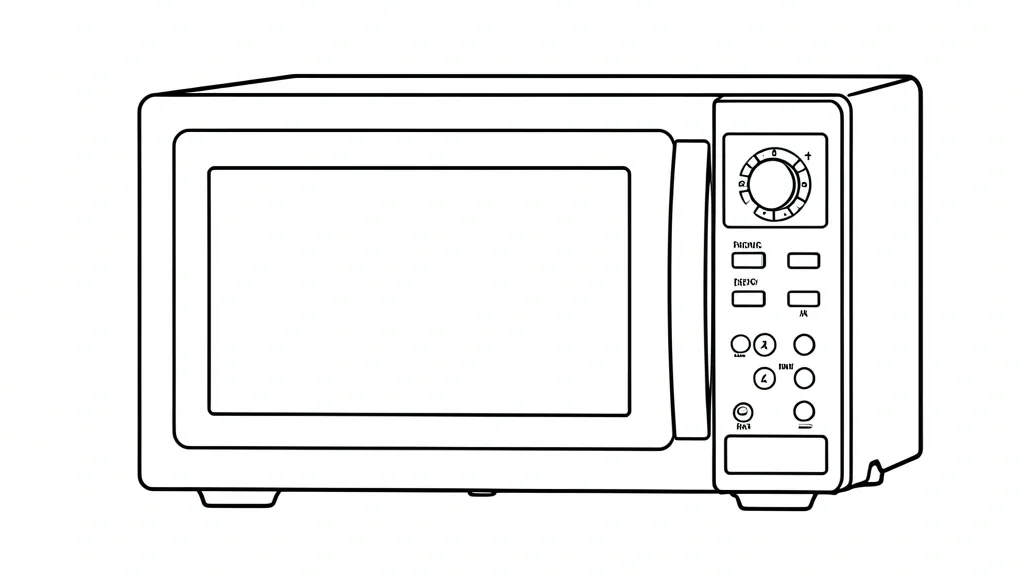
Understanding Panasonic Demo Mode
The primary purpose of Panasonic’s demo mode is to facilitate an engaging showroom experience. When active, the unit simulates the user interface experience. It lets you cycle through clocks, power levels, and sequence programming without drawing high current or activating the magnetron.
Because the unit is “playing pretend,” the magnetron remains disconnected from the power supply. This is a vital safety feature that allows the unit to run for hours under bright showroom lights without overheating the cavity or stressing the high-voltage transformer.
From an appliance engineering perspective, the inverter technology inside these units is sophisticated. Unlike older transformer-based microwaves, Panasonic inverter models use a high-frequency switching power supply. When entering factory reset or demo states, the microcontroller firmware prioritizes the display interface over switching regulation.
In modern models with capacitive touch buttons, demo mode is often triggered by a hidden “service mode” key sequence used by floor clerks. When this happens, the control panel lock may also be engaged or disabled depending on how the firmware handles the interrupt registers.
Diagnostic behavior is limited in demo mode because the appliance disables power-level cycling. If your internal lighting remains on and the timer counts down but the cooling fan does not ramp up, you are almost certainly in this restricted demo paradigm rather than facing a faulty magnetron.
Understanding this distinction is vital. Misinterpreting a display-only mode for a hardware failure leads to unnecessary waste. Users frequently replace perfectly good control panels when only a logic-reset via the Start button or a door-interlock cycle is required.
Identifying Display vs. System Errors
To eliminate ambiguity, look at the display codes and the physical state of the machine. A common point of confusion is mistaking the ‘Child Lock’ visual prompt—which often shows an ‘L’ or ‘Lock’ icon—with ‘Demo Mode,’ which often displays ‘dEMO’ or simply acts unresponsive during power-up.
| Symptom / Error | Possible Cause | Quick Check | Resolution |
|---|---|---|---|
| Display active; no heat | Demo Mode | Timer counts down but stays cold | Hold ‘Start’ or ‘Stop’ for 3-5 seconds |
| ‘Lock’ or ‘L’ on screen | Child Safety Lock | Attempts to start result in ‘Loc’ | Hold ‘Stop/Reset’ for 3 seconds |
| F1 or F2 Error Codes | Hardware Failure | System check fails on boot | Service intervention required |
| Unit cycles power | Magnetron/Inverter issue | Loud hum followed by shutoff | Professional inspection recommended |
The Child Safety Lock is an active security feature. It prevents the logic controller from accepting any commands except for the unlock sequence. In contrast, Panasonic microwave demo mode is an interface simulator that allows all inputs except those that trigger high-frequency radiation.
Hardware failures involving the magnetron usually present with audible clues. If you hear a high-pitched whine or the cooling fan stalls during a cooking cycle, this is a physical component issue. Demo mode remains silent and clean, perfectly mimicking a functional display without mechanical strain.
Pay close attention to the cooling fan speed. In functional cooking, the inverter drives the fan at a variable speed based on the power load. If the fan speed remains constant or nonexistent while the timer ticks down, the controller has never received the hand-shake signal from the high-voltage inverter circuit.
Most Panasonic firmware requires you to distinguish between these states by attempting a standard “Clear” sequence. If the appliance displays a “dE” or “dEMO” scrolling message, the controller is in showroom mode. This overrides standard cooking routines until a cold-boot sequence is executed.
Always consult the official Panasonic support portal to cross-check your Model ID. Newer glass-panel interfaces require different hold-durations for the ‘Start’ button than legacy machines with tactile membrane switches.
Prerequisites for Successful Reset
A successful reset of the panasonic microwave demo mode is about ensuring the microcontroller enters a clean power-on state. Many technicians overlook the necessity of a full hard power cycle—a process required for capacitor bleed-down.
The control board uses volatile memory (RAM) to hold the current operational mode. If the unit remains plugged in, the standby electrolytic capacitors can hold enough charge to keep the microcontroller alive for several minutes. This means your factory reset command may not register if the board has not fully lost power.
Disconnect the unit from the 120V AC wall outlet. For the logic to truly reset, wait at least five full minutes. This duration allows the power supply capacitors to discharge completely, effectively clearing the registers that store the ‘Demo’ status flag.
Before plugging the unit back in, ensure the door is fully latched. A common interference pattern occurs when the door interlock switch is slightly misaligned or buzzing, causing the controller to oscillate between a ‘ready’ state and a ‘demo’ state upon initialization.
Once power is restored, observe the display. If the unit initializes back into the demo screen, you must immediately apply the ‘Start’ or ‘Stop’ override sequence before the microcontroller enters a deep UI loop. For most recent models, this involves holding ‘Stop’ for three to five seconds while the display is illuminated.
Verify there is no active timer delay or “pause” status. If the unit was interrupted during a program, the controller may lock the interface to prevent unauthorized mid-cycle operation. Clearing all pending commands via the ‘Stop/Reset’ button is the final step before attempting to engage the primary magnetron circuit.
Step-by-Step Recovery Workflow
Method 1: The “Stop/Reset” Hold Sequence (Most Common)
This is the standard recovery path for the majority of Panasonic Genius and Inverter series countertop models. The system relies on a hardware interrupt trigger that forces the firmware to bypass the default demonstration logic.
- Step 1: Ensure the microwave door is firmly closed. If it is ajar, the sensor will prevent the system from registering the reset command.
- Step 2: Locate the Stop/Reset button on the control panel.
- Step 3: Press and hold the Stop/Reset button. While holding it, press Start/Select (or Timer/Clock) three times in rapid succession.
- Step 4: Watch the LCD/LED display. Look for a shift from “DEMO” back to the standard time-of-day entry prompt, usually 12:00 or a blinking colon.
- Step 5: If successful, the unit will beep twice, signaling it has exited the showroom loop and returned to standby mode.
Method 2: Multi-Key Diagnostic Combination
For models featuring the “Quick 30” button or specialized dial-and-select interfaces, use this more aggressive input sequence to override the internal flag.
- Step 1: Tap Stop/Reset to clear any errors.
- Step 2: Press the Power Level button five times consecutively. If you lack a Power Level button, use the Select or Auto Menu dial to navigate to the “0” setting.
- Step 3: Press and hold Start while simultaneously pressing the Timer key for at least 5 seconds.
- Step 4: If the screen flashes or clears “DEMO,” release both keys immediately.
- Step 5: Unplug the unit for 30 seconds to allow the RAM on the control board to clear, ensuring the “Demo” flag does not return upon power-up.
Advanced Emergency Recovery
When standards fail, the software flag may be written to the non-volatile memory (EEPROM) of the control board. A simple button press won’t work here because the processor is hard-coded to boot into demonstration mode by default.
The Deep Discharge Procedure: Your goal is to drain the internal capacitors on the control board, forcing a “cold boot.”
- Isolate Power: Unplug the microwave. Safety Note: Never open the outer casing. The high-voltage capacitor retains a lethal charge even when unplugged.
- The 60-Minute Drain: Leave the unit unplugged for at least one hour. This allows the small electrolytic capacitors on the control PCB to reach a zero-voltage state.
- Static Discharge Pulse: Before plugging the unit back in, open the door and hold down the Stop/Reset button for 30 seconds. This helps ground residual capacitive charge in the touch membrane.
- Re-initialization: Plug the unit into a dedicated 120V outlet. If the unit immediately jumps back to “Demo,” the firmware likely suffers from component degradation. You may need a professional service technician or a control board replacement.
When to call a pro: If the unit displays “H97” or “H98” errors alongside the Demo Mode, this indicates hardware failure of the magnetron or inverter. At this stage, DIY intervention carries significant risk. Panasonic parts are serialized; do not attempt third-party soldering on these boards, as the communication protocol between the Inverter board and the Main control board is proprietary.
Common Pitfalls and Prevention
The most common path to accidentally entering Demo Mode is a rapid succession of button presses by guests or children mistaking menu keys for quick-start options. Another cause is “Power Cycling Fatigue”—unplugging the unit during a power outage or while moving can cause the logic chip to enter “Showroom Mode” if it detects an inconsistent voltage signature.
Common Pitfalls:
- Door Sensitivity: The door sensor is part of the logic loop. If you open the door mid-sequence, the processor aborts. Always finish the sequence before touching the door.
- Timing Mismatch: Panasonic diagnostic sequences are timed, usually within a 200-500ms window. If your sequence takes longer than 2 seconds, the chip reverts to standby.
- Misinterpreting Symbols: Do not mistake a blinking “Clock” icon for “Demo.” If the screen shows a blinking colon but the unit does not operate, the unit is simply waiting to have the time set.
Prevention Tactics: Always use a surge protector. Panasonic Inverter models are highly sensitive to “dirty” power; sudden voltage spikes can trigger a soft-latch into display-only mode. If storing the microwave for an extended period, place tape over the keypad to prevent accidental button presses, which can trigger hidden startup flags.
📌 Save to Pinterest
Frequently Asked Questions
Why does my Panasonic microwave display ‘Demo’ but not heat?
Demo mode is a factory-enabled feature for showrooms. It allows lights, fans, and the control panel to function so customers can see the interface, but it disables the high-voltage inverter and magnetron to prevent safety hazards.
Is Demo Mode the same as Child Lock?
No. Child Lock is a user-activated security setting that prevents the microwave from running. Demo mode is a firmware-level state. Child lock usually displays “Locked” or a key symbol, whereas Demo mode cycles through features or shows the word “Demo” on the screen.
How do I disable demonstration mode on an Inverter microwave?
Most models require you to hold “Stop/Reset” for 3-5 seconds while tapping “Start” or “Timer.” The exact combination varies by chassis, but the goal is to trigger the firmware to exit the retail loop.
Will unplugging the microwave clear the demo mode?
Usually, no. Because the “Demo” state is stored in non-volatile memory (EEPROM), it survives power loss. You must perform the specific button-sequence reset to signal the processor to clear that flag.
What if it stays in demo mode after a reset?
If you have performed the sequences and a full power-cycle and it remains in Demo mode, you are likely dealing with corrupted firmware or a faulty control board. The hardware cannot “forget” the showroom command, and the control board must be replaced.