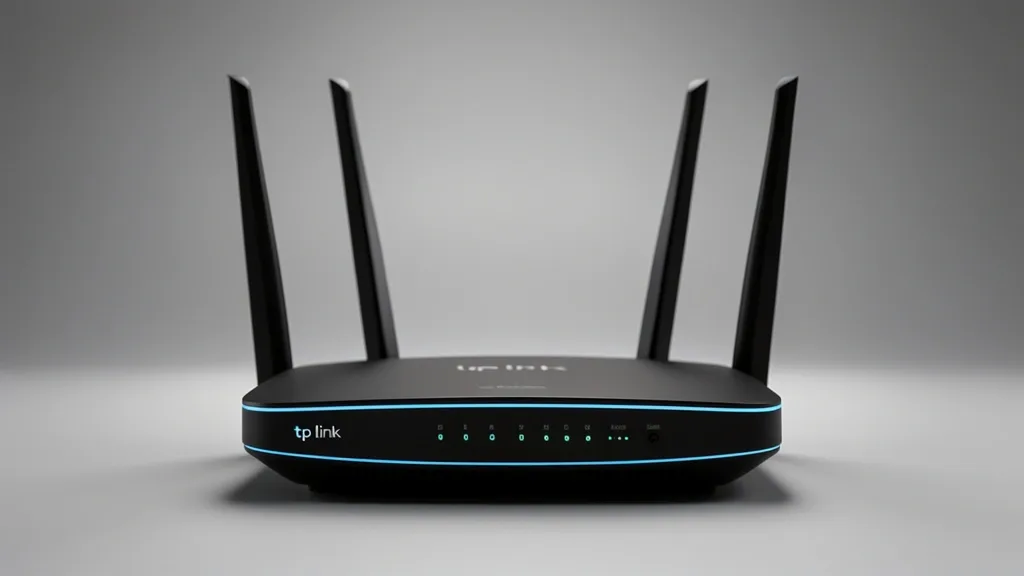
Optimizing your tp link router settings demands more than a plug-and-play approach. If you want a high-performance network, you need to look past the default configurations. As a lead inspector, I’ve found that the real difference between a sluggish gateway and a high-performance node is found in the granular tuning of the Web-GUI, not the Tether app.
Key Takeaways
- Stop using the Tether app for serious work; switch to the Web-GUI for pro-level control.
- Use a DNS strategy that separates router-level routing from device-level DHCP overrides.
- Audit your network traffic locally to catch unwanted outbound telemetry.
Technical Overview of TP-Link Management
Novice users lean on the TP-Link Tether app, but professional network maintenance requires the Web-GUI. The mobile application suppresses deeper administrative settings to prevent user error. If you want full control, the browser-based interface is your only real option.
The “Basic” tab is fine for standard DHCP and cloud links. However, true optimization lives in the “Advanced” tab. That is where you handle routing, VLAN tagging, and WiFi 6 channel tuning.
TP-Link architecture separates WAN/LAN assignments from radio band operations. If you want real control over client roaming or band steering, you must disable “Smart Connect.” Don’t rely on automation here—take manual command of your bands.
There is a massive difference between global DNS settings and DHCP-specific DNS assignments. A global DNS ensures your main gateway handles traffic through your preferred resolver. A DHCP-level assignment lets you set per-device overrides, which is perfect for bypassing regional blocks or filtering on specific hardware.
Hardware revisions define everything when it comes to firmware. Check your specific TP-Link hardware revision number before moving an inch. Mid-range models rarely support OpenWRT, and flashing the wrong firmware will brick your router for good.
Newer models come with HomeShield. It is a solid security layer, but don’t take it at face value. Audit your outbound traffic using a local gateway like Pi-hole to ensure the router isn’t leaking data you didn’t authorize.
The Diagnostic Matrix: Identifying Network Bottlenecks
Troubleshooting is an evidence-based pursuit. Use your system logs as the primary source of truth. If users report stutters, check the logs for “DHCP lease renewals” or “WPA rekeying” events. These often cause micro-drops during bandwidth-heavy tasks.
| Symptom / Error | Possible Cause | Quick Check | Resolution |
|---|---|---|---|
| Latency Spikes | Wifi Channel Interference | Spectrum Analysis | Perform WiFi 6 channel optimization |
| High Ping Drops | Firmware Mismatch | Status Page Log | Execute scheduled firmware update |
| DNS Timeout | ISP Resolver Loop | Test with 8.8.8.8 | Manual DNS server configuration |
| Data Leaks | Telemetry Phoning | Pi-hole Dashboard | Enable Network traffic encryption |
Heavy traffic spikes usually aren’t hardware failures. They are usually compromised endpoints or background updates. Check the “Traffic Statistics” page to see which LAN client is hogging your throughput.
Ignore automatic firmware updates—they often miss kernel-level packet loss issues. Verify the build date at the manufacturer’s site yourself. That is exactly what separates professional admins from everyone else.
If you see persistent ping drops, look at your NAT and firewall rules. A double-NAT setup—where the ISP modem and your TP-Link both act as routers—is a common bottleneck. Check your WAN IP; if it is a private address, you are likely behind a Carrier-Grade NAT (CGNAT).
For total transparency, run a local gateway like NextDNS. If you see outbound telemetry while the network is idle, your device-level DNS is being bypassed. You will need to tighten your firewall’s egress rules.
Prerequisites for Secure Configuration
Security is the foundation of performance. Change the default admin password immediately. Use a high-entropy passphrase that has nothing to do with your Wi-Fi password. This prevents lateral movement if someone cracks your wireless network.
Before you tweak performance, factory reset the unit and perform a clean firmware flash. This clears out legacy config files and ensures the bootloader is mapped correctly for your current setup.
Physical security matters. Close or disable LAN ports in guest areas or common rooms. An open port is an open door to your internal network, bypassing all your software-defined security.
Turn on DNS-over-HTTPS (DoH) where the hardware allows. This keeps your metadata away from your ISP. If your hardware is older and lacks native support, use a local DNS sinkhole to achieve the same result.
Isolate your IoT devices. Put smart bulbs and cheap cameras on their own VLAN or a guest network. This prevents compromised “smart” devices from scanning your main network for sensitive data.
Document your baseline before enabling QoS or acceleration. If you enable encryption and your throughput drops by 20%, you have hit the router’s CPU ceiling. Make changes incrementally so you know exactly which setting triggered the performance hit.
Step-by-Step Workflow for Custom Network Tuning
Configuring Custom DNS Gateways
ISP-provided DNS servers are often slow and tracked. To route traffic through a private resolver like NextDNS or Cloudflare, go to Advanced > Network > Internet > Advanced Settings. Input your DNS servers there. Do not just set these in the DHCP tab, or you will leave your router’s internal management traffic unfiltered.
Static IP Assignment for Critical Infrastructure
Servers, NAS units, and smart hubs need predictable addresses. Go to Advanced > Network > DHCP Server > Address Reservation. Click Add and bind the static IP to the device’s MAC address. This stops your internal services from dropping out every time a DHCP lease expires.
5GHz/6GHz Band Optimization and Channel Width
Stop using “Auto” channel selection. It’s the number one cause of interference-related speed drops. Navigate to Advanced > Wireless > Wireless Settings. On 5GHz, stick to non-overlapping channels like 36, 44, or 149. Set width to 80MHz or 160MHz. If you’re near an airport, 160MHz might trigger DFS radar interference and force a disconnect; if that happens, drop it back to 80MHz.
Emergency Recovery and Firmware Management
The Hard Reset Procedure
If you get locked out, reset the hardware. Hold the recessed Reset button on the back for 10–15 seconds while the unit is powered. Once the LEDs blink, let it reboot. Give it a few minutes to complete the power-on cycle before trying to access the default gateway at 192.168.0.1.
Safe Firmware Management
Go to Advanced > System Tools > Firmware Upgrade to manage patches. Check your specific hardware version (e.g., Archer AX55 V1) against the official site. Do not interrupt the power during the flash. If you brick the unit, use the recovery mode by holding the reset button while powering the router on to trigger a deep-system reload.
Common Pitfalls and Security Hardening
Mitigating Unplanned Telemetry
Services like “HomeShield” often ping external cloud servers, even when toggled off. Audit your traffic with a Pi-hole or a DNS logger. If you see traffic you didn’t initiate, you may need to implement stricter egress rules on your firewall to prevent the router from “phoning home” data you’d rather keep private.
📌 Save to Pinterest