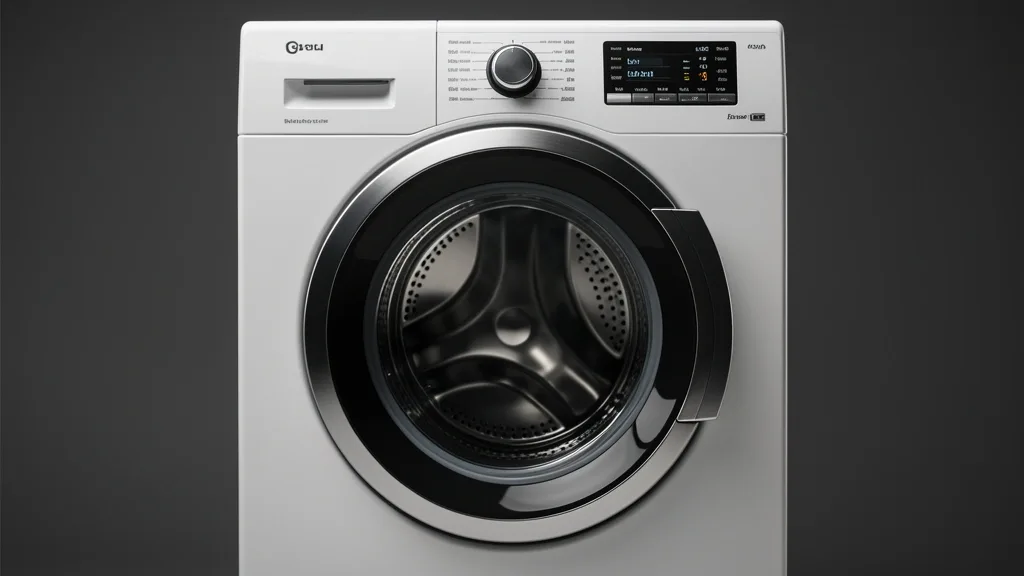
Mastering your whirlpool washer settings is the best way to keep your clothes looking new and your machine running for years. Whether you have an old-school knob dial or a high-tech smart interface, understanding the “why” behind the cycles saves you time on troubleshooting and avoids common repair headaches.
Key Takeaways
- Control board calibration ensures your load-sensing technology stays accurate.
- Mechanical and digital models use different logic to manage water levels.
- Using the wrong soap—or too much of it—is the #1 cause of sensor-based stalls.
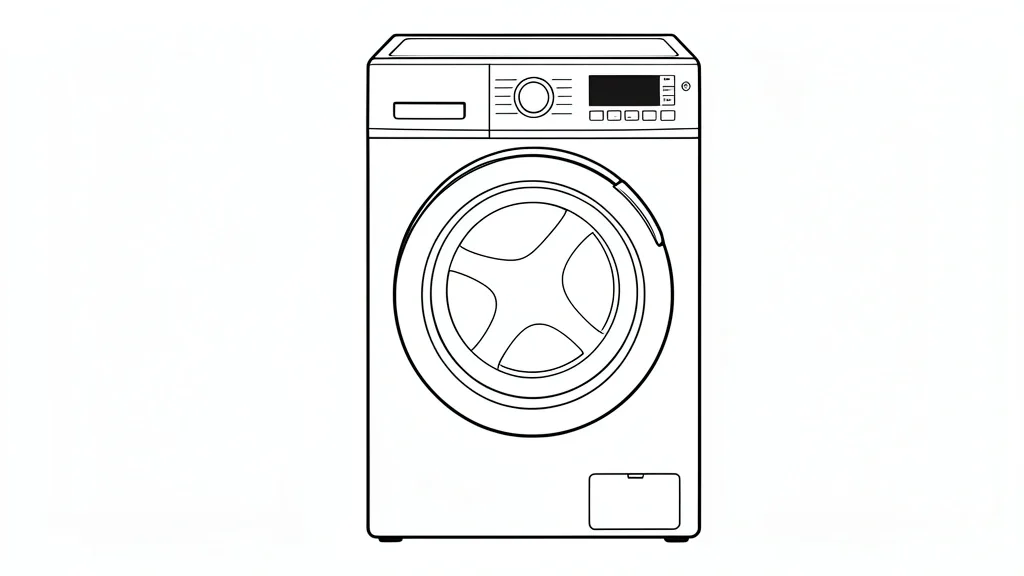
Technical Overview: Understanding Your Whirlpool Interface
Mechanical dial models work on a sequence-timer system. Internal cams trigger switches at specific intervals, so agitation happens even if you’ve overloaded the tub. You’re trading precise performance for simplicity here.
Digital models are different. They use a central control board that constantly reads sensor data. This allows for fine-tuned spin speeds and specific agitation rhythms designed to protect your clothes.
Every cycle starts with the machine “sensing” your load. It measures the weight before it adds a drop of water. If it detects an imbalance or too much foam, it changes the drum rotation to protect the suspension system from shaking itself apart.
Modern pressure switches track the water level using an air dome. These systems need exact water levels to run. If a pressure sensor gets an odd reading, the machine often stalls mid-cycle because the control board can’t verify the water level.
Always use High-Efficiency (HE) detergent. Standard soaps create thick suds that hide inside the drum. These suds confuse optical sensors, making the computer think there’s a “suds lock.” Your washer will then drag out the rinse cycle indefinitely, trying to clear the bubbles.
If your digital display seems to be “drifting” or lagging, reset the calibration. On most modern top-loaders, turn the dial “Left-Right-Right-Right-Left-Right” within 6 seconds. When the console lights flash, you’re in diagnostic mode. Check your owner’s manual to clear the error buffer.
The Diagnostic Matrix: Deciphering Unusual Cycle Behavior
Common “non-stop” errors are usually logic conflicts, not broken parts. It’s almost always a disagreement between the load sensor and the chemistry inside the drum. If the machine seems stuck in a loop, it has likely triggered a safety state.
If the washer won’t spin, try an emergency drain. Turn the power off and drop your drain hose lower than the drum. Let gravity siphon the water out. This often clears the air trap and resets the sensor.
| Symptom / Error | Possible Cause | Quick Check | Resolution |
|---|---|---|---|
| Continuous Rinsing | Sud sensor trip | Using non-HE soap? | Run a clean cycle with white vinegar |
| Failure to Spin | Unbalanced load | Is the fabric soaked? | Redistribute items; check the latch |
| Water overflow error | Pressure hose clog | Listen for air bubbles | Clear debris from the air dome hose |
| No agitation | Motor coupling fault | Hear a clicking sound? | Perform control board calibration |
Before calling for a repair, check your wall outlet. Voltage drops can cause digital logic to misinterpret sensor data, leading to strange wash times or skipped cycles.
Use the “Pre-soak” option sparingly. It’s hard on the drain pump. If you use it often, keep an eye on the pump filter for mineral buildup that can block water flow.
If you pick an “Extra Rinse” on a high-speed spin cycle, you might trigger a “UL” (Unbalanced Load) error. The machine is trying to reposition the heavy, wet mass; sometimes it just needs help from you to balance the load.
Prerequisites for Optimal Cycle Performance
Your washer needs a solid foundation. If the unit isn’t level, it will constantly trigger sensor restarts because the gyroscope thinks the machine is tilting. Use a bubble level to ensure all four feet are locked tight against the floor.
Don’t ignore the max capacity guidelines. Overloading creates “dead zones” where clothes can’t move. These zones trigger weight errors the moment the machine tries to transition into the rinse phase.
Clean your fabric softener dispenser. If it’s gunked up or stays damp, it messes with the additives, often causing the controller to skip the rinse/additive transition entirely. This leaves you with soapy, stiff clothes.
Hard water is a common culprit. Lime scale builds up on the water level sensors and causes “ghost” cycles. Use a descaler or a cup of white vinegar once every six months to keep those sensors sensitive.
Finally, check your drain standpipe. It should be at least 30 inches high to prevent siphoning. If the hose is pushed too deep into the pipe, the computer thinks the water isn’t draining correctly and will stall the entire cycle.
Step-by-Step Workflow for Customizing Wash Cycles
Strategy for Precision Fabric Care
Think of your washer as a system: water, agitation, and time. The “Normal” cycle is often too aggressive for daily wear, using high-torque agitation that wears out fibers. Use these manual overrides to keep your clothes looking fresh.
Customizing for Delicate vs. Heavily Soiled Loads
Follow this routine to take control of your wash logic:
- Load Balancing: Don’t wrap items around the agitator. Drop them in loose, even heaps.
- Selection Entry: Set your base cycle (like “Casual” or “Delicate”) first.
- Parameter Modification: Before hitting start, check the “Temperature” and “Soil Level.” Use “Cold/Cold” for synthetics to prevent heat damage. Lower the soil level to “Light” to cut back on harsh agitation time.
- Advanced Logic Trigger: Use “Extra Rinse” only if you’ve used a heavy amount of detergent. Otherwise, you’re just wasting water and confusing the sensor.
- Final Commit: Press and hold the “Start” button for 3 seconds. The status light should blink, confirming the machine has locked in your custom settings. Don’t touch the buttons once the cycle starts, or you’ll trigger a reset.
For heavy denim or towels, use the “Deep Water” option. You’ll get a higher fill level, which reduces the friction that wears out those heavy fabrics.
Emergency Recovery: The Factory Recalibration Protocol
The Hard Reset Sequence (Service Mode Entry)
If your washer is stuck with flashing lights or refuses to switch from “Sensing” to “Wash,” it has a memory conflict. This protocol flushes the cache and re-indexes the drum position.
Step-by-Step Recalibration Procedure
- Phase 1 (Preparation): Make sure the drum is completely empty and the door is closed.
- Phase 2 (The Reset Sequence): Perform this pattern within 6 seconds: Turn the dial 1 click counter-clockwise, 3 clicks clockwise, 1 click counter-clockwise, and 1 click clockwise.
- Phase 3 (Confirmation): All indicators should flash. If they don’t, start over; you were likely too slow.
- Phase 4 (Execution): Turn the dial until only the “Rinse” light glows. Hit “Start.”
- Phase 5 (Completion): The machine will pump and rotate on its own. Do not touch it until the lid unlocks. Shut it off once the sequence finishes.
Still failing? You might have a faulty pressure switch. Check the Whirlpool service site with your serial number to see if your unit was part of a known recall for sensor hardware.
Avoiding Common Pitfalls in Cycle Selection
Sensor Logic and Overloading
The “Overload Trap” is the most common user error. The machine reads the load weight in the first 60 seconds. If it’s packed too tight, the sensor detects an imbalance or restricted movement and keeps trying to fill and drain to “solve” it. This is a safety feature meant to save your motor, so don’t stack items to the rim.
The Spin Speed/Balance Feedback Loop
Using “High Spin” on blankets or delicate items is asking for a “UB” (Unbalanced) error. The machine hits a vibration threshold during testing and will abort the spin to save the bearings. Keep spin speeds to “Medium” or “Low” for bulky items. You’ll barely notice a difference in dampness, but you’ll save your suspension rods significantly.
Long-Term Care and Firmware Integrity
Managing the Control Board Environment
Control boards hate moisture. Don’t put your washer in a damp, unventilated corner. If condensation gets into the housing, it can cause the buttons to act “possessed.” Keep a little clearance behind the machine so the components have room to breathe.
Technical Vigilance
Periodically check for technical service bulletins regarding your model. Whirlpool occasionally releases updates for units that show “infinite cycle” behavior, which almost always boils down to a faulty water level pressure sensor. Swapping this out early is much cheaper than replacing the entire control board later.
📌 Save to Pinterest
Frequently Asked Questions
How can I reset my Whirlpool washer if it gets stuck in an infinite cycle?
Use the factory recalibration sequence. The 1-3-1 click pattern puts the machine in service mode, which forces it to clear corrupted memory and re-index the drum. This effectively wipes the “bad” data causing the loop.
What does the ‘Casual’ setting actually do compared to ‘Normal’?
‘Casual’ is tuned for synthetics and permanent press. It uses lower agitation and a slower spin to prevent your clothes from getting trapped in heat-set wrinkles. ‘Normal’ is strictly for cottons that can handle tougher, high-energy movement.
Why is my Whirlpool washer sensing the load size for so long?
The machine is trying to find a stable weight reading. If your clothes are unevenly soaked or tangled, the sensor can’t lock onto a baseline. The machine then keeps trying to adjust until it reaches a result it trusts.
Do I need to recalibrate the control board after replacing parts?
Yes. If you change a sensor, belt, or motor controller, the onboard computer needs a fresh “calibration cycle” to map the new component’s behavior to the system. Without it, the machine will likely throw errors.
How do I interpret the red section markings on the dial?
Red sections represent “High-Performance” zones like heavy-duty or sanitize cycles. They use more water, higher heat, and longer agitation. Use these only for bedding, towels, or tough canvas—never for your everyday laundry or delicate shirts.