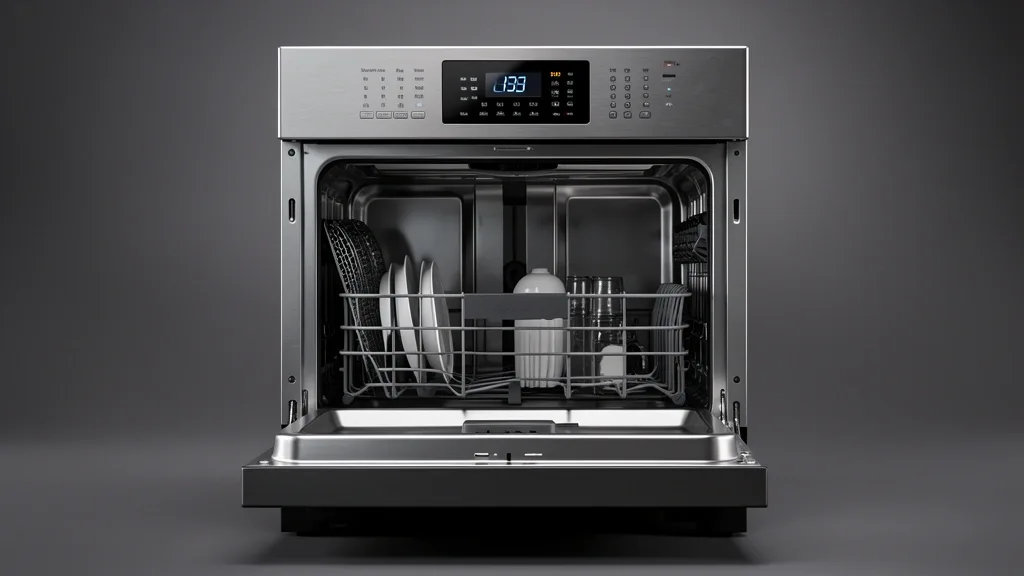
Mastering the kenmore dishwasher diagnostic mode is the smartest way to stop guessing and start fixing. Because these machines are typically built by OEM giants like Whirlpool, Frigidaire, or Bosch, the diagnostic logic is buried deep in the control board’s firmware. This mode bypasses your daily settings to talk directly to your sensors. Think of this as pulling the “black box” data from your machine to avoid swapping out expensive, perfectly good parts.
Key Takeaways
- Entry sequences vary by model; always confirm your machine’s specific OEM chassis before starting.
- A successful diagnostic session requires a clean electrical slate—always perform a hard reset at the breaker first.
- Avoid jumping to conclusions. Verify any LED blink codes by checking actual component resistance with a multimeter.
Understanding Kenmore Diagnostic Architecture
The Service Diagnostic Mode is a restricted portal, not a user-menu. It forces the control board to ignore your button presses and systematically cycle through individual components—like the circulation pump and heating element—one by one.
Don’t confuse a standard cycle with true Service Tech mode. While some models use a simple button combination for settings, true diagnostic mode uses firmware-level operations to map real-time sensor data back to your display or LED array.
Most Kenmore dishwashers keep an internal registry of error codes. When you initiate service mode, the CPU runs a self-check on the thermistor, water level sensors, and turbidity arrays. If anything is outside the factory-specified voltage range, the machine writes a persistent error to the EEPROM.
If your machine hangs mid-cycle, you may need an emergency exit. Hold the ‘Cancel/Drain’ button for exactly five seconds. This triggers a manual pump-out and wipes the current logic loop, resetting the control board.
Always cross-reference your findings with official Kenmore component documentation. Matching your specific model’s chassis to the correct keystroke sequence is the #1 reason users fail to enter the test mode.
Keep in mind the difference between ‘permanent codes’ and ‘temporary flags.’ Resetting the board often clears transient glitches, but true hardware faults will remain until the physical component is addressed.
Essential Prerequisites and Safety Verification
Before touching the control panel, you have to verify the physical infrastructure. Many technicians misdiagnose “ghost” errors because they skip the power cycle at the breaker, which leaves the control board stuck in a loop of corrupted cache data.
Head to your circuit breaker panel. Flip the dishwasher breaker for a full 60 seconds. This drains the capacitors on the control board and forces a true firmware reboot. Often, this is enough to clear minor logic errors.
Check the door latch status. If the door isn’t properly latched, the unit won’t enter test mode. Safety logic dictates that the machine must be “closed” before any tests can run. Make sure the latch actually engages the strike sensor.
Verify your water pressure. A clogged inlet screen or restricted supply line will trigger a “low water” or “fill time” fault. This isn’t a board failure; it’s a plumbing issue that many people mistake for a computer glitch.
Look for the kickplate schematics. They are usually tucked into a plastic sleeve behind the lower front panel. This blueprint is your best friend—it shows exactly where the ‘T1’ and ‘T2’ test points are if your specific model requires a manual jumper contact to run diagnostics.
Finally, ensure your drain hose is installed with a proper high loop. If the unit siphons water during a fill, your sensors will read incorrect levels and report a fake water sensor failure.
The Service Mode Diagnostic Matrix
Mid-tier Kenmore units report health via LED flash patterns. Use this guide to translate what you see on the front panel.
| Symptom / Error | Possible Cause | Quick Check | Resolution |
|---|---|---|---|
| LED 1 & 2 Flash | Thermistor Open | Measure 10k-50k Ohms | Replace sensor |
| LED 3 Flash | Drain Pump Stuck | Check impeller for debris | Clear filter or hose |
| Continuous Beep | Door Latch Fault | Verify strike engagement | Replace latch assembly |
| Steady LED | Heating Element Open | Test with multimeter | Replace element |
| Fast Flashing | Control Board Error | Perform 60-second reset | Replace logic board |
Look for consistency in the flash patterns. If the code stays after a manual drain and test cycle, you are looking at a hard electrical failure. Compare your test results with standard dishwasher operation benchmarks to get a feel for normal cycle times.
If you have a digital display, look for alphanumeric codes like F6 E1. F6 usually means water flow issues, while E1 hits the thermistor circuit. Always link these digital readouts with the physical behavior you see—if the unit says “no heat” but the water is steaming, you have a sensor reporting logic error.
If the console is totally dead, your board might be “bricked” by a power surge. At this point, the diagnostic mode won’t help. You’ll need to pull the board and test the circuits for blown traces manually.
Always perform a final reset after you finish a repair. This clears the memory of the error, so the control board starts its next cleaning cycle with a clean slate.
Step-by-Step Execution: Initiating the Test Loop
Protocol 1: Entering Service Diagnostic Mode
Most Kenmore dishwashers with a “665” prefix (built by Whirlpool) use a standardized entry sequence. Only try this when the unit is in Standby Mode (all lights dark).
- Identify the keys: You will likely need the “Heated Dry” and “Normal Wash” buttons.
- The Sequence: Press [Heated Dry] -> [Normal Wash] -> [Heated Dry] -> [Normal Wash] rapidly, ideally within 5 seconds.
- Success: All console lights should blink or hold for 5 seconds. If you see nothing, wait 10 seconds and try again with a slightly faster or slower rhythm.
Protocol 2: Monitoring the Test Loop
The unit will now run an automated 10 to 15-minute diagnostic. It tests components in this order:
- Detergent Dispenser: Tests the solenoid/coil.
- Fill Valve: Confirms water intake via the float switch.
- Wash Pump: Spins the motor to check for resistance or debris.
- Heating Element: Cycles the heater relay and checks thermistor response.
- Drain Pump: Final water clearing.
Let the program finish on its own. If it stops, it will usually freeze on the specific LED light associated with the failed component.
Emergency Recovery and Hard Reset Protocols
Protocol 1: The Exit Procedure
If the unit gets stuck, don’t panic. First, try pressing the [Cancel/Drain] button for three seconds. This tells the software to dump the current test loop. If the door wasn’t latched at the start, latch it now, and the unit should revert to standby.
Protocol 2: The Hard Power Cycle
If the controls are “frozen,” the board is trapped in a hardware logic loop. Standard buttons won’t work.
- Go to your main breaker panel.
- Locate the “Dishwasher” or “Kitchen” breaker.
- Flip it “OFF.”
- Wait 10-15 minutes. This is vital—the board’s capacitors need time to fully discharge.
- Flip the breaker back “ON.”
Note: Don’t flip the breaker on and off repeatedly. You risk arcing, which can damage the breaker or corrupt the board’s firmware memory.
Common Pitfalls and Troubleshooting Discrepancies
The Door Switch Paradox
The number one reason diagnostics fail is a bad door latch. The board checks for a “closed” signal before doing anything else. If the sensor is finicky, the board ignores your button sequence entirely. If you think the switch is the problem, press the door frame tight while someone else enters the code.
Control Board Communication
Kenmore Elite models often separate the UI from the main brain with a delicate ribbon cable. If this cable is slightly out of its socket or has oxidized, the signals from your buttons won’t reach the processor. If you see a “stuck button” error (F1 E2), try unplugging that ribbon cable and cleaning the contacts with 90% isopropyl alcohol. Also, keep the panel dry—excessive kitchen humidity can cause “phantom” touches on capacitive buttons, which locks out the user.
Long-Term Maintenance and Calibration
Using Data for Longevity
Diagnostics aren’t just for broken parts. Watch the “Fill” stage during a test. If it takes longer than 60 seconds to satisfy the float, your inlet screen is likely clogged with sediment. Fixing this now prevents the heater from running dry later.
Calibration
Sensors drift over time. If the test shows the unit struggles to heat or doesn’t detect water clarity, your turbidity lens might be coated in grease. Running a vinegar wash after a diagnostic test helps “zero out” these sensors, ensuring your board is making decisions based on current reality rather than old, dirty data.
📌 Save to Pinterest
Frequently Asked Questions
Why is my Kenmore dishwasher stuck in a perpetual testing mode loop?
This usually signals a stuck relay on the board or a failing door switch creating an intermittent signal. If the unit can’t finish the test, it defaults to restarting. Verify the door is latched tight, and if that fails, do a 15-minute hard power-cycle at the breaker.
How do I clear persistent error codes after fixing a leak?
The code is likely sitting in non-volatile memory. Run the full diagnostic sequence one time. When the machine completes every stage successfully, it will naturally overwrite the old error log with a “pass” result.
Is there a universal key sequence for Kenmore Elite?
Most use the (Dry-Normal-Dry-Normal) sequence. If that doesn’t work, look for the technical sheet inside the bottom kickplate—it contains the specific sequence for your engineering revision.
Can I manually trigger an emergency drain if it’s unresponsive?
If the controls don’t respond, the software is offline. You’ll need to manually bail the water out or disconnect the drain hose from underneath the sink and let it drain into a bucket via gravity.
What if it still won’t enter diagnostics?
Check the door switch, then do the 15-minute breaker reset. If the console still does nothing, the UI ribbon cable might be loose or corroded. Check those connections before assuming the board has failed.