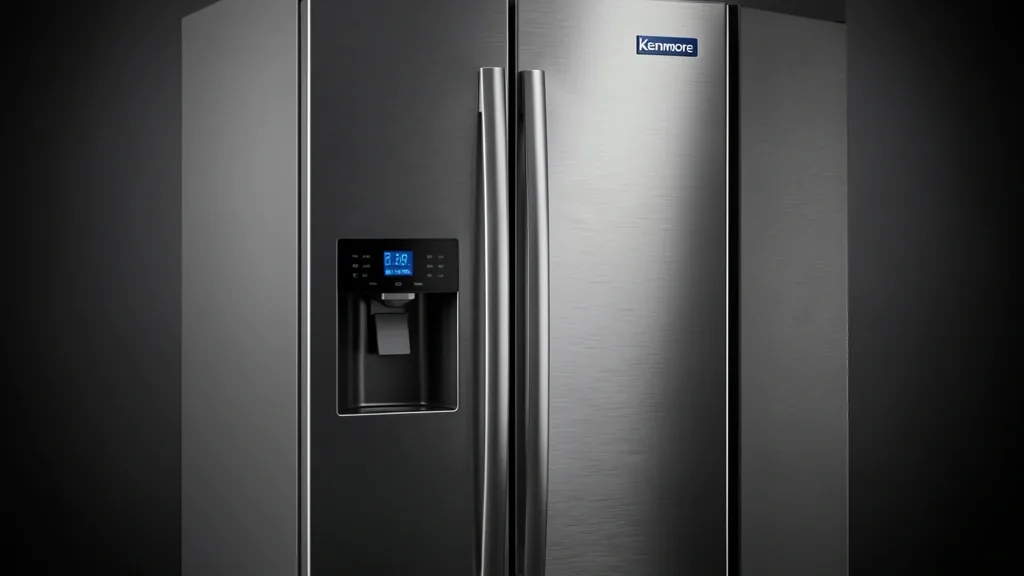
Accessing the Kenmore Elite refrigerator diagnostic mode is the most effective way to catch cooling failures before they lead to spoiled food or a shot compressor. As a systems engineer, I view these appliances as complex embedded systems. The main control board is the heartbeat, managing sensor data, relay logic, and high-voltage power distribution.
Key Takeaways
- Identifying your OEM (LG vs. Whirlpool) is vital for the correct diagnostic button sequence.
- High-voltage capacitors on the main board can hold a lethal charge; always exercise extreme caution.
- Diagnostic matrices rely on comparing real-time thermistor resistance against OEM specifications.
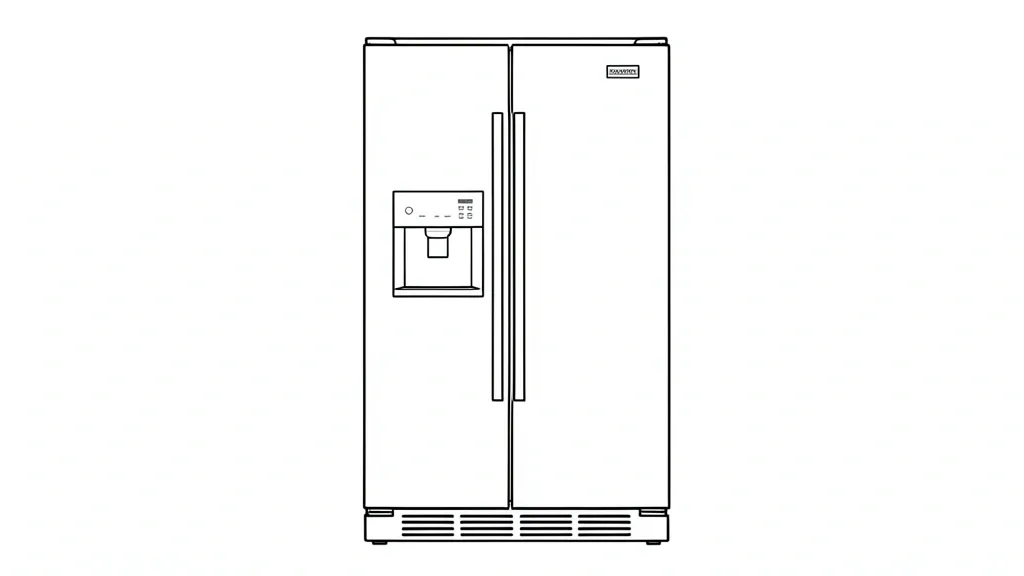
Understanding Your Kenmore Elite Diagnostic Architecture
“Kenmore Elite” is a branding umbrella, not a single manufacturer. Sears historically sourced these high-end units from major OEMs like LG and Whirlpool. Your specific service sequence depends entirely on which factory built your unit.
LG-built units use a serial interface between the front display and the main board. You typically force these into diagnostics by holding button combinations like “Power Freeze” and “Power Cool.”
Whirlpool-built models often utilize a hidden service switch in the kickplate or a specific UI button sequence. Using the wrong command set won’t just fail to work—it can lock up your display or trigger false system flags.
These control boards use a poll-and-reply handshake protocol. During forced defrost, the board checks the bimetal switch or defrost sensor to confirm the heating element is actually drawing current. If the board detects zero current, it flags a fault.
Don’t confuse a standard control panel reset with a true diagnostic mode. A reset clears the display memory; a diagnostic mode forces the system to run its low-level self-tests.
If you want to understand the physics of why your controller expects specific data inputs, brush up on the mechanical refrigeration cycle. It explains why the controller monitors pressure and temperature feedback at precise intervals.
Prerequisites and Safety Precautions Before Testing
Treat your refrigerator as a live high-voltage circuit. Even after you pull the plug, the large electrolytic capacitors on the inverter board can hold a lethal charge for several minutes.
Grab a true RMS digital multimeter with a CAT III 600V safety rating. You will need it to verify thermistor resistance—usually 5k to 10k Ohms at room temperature. Always check your specific model’s wiring diagram for exact specs.
Before working on the main board, use a discharge tool or a high-wattage resistor to drain the capacitors. Never conduct a live-voltage check unless you are testing specific outputs or fans.
Create a clean, well-lit workspace. Pull the lower access panel on the back to inspect the condenser cooling assembly. Use non-conductive probes to prevent shorting the board while live.
Document everything. Most diagnostic failures stem from loose wiring, not bad logic boards. If a component is dead, check the harness for continuity before buying expensive parts.
Finally, check your power stability. Modern boards are sensitive to voltage fluctuations. If your wall outlet isn’t delivering a clean 120V AC, you may see “ghost” error codes caused by a sagging voltage profile.
The Diagnostic Matrix: Identifying Common Error Codes
Kenmore Elite error codes are your breadcrumb trail. A proper diagnostic routine cycles through relays, so you should hear the distinct “click” of the control board engaging the ice maker, evaporator fan, and compressor.
| Symptom / Error | Possible Cause | Quick Check | Resolution |
|---|---|---|---|
| Er FS / F S | Freezer Thermistor Failure | Check resistance at the harness | Replace thermistor or fix corroded wire |
| Er rS / r S | Refrigerator Sensor Short | Verify thermistor resistance | Repair short or replace sensor |
| Er CF | Condenser Fan Motor | Check 12V DC at the fan | Replace fan if seized |
| Er dH | Defrost Heater Failure | Test heater for resistance | Replace bimetal switch or heater |
| Er CO | Communication Error | Check ribbon cable | Reseat cables; clean contacts |
If “Er FS” pops up, the logic has detected an open circuit in the freezer sensor. Do not jump to replacing the board. Back-probe the signal pins on the motherboard first.
If the thermistor shows correct resistance numbers, the break is in the wiring harness between the cabinet and the board. Rule out the path before condemning the module.
For the “Er dH” code, focus on the defrost system. If you force the heater to engage during the test and your meter shows 0 amps, focus your repair on the thermal fuse or the heater itself.
For blank panel issues, cut the power for exactly 60 seconds to clear the volatile memory. For specific schematics, keep the Sears PartsDirect library open on your phone.
Remember: intermittent codes are often symptom-based. If you get multiple sensor errors at once, your board’s voltage regulator may be failing, providing a shaky 5V DC reference. That is a clear sign that the electrolytic capacitors on the board are reaching end-of-life.
Accessing the Service Mode: Button and Sequence Workflows
Method 1: Front Panel Key Combination
On most LG-manufactured Kenmore Elites (look for “Ice Plus” or “Energy Saver” labels), the front panel is your gateway.
- Power on the unit. Ensure the panel is lit.
- Press and hold “Ice Plus” and “Freezer” simultaneously for 5–10 seconds.
- The display should blank or light all icons, indicating a successful handshake.
- Release the buttons and press “Fridge” 3 times within 5 seconds.
- Use the “Freezer” button to cycle through test stages (“1,” “2,” etc.).
Pro-Tip: If nothing happens, ensure “Child Lock” is disabled. If the board is latched in a bad state, unplug the unit for 10 minutes to reset the EEPROM.
Method 2: Motherboard (PCB) Manual Activation
If the display is dead, go to the main control board behind the rear access panel.
- Unplug the unit. Remove the 1/4″ hex bolt on the rear service cover.
- Find the “TEST” or “SW1” tactile button on the PCB.
- Plug the unit in.
- Press the “TEST” button once. You will hear an audible click as the relay engages.
- Press again to cycle to the next diagnostic step.
- Hold the button for 5 seconds to exit the test mode.
Safety Warning: The PCB carries 120V AC. Never touch board components while the unit is plugged in. Use an insulated probe.
Executing Fan, Defrost, and Sensor Performance Tests
Step-by-Step Diagnostic Cycle Execution
Use this roadmap to isolate your failure during Service Mode:
- Test 1 (Forced Compressor/Fans): This fires up the compressor and all fans. If you hear silence, the relay or the compressor start relay is suspect. If only some fans spin, check the harness for those specific fans.
- Test 2 (Forced Defrost): The most critical test. If your evaporator is a block of ice, this forces the heater on. If the coils don’t warm up, you’ve found your broken thermal fuse or heating element.
- Test 3 (Sensor Feedback): Watch the display cycle through ambient temperatures. A reading like “199°F” or “-50°F” in a 70°F room confirms a failed thermistor, not a system failure.
Emergency Recovery and When to Call a Pro
Recovering a Locked or “Brick” Diagnostic Mode
If the unit freezes in a diagnostic loop, don’t panic. It’s usually just a firmware latch-up.
- Hard Reset: Unplug for 15 minutes to let the capacitors fully discharge.
- Power-up: Plug back in. Document any error codes immediately.
- Threshold for Pros: If the compressor runs, fans work, defrost is clear, but the coils stay at room temp, you have a sealed-system failure (refrigerant leak).
DIY work stops here. Refrigerant work requires EPA certification and specialized brazing tools. Presenting a pro with the specific diagnostic test that failed will save you money on their inspection fee.
Long-Term Maintenance and Component Calibration
Preventative Care Post-Diagnostics
- Condenser Coil Check: During Test 1, watch the compressor. If it gets dangerously hot within 30 seconds, your coils are dirty. Vacuum them to extend compressor life.
- Door Seal Integrity: Use a dollar bill to check the magnetic seals. If it slides out too easily, warm the gasket with a hairdryer to reshape its “pinch.”
- Calibration: If you see board glitches often, install an appliance-grade surge protector. Cleaning the power signal keeps the logic board happy.
📌 Save to Pinterest
Frequently Asked Questions
Why does my Kenmore Elite display show an error code but the diagnostic mode fails to start?
The board’s logic gates may be locked to protect the compressor. Unplug for 15 minutes, then restart the sequence within 60 seconds of plugging back in.
How do I interpret the numerical results displayed during the diagnostic test sequence?
These correlate to resistance values. A display near 90 often means an open circuit (disconnected sensor), while 0 often means a short. Cross-reference your manual’s ohmic chart.
Does entering diagnostic mode automatically reset the refrigerator’s software memory?
No. You usually need to hold ‘Fridge’ and ‘Ice Plus’ for 10+ seconds while in service mode to wipe the error logs.
Is it safe to run evaporator and condenser fan tests while the refrigerator is still loaded with food?
Yes, but keep it brief. Don’t run forced-defrost for more than 15 minutes to avoid a “heat soak” that could spoil your food.
What specific steps should I take if a diagnostic test identifies a faulty temperature sensor?
Wiggle the wire harness while watching the display. If the number jumps, it’s a loose wire. If it stays static, replace the sensor assembly.