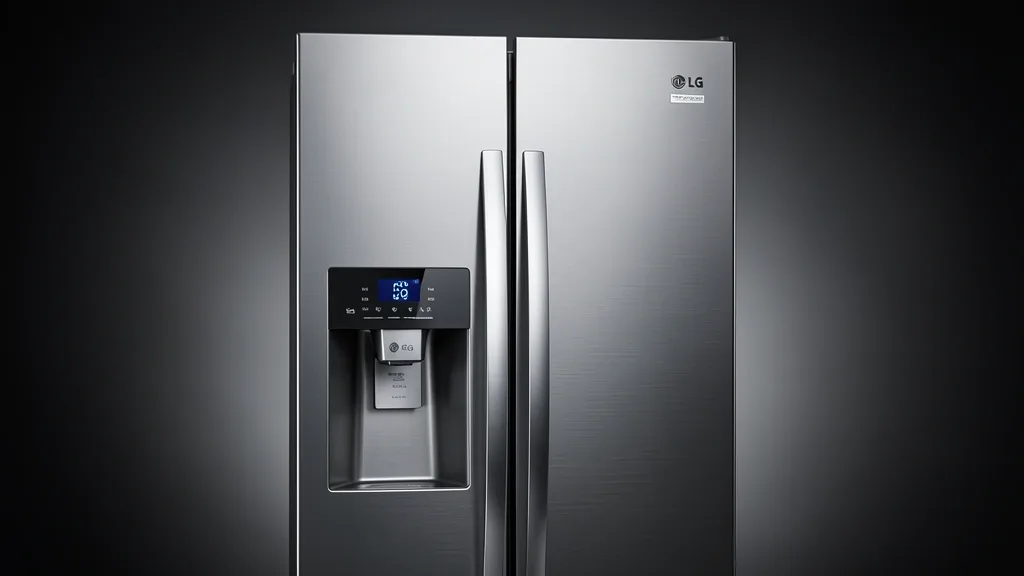
As a lead technician, I’ve learned that mastering lg refrigerator temperature settings is the secret to keeping food fresh and preventing premature appliance failure. Getting your settings right isn’t just about tapping buttons; it’s about understanding how your fridge’s logic board talks to the cooling loop to keep your kitchen’s climate stable.
Key Takeaways
- Digital boards modulate the inverter linear compressor using real-time data from internal thermistors.
- Always allow a 24-hour stabilization window after power-on to avoid sensor reading errors.
- Use an external thermometer to confirm sensor accuracy before assuming a hardware failure.
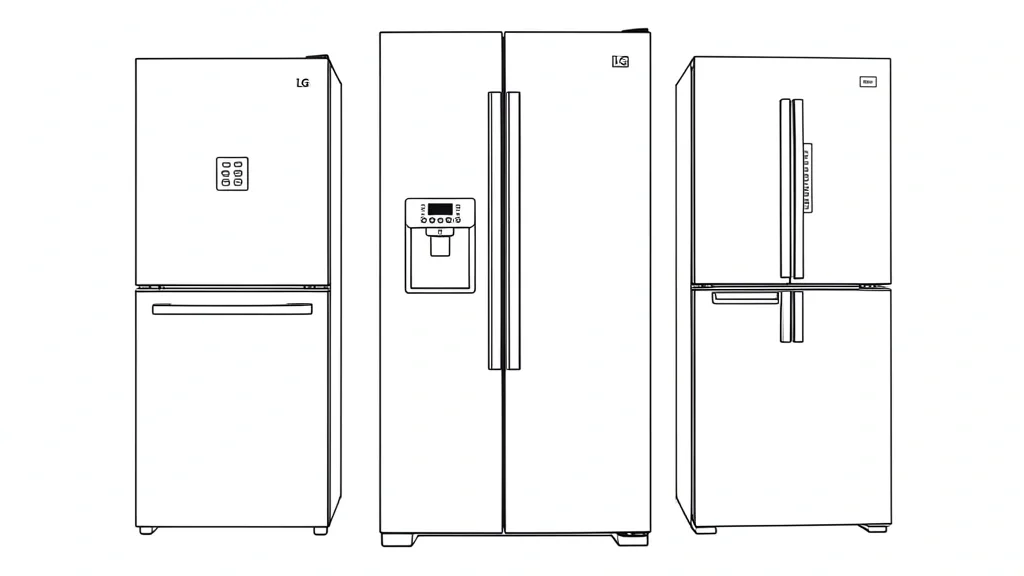
Technical Overview of LG Temperature Control Systems
Modern LG units use an inverter linear compressor. Unlike the old-school reciprocating motors that clunk on and off, this system adjusts its stroke and speed based on the load detected.
The main control board manages this process. It takes constant input from thermistors—diagnostic nodes placed inside the fridge—to keep your setpoint within a tight range. This technology is precise, but it requires a consistent environment to work correctly.
The system also manages “door cooling,” which blows cold air toward the front when the door is opened. It boosts fan speeds dynamically to stay ahead of temperature spikes. However, this intelligence makes the unit sensitive to airflow problems.
If you stack items against the rear air vent, the nearby thermistor gets a false reading. It thinks the fridge is colder than it is, throttles the compressor down, and leaves the rest of your food to warm up.
If you face persistent logic errors, a simple restart rarely works. A true reset requires cutting power and using specific button sequences on the control panel. This wipes the EEPROM cache of faulty data loops that often crop up after a power surge or a brownout.
Diagnostic Matrix for Cooling Performance
When things don’t feel right, don’t jump straight to calling a repair shop. Often, frozen veggies or warm drinks are just symptoms of minor calibration drift. Use this guide to narrow down the issue.
| Symptom / Error | Possible Cause | Quick Check | Resolution |
|---|---|---|---|
| Grocery items freezing | Sensor drift or vent proximity | External thermometer in crisper | Adjust setpoint +2 degrees; clear vents |
| Warm dairy/meats | Evaporator fan airflow block | Listen for hum/airflow | Clear rear internal coils; check fan |
| Digital display flashing | Logic board communication loss | Check for ‘OFF’ mode | Perform factory reset procedure |
| High humidity/frost | Door gasket/Seal failure | Paper slip test | Clean seal or replace gasket |
To verify the temp, use a thermometer calibrated against an ice bath. Stick it on the middle shelf for six hours. If your digital panel reads 37°F but the probe hits 45°F, you have verified digital sensor drift.
If you see a discrepancy of more than 4 degrees, the board might need a firmware update or a hard reset. Don’t try to manually calibrate the thermistors. They are factory-set; if they’re way off, the sensor has likely hit its limit and failed.
If you hear a grinding noise, check the evaporator fan. If it’s blocked by frost, the system works overtime, creating a cycle of cooling, warming, and ice buildup. You’ll need to defrost the unit and check the drain line.
Prerequisites for Accurate Calibration
The biggest mistake people make is not waiting the full 24 hours after an adjustment. New units or fridges that were recently unplugged have a lot of thermal work to do to reach a steady state.
During that first day, sensors are reading constant fluctuations. If you keep changing the settings, the compressor will “hunt” for the right speed, preventing it from ever settling into a groove.
Once the stabilization period is over, check for clearance. Make sure your unit sits at least two inches away from the wall. Proper airflow is non-negotiable for venting heat through the coils.
If the heat can’t escape, the compressor will overheat and trip its own thermal protection. This shuts the cooling system down entirely. Clear out the ducts and make sure you aren’t fighting your own hardware.
Before calling for service, run the LG Smart Diagnosis app. It uses an audible signal to send status reports to the server. This catches “soft” errors that you might miss, like minor thermistor mismatches or pending firmware updates.
Step-by-Step Adjustment and Testing Workflows
Manual Touch-Panel Temperature Adjustment
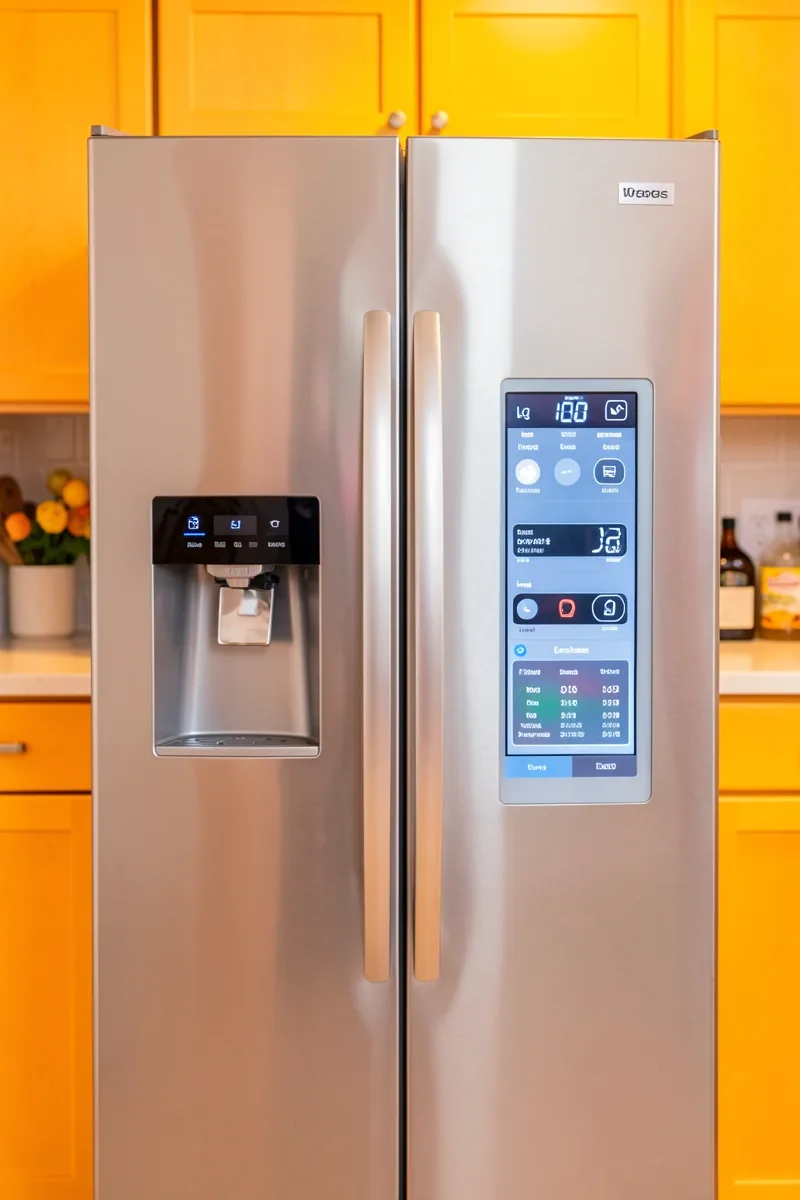
Adjusting an LG fridge is straightforward if you know the pattern. Modern units use either a door-mounted LED display or an internal panel.
- Locate the Control: Tap the ‘Fridge’ or ‘Freezer’ button to cycle through presets (usually 33°F to 42°F for the fridge; -6°F to 8°F for the freezer).
- Selection Confirmation: Tap until you hit your number. The display should blink three times. That blink confirms the logic board has saved the new target.
- The 24-Hour Rule: Leave it alone for 24 hours. No micro-managing. Let the thermal mass stabilize naturally.
Verifying Performance with an External Thermometer
The display shows the set point, not the actual air temperature. To get the truth, do the water glass test.
- The Water Glass Method: Put a glass of water on the center shelf. Submerge a digital probe thermometer into it. Leave it overnight.
- Placement Accuracy: Air temps spike every time you open the door. Water holds its temp, giving you a true reading of your food’s actual environment.
- Interpretation: If the fridge is set at 37°F but the water reads 42°F, you have a performance gap. If they match, your fridge is working fine, and any spoilage is just a matter of airflow limits.
Emergency Recovery and System Reset Protocols
The “Hard Logic” Power Cycle
LG boards are sensitive to power spikes. If you notice weird fan speeds, blinking lights, or cooling failure, try a hard reset first.
- Step 1: Initiation: Find the power cord or flip the dedicated circuit breaker.
- Step 2: The Discharge: Unplug the unit or kill the breaker. Do not just turn off the display. You need the capacitors to discharge fully to flush the memory.
- Step 3: Duration: Leave it off for at least 10–15 minutes. This gives the inverter module time to clear.
- Step 4: Re-Establishment: Plug it back in. It’s normal for the compressor to kick in immediately. Give it a full hour to see if the error persists. If it does, you’re likely looking at a failing sensor.
Diagnostic Mode Disclaimer
Stay out of the factory “Service Mode”—usually triggered by button combos like ‘Fridge’ + ‘Ice Plus.’ Using this incorrectly can override safety sensors and kill your freezer’s cooling, forcing you into a professional repair for something you could have avoided.
Common Pitfalls and Sensor Obstructions
The “Overpacking” Impact on Thermal Equilibrium
Overpacking is the #1 way to destroy your cooling performance. LG’s “Multi-Air Flow” needs room to breathe. When you crowd the back wall, you block the vents. This confuses the thermistors and creates hot spots throughout the unit.
Identifying Sensor Obstructions
- The Rear Baffle Myth: Never push milk or tall bottles against the back intake vents. The sensor reads that warm, trapped air and thinks the whole fridge is hot, while your veggies in the crisper turn into ice blocks.
- Door-In-Door Congestion: Check your door gaskets. If large items are keeping the door slightly ajar, warm air rushes in. The fridge runs 24/7 to compensate, which kills the compressor life.
Long-Term Care and Preventive Maintenance
Condenser Coil Efficiency
Your coils dissipate the heat pulled from your food. When they get covered in dust and pet hair, the fridge struggles. Every six months, pull the unit out and use a vacuum brush on those coils behind the kick-plate. It makes a massive difference in efficiency.
Door Seal Integrity
A bad seal is a silent, expensive killer. Use a dollar bill: close the door on it and try pulling it out. If it slides out with zero resistance, your gasket is shot. A weak seal pulls in warm, humid air, loading your evaporator coils with ice. Keep the seals clean and apply a thin layer of food-grade silicone grease to keep them flexible and tight.
📌 Save to Pinterest
Frequently Asked Questions
Why is my LG refrigerator not reaching the set temperature?
It’s usually blocked vents or dirty coils. Make sure no food is pressed against the rear wall to keep those air paths clear for the sensors.
What are the ideal recommended temp settings for LG fridges?
Stick to 37°F (3°C) for the fridge and 0°F (-18°C) for the freezer. This is the sweet spot for food safety and power efficiency.
How do I reset my LG refrigerator temperature settings?
Pull the plug or flip the breaker for 15 minutes. This clears the logic board and resets the control cache properly.
Can I use the LG ThinQ app to calibrate my fridge temperature?
The app is great for monitoring and sending commands, but it doesn’t “re-calibrate” the hardware. The onboard sensors handle all the real-time calibration.
What does it mean if my LG fridge temp display is blinking?
It usually means the unit is working to reach the set temperature after a power outage. If it stays blinking for over 24 hours, you likely have a sensor or board fault that needs a technician.