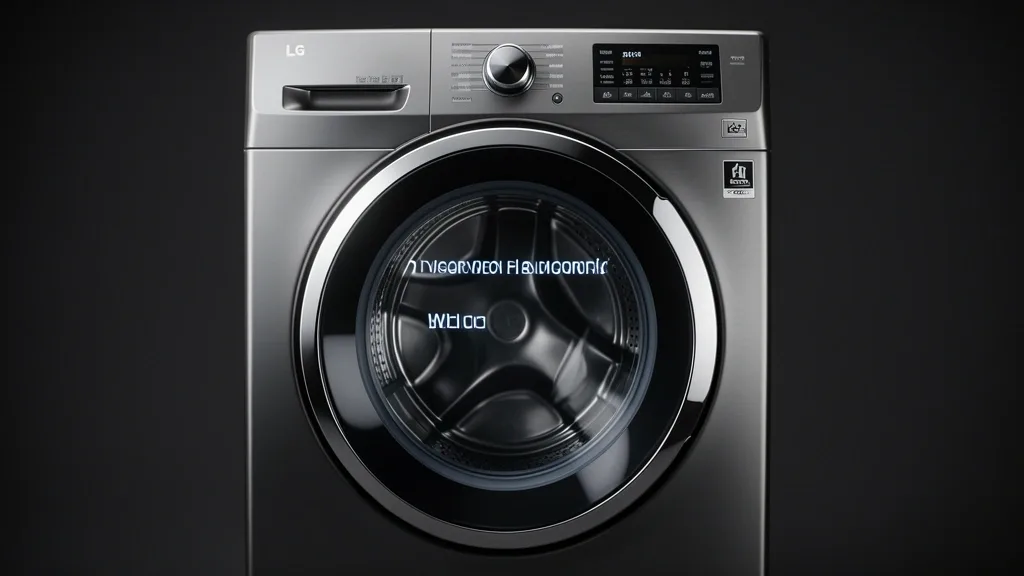
Mastering LG washer diagnostic mode is a vital skill for any professional technician or serious DIYer. By bypassing the standard user interface, you get direct access to the machine’s internal firmware and electromechanical systems. You’ll be able to isolate faults in minutes rather than hours.
Key Takeaways
- Diagnostic modes are for data verification; improper use can trigger a control board reset or software corruption.
- Mastering the ‘press and hold’ timing is everything. If you don’t sync your inputs perfectly, the service menu won’t activate.
- Always perform a ‘Safe Exit’ by powering the unit down completely to avoid control board lockouts.
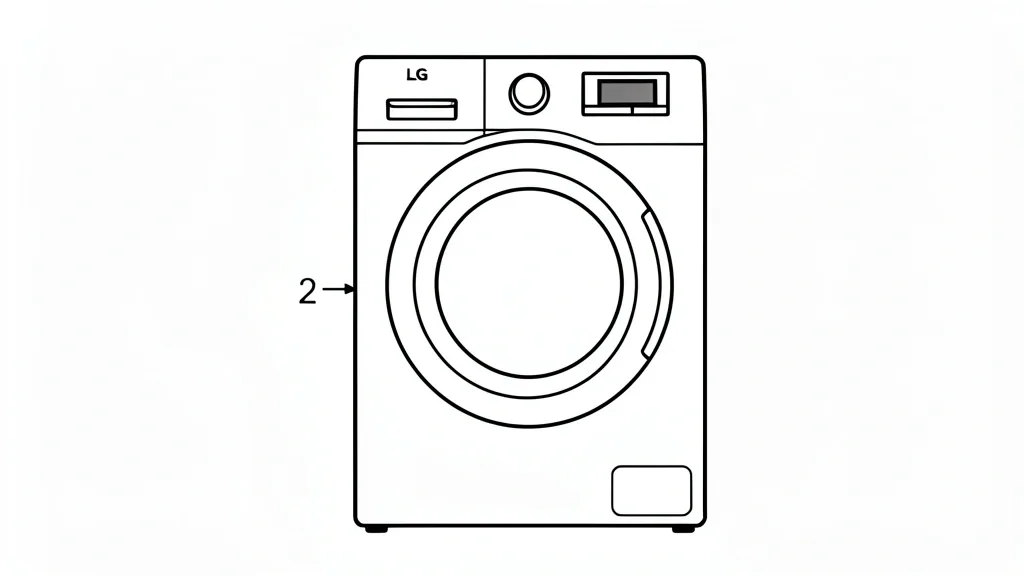
Understanding LG Washer Diagnostic Mode Functions
The internal service menu is your gateway to LG error codes and deep-level hardware telemetry. This hidden interface isn’t for day-to-day washing; it’s a field tool for evaluating the Direct Drive motor, pressure sensors, and door lock assemblies.
When you enter this mode, the machine shifts from a standard cycle state to a raw data reporting environment. You’re talking directly to the main control board, verifying voltage flow and sensor feedback loops. This is far more reliable than just looking for error codes on the main display.
Quick error readout helps with immediate triage. By scrolling through the fault history, you can spot intermittent sensor failures or heating element fluctuations that don’t trigger an alarm but definitely hurt cleaning performance.
Component testing is the more aggressive side of this mode. You can manually cycle through individual peripherals—like the water inlet valves, drain pump, and spin speed calibration. It’s the best way to determine if a part is actually broken or if you’re chasing a “ghost” signal from the PCB.
Use this sparingly. If standard LG ThinQ troubleshooting doesn’t fix the issue, then move to diagnostics. It’s a precision instrument; misuse can mess up internal configuration settings or factory calibrations.
Prerequisites and Safety Precautions
Before jumping in, disconnect the unit from the water supply if you plan on manipulating plumbing lines. Even when the washer is off, a water inlet valve test can trigger an opening if the solenoid terminals happen to be shorted.
Keep the floor dry and wear insulated footwear. Modern LG washers use low voltage, but the capacitors on the main control board can hold a charge for several minutes after you pull the plug. Don’t poke around the board until the unit has fully bled off.
Be careful during the drain pump test. Manually overriding the motor can lead to backflow or flying debris. Keep your hands well away from the impeller area; that motor has significant torque and can move unexpectedly.
Always wear ANSI-rated safety glasses. Pressurized hoses can burst or debris can get ejected at high velocity during a pump test—especially if the machine has been sitting idle for a long time.
Don’t forget the ‘Safe Exit’ procedure. To prevent control board lock-up or software corruption, always exit the mode, power down, and pull the plug for at least 60 seconds before running a standard cycle.
Finally, have the specific service manual for your serial number handy. LG updates software logic frequently. An incorrect button sequence can potentially lock the control panel or wipe the machine’s factory calibration, leaving you with a paperweight.
Decoding the Diagnostic Matrix: Control Panel Variations
Accessing the mode depends on your board generation. Older knob-and-button LG washers require perfect two-point synchronization. You typically hold the ‘Spin Speed’ and ‘Soil Level’ buttons simultaneously while turning the cycle selector. The timing is non-negotiable—usually a three-second hold.
Modern touch panels don’t provide that tactile feedback, so you need a software-based sequence. You’ll usually tap the ‘Temp’ and ‘Spin’ keys. Timing here is digital: if your presses aren’t within 500 milliseconds of each other, the board will just stay in standby.
Missing this window is why most people fail to get in. If the machine just beeps or tries to start a wash cycle, your inputs weren’t perfectly coincident. Use both hands to ensure both switches on the PCB trip at the same millisecond.
| Symptom / Error | Possible Cause | Quick Check | Resolution |
|---|---|---|---|
| LE Error | Direct Drive Motor | Spin Test | Check rotor position sensor (RPS) harness |
| IE Error | Water inlet valve | Inlet valve diagnostic | Clean inlet screens or replace valve |
| PE Error | Pressure sensor | Pressure sensor diagnostic | Inspect air dome tube for clogs |
| DE Error | Door lock mechanism | Door lock test | Replace door interlock assembly |
If you see a communication error (E-C) on the display, the data link between the UI board and the main power board is broken. Stop immediately. Forcing the diagnostic mode in this state can cause a hard software freeze that will require a new control board.
Always cross-check your control panel layout against current technical bulletins. If you run a standard code sequence on a high-end LG Signature model, you might trigger a factory reset. That clears your calibrated spin data and forces a long re-calibration sequence.
Step-by-Step Workflow to Access Service Mode
Manual Entry for Front-Load Models
Ensure the unit is off. Press and hold Spin Speed and Soil Level simultaneously. While holding them, press the Power button. The machine will beep and the display will light up with dashes (—) or a software version number. Use the Spin Speed button to scroll through tests.
Manual Entry for Top-Load Models
Make sure the washer is plugged in but not running. Press and hold Spin Level and Soil Level while pressing the Power button. You’ll hear a chime. Release the buttons and press Start/Pause to cycle through hardware tests. If there’s no digital screen, look for the water level LEDs to provide blink-code feedback.
Pro-Consultant Diagnostic Pointers
Never attempt diagnostics while the drum is full of water. The weight or potential electrical shorts through water can ruin the PCB. Clean your external filter or pump trap first; a blockage will give you false “OE” errors during testing. Finally, make sure the door is fully latched—an open door sensor will block the entire sequence.
Identifying and Troubleshooting Critical Error Codes
Decoding OE (Drain Failure)
OE is the most common call I get. In diagnostic mode, run the pump test. If it doesn’t move, check for a physical obstruction. If you hear a hum but no draining, the impeller is likely jammed with a coin or hair clip. If it’s dead silent, the motor winding is likely toast.
Decoding IE (Inlet Error)
This means the machine didn’t fill in time. During the valve test, listen for the solenoids clicking. No click? The coil is bad or the PCB isn’t sending 120V. If they click but no water moves, check your house pressure and the inlet screens for sediment.
Decoding UE (Unbalance Error)
UE is a mechanical code. The brain can’t stabilize the spin. Perform the “Tacho” test. If the motor doesn’t ramp up perfectly, your hall-effect sensor or RPS is failing. If the motor is fine, check the tub spider arms. Wobbly support arms will cause UE events regardless of load.
Decoding dE (Door Error)
Safety first. If dE sticks, verify door strike alignment. The plastic mounts flex over time, missing the sensor. Use a multimeter in diagnostics to check for 5V DC at the switch. If the sensor is clean but the code stays, replace the lock assembly.
Performing Component Stress Tests Safely
The Motor and Inverter Test
The control board uses the inverter to spin the drum. Start at a low RPM. Safety Warning: Never touch internal wiring while live. If the motor grinds or vibrates violently, kill the test immediately—that’s a bearing failure. Also, verify shipping bolts were removed during installation; they often cause this exact damage.
Water Valve and Pump Stressing
Test each valve (Cold, Hot, Steam, Bleach) in short 10-second bursts. Keeping them open for long periods can cause thermal stress or water hammer in your pipes. Check for leaks near the soap drawer or internal hoses during this active test.
Preventing Surge Damage
Give the board 30 seconds to “cool down” between tests. Rapidly switching between spin and drain creates back-EMF that can fry sensitive relays. Pace your testing: run it, evaluate the display, document it, then move on.
Safely Exiting Diagnostic Mode and Long-Term Care
Exiting the System
To exit, do a hard reset. Hitting ‘Power’ isn’t enough. Press the power button to turn it off, then pull the plug for at least 60 seconds. This bleeds the capacitors and clears the volatile memory. Plug it back in and run a short “Rinse & Spin” to verify everything is back to factory defaults.
Long-Term Reliability Tips
1. Tub Maintenance: Use a tub-cleaning tablet monthly. Soap scum creates sensor errors. 2. Door Care: Leave the door ajar between washes so the bellows dry out. Mold buildup leads to sensor interference. 3. Filter Hygiene: Clean the drain pump filter every 3 months. It’s cheap insurance. 4. Voltage Stability: Use a high-quality surge protector. Modern LG PCBs are extremely sensitive to power spikes.
📌 Save to Pinterest
Frequently Asked Questions
How do I accurately interpret error codes displayed during LG diagnostic mode?
Diagnostic codes appear as alphanumeric characters (OE, IE, UE) on digital models. Match these against your specific service manual. If the light is blinking, the sensor is reading an out-of-range value, like water level or motor speed.
Can I trigger the diagnostic mode if my LG washer does not have a digital display?
Yes. The machine will use LED flash patterns. You need the owner’s manual to find the “blink code” chart for your specific model to translate those sequences into error logs.
What should I do if my LG washer gets stuck in the diagnostic routine?
If it becomes unresponsive, press and hold the power button for 10 seconds. If that fails, pull the plug for 5 minutes. If it immediately re-enters diagnostics upon restart, you likely have a firmware or hardware board failure.
Will running the diagnostic mode void my manufacturer warranty?
No. Diagnostic mode is a standard, built-in feature. As long as you aren’t drilling into the cabinet or bypassing physical safety switches, you are operating within allowed parameters.
How do I reset an LG washing machine after clearing a diagnostic error?
After repairs, unplug the machine for 5 minutes to clear the control board cache. Plug it in and run a standard “Rinse & Spin” cycle. If it finishes without errors, your system is back to normal.