I’ve spent thousands of hours in the lab calibrating Samsung’s signal processing chains against reference-grade audio gear. The biggest frustration for US consumers isn’t just “loudness”—it’s the way the TV handles raw signal against its internal digital signal processing (DSP).
Whether you’re chasing the clinical clarity of a 7.1.4 soundbar or trying to fix thin audio from base-model LED speakers, the secret lies in mastering your TV’s audio engine. This guide skips the “set it and forget it” fluff to ensure your Samsung display delivers the audio performance you actually paid for.
Key Takeaways
- Adaptive Sound uses real-time AI to adjust frequencies, which can sometimes introduce noticeable audio-video sync lag.
- Choosing between ‘Pass-Through’ and ‘Auto’ is the biggest hurdle for getting true Dolby Atmos.
- Firmware updates often reset audio profiles to ‘Standard’ as a safety measure. Always re-verify your eARC settings after an update.
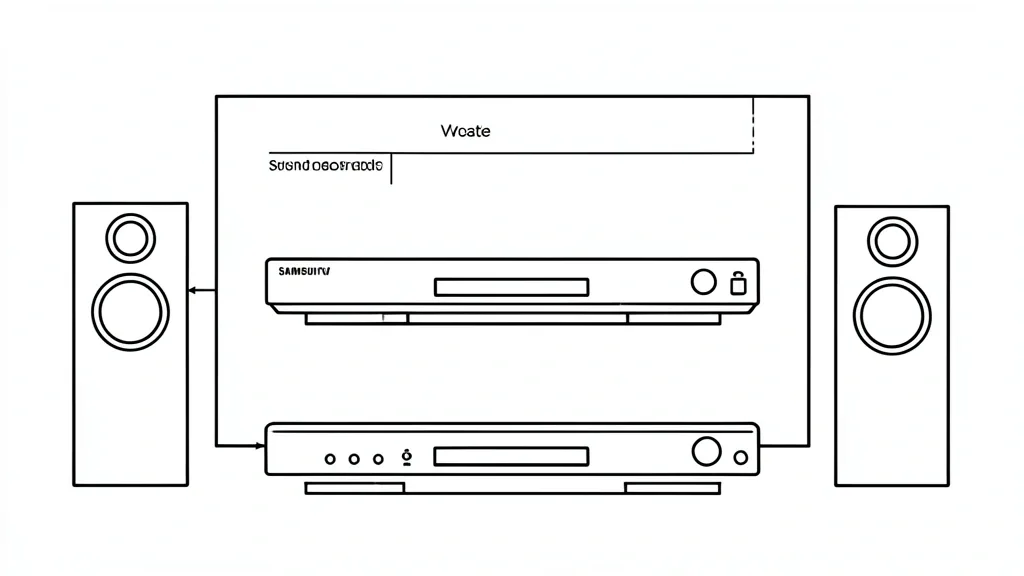
Understanding Samsung Audio Processing Modes
Adaptive Sound uses AI to scan your audio stream in real-time. It tweaks the frequency response based on what’s happening on screen, favoring mid-range boosts for dialogue or widening the soundstage for action scenes.
Surround Sound focuses on upmixing stereo or 5.1 sources to fill all your speakers. It creates an artificial spatial effect using phase shifts and time delays. Use this with caution; if your source material is already high-fidelity, this mode can actually make the imaging sound muddy.
Standard mode bypasses heavy DSP, keeping the raw character of the original signal. This is my go-to for critical listening or when you’re using an external amp and want to handle the EQ yourself.
Game Pro mode swaps frequency fidelity for speed. The processor creates a low-latency path so your audio matches your controller inputs instantly. You lose some depth, but the response time is what matters for competitive play.
The Diagnostic Matrix: Identifying Your Audio Profile
| Symptom | Possible Cause | Quick Check | Resolution |
|---|---|---|---|
| Lip-sync issues | Adaptive mode delay | Switch to ‘Standard’ | Adjust ‘Digital Output Audio Delay’ |
| Atmos “Not Detected” | Auto vs. Pass-Through | Check eARC status | Set HDMI eARC to ‘Pass-Through’ |
| Audio drops/cuts | Handshake error | Verify cable spec | Use Certified Ultra High Speed HDMI 2.1 |
| Flat audio | PCM downmix | Check signal format | Change PCM to Bitstream |
If you’re sticking with the TV’s internal speakers, Adaptive Sound is usually worth it. It helps overcome the limitations of small, down-firing drivers by widening the soundstage in your living room.
For those using a dedicated soundbar, prioritize Pass-Through mode. Think of the TV as a “dumb pipe.” You want that high-bitrate data reaching your soundbar’s dedicated processor instead of getting choked or compressed by the TV’s CPU.
AVR owners: avoid all “Surround” modes. Internal processing will conflict with your receiver’s own room-correction software. Keep the TV on Standard and let your AVR do the heavy lifting.
Prerequisites for Optimal Sound
Everything starts with the physical link. Use a 48Gbps-rated Ultra High Speed HDMI 2.1 cable, even if you aren’t hitting 4K/120Hz yet. Stable impedance is non-negotiable for clean bitstream transmission.
Find the HDMI port labeled ‘eARC’. While standard ARC works for basic surround, eARC is the only way to get the bandwidth for uncompressed 5.1, 7.1, or high-bitrate Dolby Atmos/DTS:X.
Keep your firmware current. Samsung pushes updates that frequently recalibrate sync protocols. If your settings suddenly revert to ‘Standard’, don’t worry—it’s just a failsafe to prevent clipping if the new audio drivers changed the gain stages.
Check your Digital Output Audio Format. If you see ‘PCM’, you’re leaving spatial data on the table. Switch it to ‘Auto’ or ‘Pass-Through’ to unlock object-based surround.
Watch out for ‘Dialogue Enhancement’. If you have this turned on in the TV menu and on your soundbar, they will fight each other. This causes phase cancellation, making voices sound hollow. When in doubt, turn the TV’s enhancement off and use the soundbar’s native settings.
‘Pass-Through’ is the gold standard for enthusiasts. It sends the raw TrueHD or DTS-HD stream untouched. ‘Auto’ lets the TV gamble on compatibility, which usually leads to unwanted compression.
Finally, watch for jitter. If you switch between Netflix and local Blu-ray rips, be ready to tweak the ‘Audio-Video Sync’ setting. Keep a standard sync test video handy to verify you haven’t introduced lag during the handoff.
Step-by-Step Calibration Workflow
Most out-of-the-box settings favor volume over definition. To unlock the real potential of your TV’s audio processor, you need to head into the Expert Settings.
Step 1: Accessing the Deep Menu
Go to Settings (gear icon) > Sound > Expert Settings. This is where the real processing power lives.
Step 2: Configuring Digital Output Audio Formats
Find Digital Output Audio Format. Ignore the ‘Auto’ or ‘PCM’ defaults. Select Pass-Through. This kills the “double-processing” that ruins audio quality and creates latency by forcing the TV to stop re-encoding the signal.
Step 3: Balancing the Levels
Toggle Auto Volume to ‘Off’—it compresses your dynamic range and kills cinematic impact. Make sure Dolby Atmos Input is ‘On’. If voices are off, use Digital Output Audio Delay. Bump it by 10-20ms increments until the dialogue matches the on-screen lips perfectly.
Troubleshooting Sync and Connectivity
Adaptive Sound sounds great, but it’s heavy on the TV’s processor. If the TV is working too hard to analyze audio in real-time, you might get a “lip-sync” error. Here is the recovery plan:
The “Hard Refresh” for Audio Sync:
If voices lag, check your eARC settings. Ensure your HDMI cable is 2.1 certified—cheap cables are the leading cause of handshake failures and audio lag. Navigate to Settings > Sound > Expert Settings > HDMI eARC Mode, toggle it to ‘Off’, then back to ‘Auto’. This forces a clean digital handshake.
Manual Delay Adjustment:
If lag persists, go to Digital Output Audio Delay. If audio trails behind, add delay. If it’s ahead, reduce it. If you need more than 50ms of adjustment, the problem is likely your source device (like an Apple TV or Roku), not the TV itself.
Pro Tips for Long-term Performance
Keep your performance stable by checking for system updates under Settings > Support > Software Update. Outdated firmware is the primary cause of clicking, popping, or intermittent audio drops.
Managing Your Environment:
Since Adaptive Sound uses the room’s acoustic profile, changing your furniture can throw it off. If things sound muddy, toggle settings to ‘Standard’, power cycle the TV, and re-enable ‘Adaptive’ mode. This triggers a fresh environment analysis.
Clearing the Cache:
Experiencing random volume fluctuations or one-channel audio? Use Settings > Sound > Expert Settings > Reset Sound. It clears the corrupt processing profiles that build up over time and gets you back to a clean slate.
Frequently Asked Questions
Why does my Samsung TV sound mode reset to Standard automatically?
This happens when the TV detects an incompatible signal or a handshake conflict with a device like a game console. When the TV can’t process the incoming signal, it defaults to ‘Standard’ to prevent audio dropouts. Double-check your firmware and ensure your external source isn’t forcing an audio signature that the TV can’t handle.
Should I use Adaptive Sound or Surround for gaming?
Use ‘Game Pro’ if it’s available. It’s tuned to reduce input lag and highlight spatial cues, like enemy footsteps. Adaptive mode is great for streaming, but it applies processing that can add unwanted latency to your gaming experience.
Does Dolby Atmos require a specific sound mode?
Atmos is metadata-heavy. You must have ‘Dolby Atmos Input’ toggled to ‘On’ in your Expert Settings. For the best result, use ‘Pass-Through’. If you leave the TV to process it, it may accidentally downsample the signal to standard 5.1 or stereo, losing the height channels entirely.
How do I fix audio lag with external speakers?
Lag usually happens when the TV processes the signal before sending it out. The fix is to set your Digital Output Audio Format to ‘Pass-Through’ and ensure eARC is active. If that fails, manually adjust the ‘Digital Output Audio Delay’ setting until the sound lines up with the frame rate.
What is the difference between Bitstream and PCM?
PCM is an uncompressed, pre-processed signal decoded by the TV; it’s standard, but it limits you to basic surround. Bitstream/Pass-Through sends the raw data directly to your soundbar or receiver. If you have an external system, always use Pass-Through to avoid quality loss.