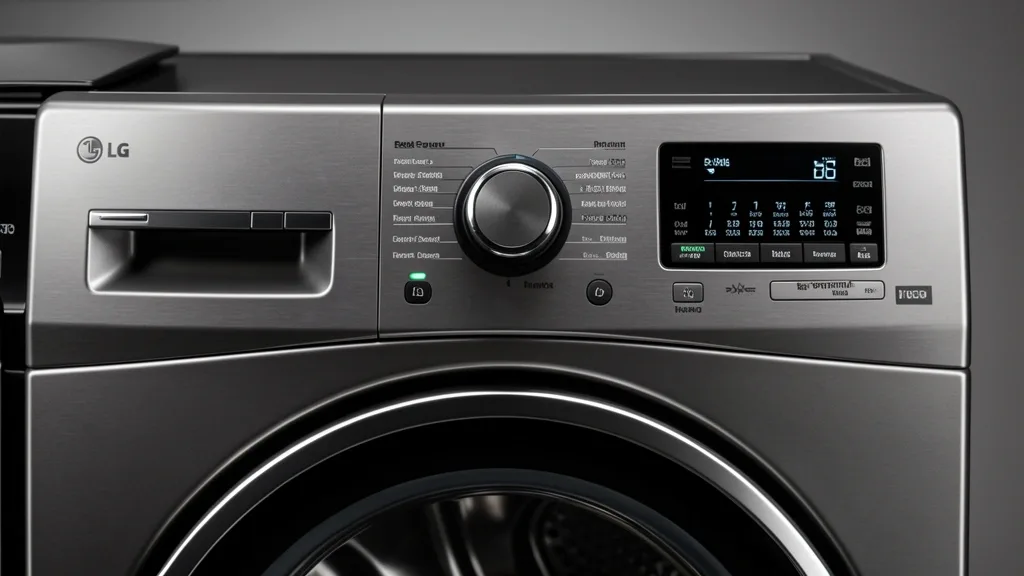
Mastering your lg washer settings takes more than just tapping buttons. It requires understanding the synergy between your machine’s electronic logic and its mechanical hardware. As an inspector, I often see performance issues caused by a simple disconnect between user expectations and the machine’s automated sensor routines. By optimizing your interaction with the control interface and respecting the machine’s physical limits, you ensure longevity and peak cleaning power.
Key Takeaways
- Load sensing calibration dictates actual water intake and agitation intensity.
- Electrical saturation often triggers false error codes if the washer shares a circuit.
- Smart wash optimization depends entirely on proper HE detergent dosing and filter hygiene.
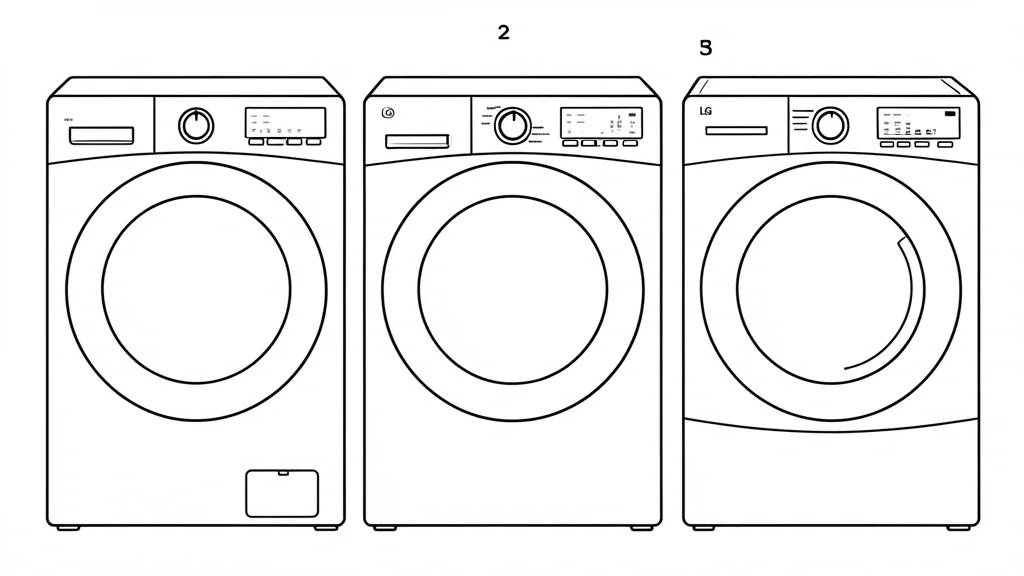
Technical Overview: Decoding LG Control Panels
At its heart, your LG appliance is a sophisticated network of thermistors, pressure switches, and hall-effect sensors. These components communicate with the Main Control Board (MCB) via low-voltage signals to dictate exact water valve timing.
When you start a cycle, the “Smart” sensing feature performs a rhythmic rotation. This measures torque and weight resistance to calculate the precise water level and agitation profile needed.
This calibration isn’t just a gimmick; it’s a critical efficiency mechanism. If the weight reading is off—usually due to an unbalanced load or loose leveling legs—the machine may trigger a spin-balancing error or throttle water flow to protect the motor.
Advanced users can access “secret” service modes by pressing specific combinations (typically Temp and Soil keys simultaneously while powering on). This reveals parameters like “t” spin frequency settings, which allow for official diagnostic adjustments to compensate for vibration-heavy floors.
TrueSteam settings add another layer of complexity by introducing high-heat vapor via a dedicated generator. The sensor array ignores standard cold-water thresholds during this phase, monitoring the steam solenoid to prevent overheating the inner tub.
Avoid overloading the unit, even if the clothes physically fit. Exceeding weight limits forces the sensors into a “high-resistance” state, which kills spin efficiency and prematurely destroys your drive bearings.
The Diagnostic Matrix: Identifying Common Errors
An error code is just a conversation between your sensors and the MCB. When your panel flashes, it’s signaling a break in that digital handshake.
An ‘OE’ code almost always points to a blockage in the drain pump filter. Users often mistake this for a software glitch, but the pump requires a clear path to evacuate gray water before the board will allow the spin cycle to start.
An ‘uE’ code usually signals an unbalanced load. Before restarting, clear the lint trap, ensure your floor is rock-solid, and confirm the shipping bolts were removed—an installation oversight that no software update can fix.
| Symptom / Error | Possible Cause | Quick Check | Resolution |
|---|---|---|---|
| OE Error | Drain obstruction | Check pump filter | Clear debris/kinks |
| uE Error | Unbalanced Load | Redistribute weight | Adjust leveling legs |
| IE Error | Inlet blockage | Water pressure check | Clean mesh screen |
| AE / tE | Sensor failure | Thermistor read | Service board/sensor |
Recalibration is helpful after a power surge. Simply unplug the unit for ten minutes. This forces the memory buffers to dump previous state-errors, effectively performing a hard reset on the control board logic.
Always cross-reference your specific model’s manual. High-end units with steam features carry extra error parameters for the inlet valve that entry-level models lack.
Don’t ignore blinking lights. If the ‘Spin’ and ‘Soil’ lights flash together, the machine is signaling a communication lag between the control board and the motor. Check your voltage input before assuming you need a hardware replacement.
Essential Prerequisites for Optimal Operation
Your washer’s performance depends on your home’s electrical and plumbing infrastructure. Most full-sized LG units require a dedicated 120V/60Hz, 15-amp circuit. High-performance energy efficient systems pull significant amperage during the water-heating and steam launch phases.
If you share a breaker with a kitchen outlet, you’ll trigger “voltage dipping,” causing the control board to crash or drop settings mid-cycle. Ensure your circuit is dedicated to the laundry room to keep the CPU clocks stable.
HE detergent guidelines are mandatory. Standard detergent creates excessive suds that confuse the pressure sensor. This leads to false ‘OE’ messages and a scummy, mold-inducing buildup in the outer tub, which ruins your door gasket moisture control.
Water pressure must stay above twenty PSI. Modern LG washers use a timed-fill system; if pressure is low, the machine times out, resulting in poor agitation and Allergiene cycle failure. Use a simple pressure gauge at your spigot to verify your flow.
Perform preventative maintenance on the drain pump and lint manifold every three months. Neglect causes internal resistance, which raises motor temperature and triggers thermal cutout sensors—shutting your machine down to prevent burnout.
Step-by-Step Cycle Configuration Workflows
Most users treat factory defaults as immutable truths. That’s a mistake. Modern LG units are highly granular. Tailoring them to your local water quality and specific laundry needs will improve both garment care and machine lifespan.
Customizing and Overriding Preset Parameters
To tweak a cycle—like adding an extra rinse or boosting spin speed—do it before pressing the Start button. 1. Select your base cycle via the dial. 2. Before hitting ‘Play’, check the LED indicators for ‘Spin’, ‘Soil’, and ‘Temp’. 3. Tap the corresponding button to toggle settings. To force a cold rinse on a warm wash, tap ‘Temp’ until only the ‘Cold’ index is lit, then verify your ‘Rinse’ options. 4. To add ‘Extra Rinse’ or ‘Steam’, check the ‘Options’ menu. If your model lacks a dedicated button, hold the ‘Rinse + Spin’ or ‘Steam’ buttons for three seconds to unlock hidden features.
Saving Custom Cycles to Machine Memory
If you have a “go-to” setting combination, save it to the machine’s memory. 1. Configure your desired cycle settings. 2. Look for the ‘Save Custom’ or ‘TurboWash’ button. 3. Hold that button for three seconds. You’ll hear a chime or see the ‘Custom’ light flash. 4. Next time, just tap ‘Custom’ to recall your profile instantly.
Emergency Recovery and System Resets
When an error code appears, don’t panic. Most “failures” are just software hangups or debris-related flow restrictions.
The Soft Reset Protocol
A soft reset clears the logic board of temporary electrical noise. 1. Power the machine off. 2. Unplug the 120V cord. 3. While unplugged, hold both the ‘Power/Start’ and ‘Pause’ buttons for five seconds. This drains the motherboard’s capacitors. 4. Wait two minutes, plug back in, and run a ‘Spin Only’ cycle to check for functionality.
Service Menu Navigation and Recalibration
If your machine is vibrating or failing to balance, force a recalibration: 1. With the machine off, hold ‘Spin Speed’ and ‘Soil Level’ simultaneously. 2. While holding, press the ‘Power’ button. The display should show “tcu” or a number. 3. Use ‘Spin Speed’ to cycle until you see ‘Recal’. 4. Press ‘Start’. The drum will rotate both ways to index its internal balance sensors. Once ‘End’ appears, you’re set.
Long-Term Care and Settings Maintenance
A washer is like a car; it needs a maintenance schedule. Follow this ritual to stay in factory-spec condition.
The Quarterly Maintenance Calendar
Monthly: The Tub Clean Cycle. This isn’t optional. Run the ‘Tub Clean’ cycle with an HE-compatible cleaner or two cups of white vinegar. This stops biofilm from building up behind the drum. Skip this, and you’ll get a mildew-like odor that no detergent can hide.
Bimonthly: The Drain Pump Filter. Open the small door on the bottom right. Place a pan down, drain the residual water using the tiny tube, and clean the circular filter. You *will* find coins, hair, and lint. A clogged pump is the #1 cause of OE errors and motor failure.
Quarterly: Dispenser & Seal Inspection. Pull the soap drawer out and use a nylon brush to scrub the caked-on soap in the back of the cavity. Wipe the door rubber (bellows) with a diluted bleach solution. Ensure the drain holes at the bottom of the rubber seal are clear; if they’re blocked by lint or pet hair, they’ll trap water and turn your laundry room into a musty mess.
📌 Save to Pinterest
Frequently Asked Questions
Why does my LG washer trip my circuit breaker?
Modern LG units are power-hungry during steam and heating stages. If it trips the breaker, you likely have other devices on that same circuit. Have an electrician confirm you have a dedicated 120V/15A (or 20A) line to prevent equipment damage.
What is the best setting for heavily soiled items?
Use ‘Heavy Duty’ paired with the ‘Steam’ option. The steam breaks down oils, while the cycle adds agitation. Always use ‘Extra Rinse’ to ensure all the dislodged dirt actually leaves the tub.
How often should I clean the drain pump filter?
Standard households should do it every two months. If you have pets shedding hair around the house, make it once a month. Organic matter decomposing in that filter is the classic source of laundry room odors.
Can I adjust the water level manually?
LG front loaders use HE sensors to set water levels based on weight. There is no manual dial, but you can choose ‘Water Plus’ on supported models or run an extra ‘Rinse + Spin’ if you feel the load needs more saturation.
Does non-HE detergent affect settings?
Absolutely. Excess suds trick the sensors into thinking there is a balance issue or a drain problem. It leads to shorter, ineffective cycles and premature sensor failure. Always use HE-labeled detergent.