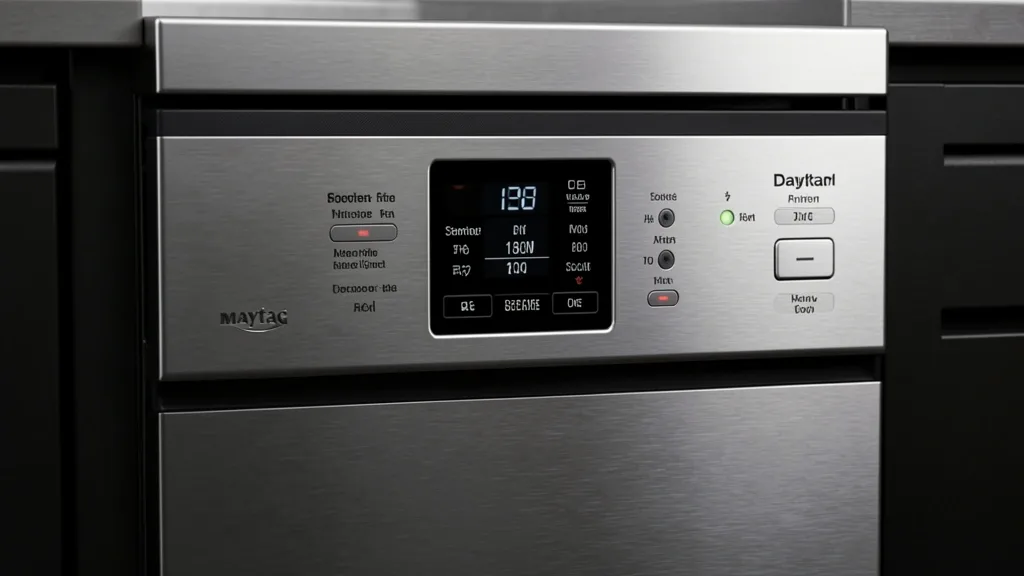
Optimizing your maytag dishwasher settings is a fundamental technical requirement for ensuring your appliance lasts longer and cleans better. Many users ignore the factory-optimized logic built into these systems, which often leads to performance drops or avoidable service calls. This guide breaks down the control logic and calibration protocols you need to keep your machine humming.
Key Takeaways
- Know the difference between physical buttons and capacitive touch panels.
- Use hidden diagnostic modes to distinguish between sensor errors and hardware failures.
- Calibrate for your household’s water hardness and detergent type to stop residue buildup.
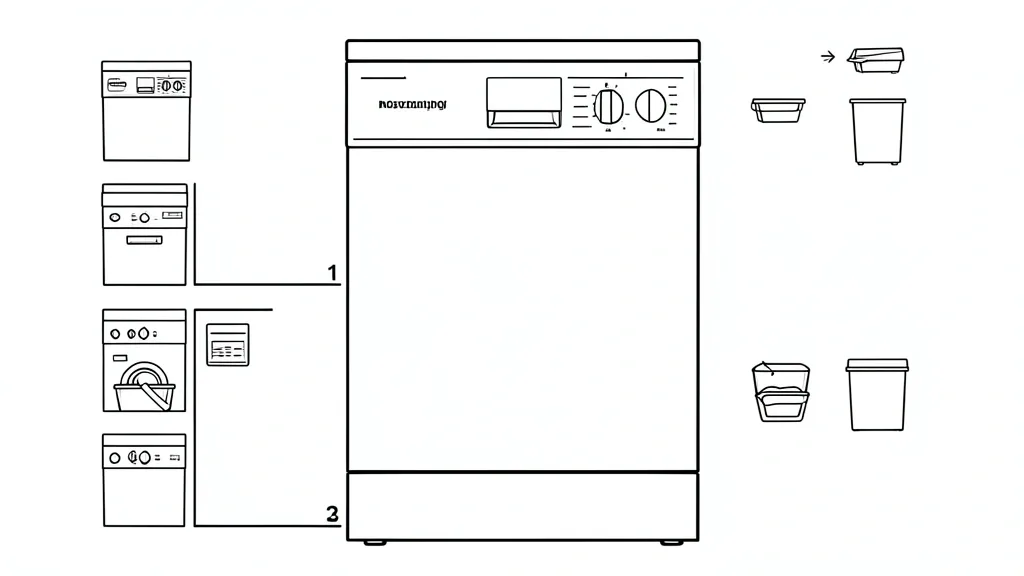
Technical Overview of Maytag Control Systems
Modern Maytag units use a sophisticated printed circuit board (PCB). This board is the “brain” for your dishwasher cycle selection and power management. Understanding this architecture is your first step toward effective troubleshooting.
Older units use physical tactile buttons. These rely on mechanical switches. They are durable but can trap crumbs or debris under the membrane, causing “stuck button” errors.
Newer models use capacitive touch sensors. These react to electrical conductivity through the panel overlay. Because of this, they are easily confused by water, grease, or incompatible cleaning sprays left on the surface.
If your panel stops responding, start with a soft-reset. Unplug the unit or flip the breaker for 60 seconds. This drains the capacitors and clears the controller’s volatile memory.
Need a hard-reset? Most modern touch-control models respond to a “magic sequence.” Press ‘Heated Dry’ then ‘Normal’ in a 1-2-1-2 rhythm. This forces the unit into diagnostic mode and displays control board error codes on the LED readout.
Don’t mess with the factory default settings lightly. Features like heated dry and sani-rinse are calibrated to balance energy use with sanitization. Disabling these often results in wet, spotty dishes.
Diagnostic Matrix for Common Cycle Failures
If your machine hangs on ‘Sensing’ or ‘Complete,’ don’t assume the pump is dead. It’s often a safety cutoff triggered by bad sensor data. Use the power cycle diagnostic to check for blink patterns, which indicate a faulty feedback loop.
| Symptom / Error | Possible Cause | Quick Check | Resolution |
|---|---|---|---|
| Cycle hangs on ‘Sensing’ | Turbidity sensor debris | Check filter mesh | Clean sensor eye |
| LED blink on ‘Complete’ | Control lock active | Check lock status | Hold ‘Control Lock’ for 3 seconds |
| No water fill | Inlet valve failure | Test for 120VAC | Replace inlet valve |
| Cycle ends early | Thermistor fault | Run diagnostic dump | Calibrate heat efficiency |
The load sensing calibration weighs your dishes by measuring drag on the wash motor. If it stalls, ensure your rack isn’t jammed or unevenly loaded.
Read your blink patterns carefully. Three fast flashes usually flag a heating issue. A constant pulse during the drain phase points to a blockage in the pump impeller or check valve.
If the control lock override is on, the dishwasher will stay silent when you press buttons. This mimics a mechanical failure, but it’s really just a user-input lockout.
Finally, check your flow rate. Maytag units need at least 2.5 gallons per minute. Anything less triggers a low-water error, causing the software to kill the cycle to save the heating element.
Prerequisites for Proper Cycle Calibration
Before you tweak settings, verify your home’s infrastructure. Most “defective” units are simply struggling with environmental limits.
Check the input water temp. Maytag expects at least 120°F. If your heater is set lower, the dishwasher will run infinitely trying to hit the sanitize threshold.
Next, audit your detergent. Detergent compatibility is crucial. High-sudsing pods in a system built for powdered soap can trigger the high-suds sensor and abort your cycle.
Don’t forget the water hardness setting. This is a hidden gem. If your area has hard water but the machine is set to “soft,” it won’t run adequate descaling cycles. The result is a permanent white film on your dishes.
Calibrate this by pressing ‘Heated Dry’ five times within 10 seconds while in Standby. This opens the hardness menu. Use your utility company’s GPG (grains per gallon) report to set the value correctly.
Clean your spray arm jets, too. If they’re clogged with mineral scale, the machine detects a drop in pressure and assumes there’s no water in the sump.
Step-by-Step Workflow for Customizing Wash Cycles
Optimizing Cycle Performance: Heated Dry vs. Sani-Rinse
Users often confuse ‘Heated Dry’ and ‘Sani-Rinse.’ These aren’t just options; they are operational modifiers that change the machine’s thermal profile.
Step 1: Choose your base cycle. Always select your primary cycle (like ‘Normal’ or ‘PowerBlast’) first to set the baseline duration and water levels.
Step 2: Activate Sani-Rinse. This triggers the internal heater to lock in a final rinse at 155°F (68°C). Pro tip: Only use this for extra-greasy loads; it creates a significant power draw and adds 20–30 minutes to your time.
Step 3: Configure Heated Dry. This engages the heating element to evaporate moisture. If you’re washing plastic, skip this and use ‘High-Temp Wash’ to avoid melting or warping.
Step 4: Schedule for savings. Use the ‘Delay’ function to align with your local energy grid’s off-peak hours (usually after 9:00 PM).
Emergency Recovery: Performing a Master Control Reset
The “Deep Cycle” Reset Protocol
When the firmware gets stuck in a loop or a sensor glitches, clear the NVRAM. This resets the board without requiring a technician.
Step 1: Power interruption. Kill the power at the breaker panel for at least 30 minutes. This drains every capacitor on the control board.
Step 2: The reset dance. Flip the breaker back on. Within 6 seconds, press Heated Dry -> Normal -> Heated Dry -> Normal in rapid succession.
Step 3: Validate. If successful, all LEDs will blink simultaneously to signal you’re in ‘Diagnostic Mode.’ Press ‘Cancel/Drain’ to finish. The board is now refreshed.
Pitfalls: Avoiding Common User Configuration Errors
The Three Pillars of Failure Prevention
Most repairs are actually just user errors. Watch out for these three big ones:
Pitfall 1: Overloading. Cramming a large dish directly over the turbidity sensor or blocking the spray arm forces the unit to loop the rinse, thinking the water is still “dirty.”
Pitfall 2: Neglecting Rinse Aid. Your detergent does not replace the need for rinse aid. Without it, you lose the surfactant benefits that break water surface tension, leading to spotty, wet dishes every time.
Pitfall 3: The Ghost “Lock”. If your buttons won’t work, check for a lock icon. You likely bumped the ‘Control Lock’ button. Hold it for 3 seconds to toggle it off.
Long-Term Care and Firmware Integrity
Maintaining the Logic and Mechanics
Keep your interface dry. Moisture leaking into the touch panel will ruin the control board faster than anything else. Keep your door gasket clean and free of food debris to maintain the seal.
Every six months, inspect your spray arms for calcium deposits. If you have hard water, use a citric acid-based descaler. Keeping the internals clean helps your sensors get accurate readings, which keeps your firmware running efficiently for years.
📌 Save to Pinterest
Frequently Asked Questions
How do I perform a hard reset on a Maytag dishwasher that is stuck on a cycle?
Cut power at the breaker for 30 minutes to drain the capacitors. Turn the power back on, then press ‘Heated Dry’ and ‘Normal’ twice in quick succession. This forces the NVRAM to clear and resets the system to factory defaults.
Why does my Maytag dishwasher finish sensing but not wash?
The unit is likely entering “dry-run” protection mode. If it doesn’t sense water movement in the first few minutes, it shuts down to prevent motor damage. Check for blocked spray arms or a faulty water inlet valve.
What settings should I use for heavy cleaning to avoid residue buildup?
Turn on ‘PowerBlast’ or ‘Heavy,’ then enable ‘Sani-Rinse’ and ‘High Temp.’ Make sure your rinse aid reservoir is full—this is the most important component in preventing white mineral spots.
How do I toggle the control lock feature on my Maytag unit?
Locate the padlock icon. Press and hold the ‘Control Lock’ button for exactly 3 seconds. The light will shift to indicate if the panel is locked or unlocked.
Is there a way to force the dishwasher to draw more water during the cycle?
No, there is no manual water level setting. The best way to use more water is to select the ‘Heavy’ or ‘Pots & Pans’ cycles, which prioritize longer pre-rinses and higher volume stages than the standard cycles.