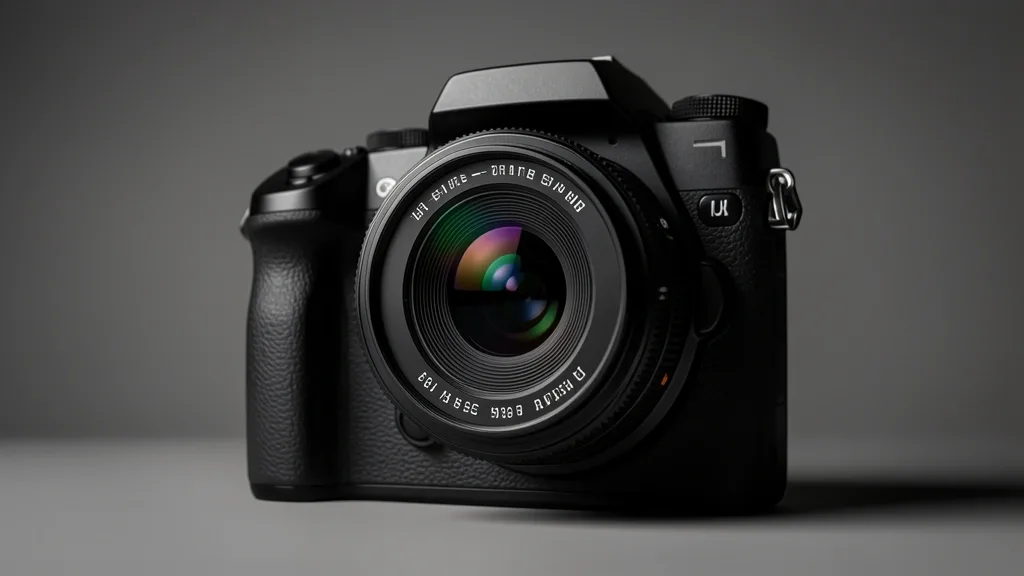
Modern photography is currently trapped in an arms race of inflated specs. To capture professional-grade images, you need to look past the marketing hype and identify which features are genuine technical breakthroughs and which are just digital noise created by marketing teams.
Key Takeaways
- Stop assuming more megapixels equal better images; physics, not pixels, dictates your ceiling.
- Distinguish between raw optical capture and synthetic software fabrication.
- Diagnostic workflows are your best defense against heavy-handed computational bottlenecks.
Understanding Sensor Physics
The industry push for 200MP sensors is a trap. It hits a hard wall defined by optical diffraction. When manufacturers shrink photosites to chase high resolution, each individual sensor pixel loses its ability to gather light effectively.
Once the aperture diameter is too small relative to the pixel pitch, light waves don’t converge cleanly. This is the diffraction limit. At these extreme densities, your camera is resolving the diffraction pattern of the lens rather than the details of your subject.
Pixel binning is the manufacturer’s way of masking this. They merge four—or even sixteen—pixels into one to save the image from noise. This prioritizes dynamic range compression over resolution, leading to images that look artificial and over-sharpened when you zoom to 100%.
In low light, high-res sensors struggle. Signal-to-noise ratios are tied to the physical surface area of the silicon. Small, packed pixels force the camera to amplify gain, leaving behind that distracting watercolor-like smudge instead of clean, high-contrast detail.
Aliasing and moiré also thrive here. High-density sensors often out-resolve the glass mounted in front of them. Without a strong optical low-pass filter, these sensors create artificial patterns on fine textures, forcing the internal processor to apply heavy-handed smoothing that ruins the image’s structural integrity.
Your Diagnostic Matrix for Camera Features
Don’t let a feature dictate your output. Test it. Genuine utility shows up in the data; gimmicks just add a layer of software-baked distortion. If your “High-Res Mode” produces massive file sizes but fails to show more spatial detail than a standard shot, you’re just paying for an upscaled, synthetic file.
| Symptom / Error | Possible Cause | Quick Check | Resolution |
|---|---|---|---|
| Watercolor effect in foliage | Extreme Noise Reduction | Check if ‘High-Res’ mode applies NR | Disable AI-Scene Optimization |
| Harsh, artificial sharpening | Destructive Tone Mapping | Compare RAW to JPEG preview | Shoot RAW with zero in-camera effects |
| Highlight clipping in shadows | Aggressive HDR/Multi-frame | Review Histogram for flat ends | Manual ISO/Exposure bracketing |
| Blurry edge resolution | Diffraction/Lens softness | Stop down aperture significantly | Find the ‘sweet spot’ focal length |
Use an ISO test chart to check if that 100MP setting actually resolves more lines-per-millimeter. If it relies on an edge-detection mask to mimic sharpness, drop it. Check your metadata, too. If a mode forces permanent tonal changes without a reset option, it is a destructive edit, not a capture setting.
Professional Workflow Prerequisites
Professional imaging demands transparency. You need raw, unadulterated sensor data. If you aren’t shooting in RAW, you’re letting the manufacturer’s Image Signal Processor (ISP) make creative choices for you—usually with disastrous results for color depth.
Find camera apps that offer driver-level access. Many native apps bake in sharpening or noise reduction specifically to prevent “bad” shots, but these defaults are exactly what cause processed, “digital” textures. You want a device that lets you bypass the filter.
Always establish your baseline. Set the camera to its lowest native ISO with all “AI” features off. Use this image to judge whether your add-on features are actually improving your work. If your baseline is cleaner and more natural, the “AI” mode is a failure.
Finally, your post-processing software matters. Relying on compressed HEIF or JPEG formats forces you to throw away the very metadata you need to correct lens aberrations or sensor noise. Shoot DNGs. Keep your files in high-bit-depth formats.
Step-by-Step Workflow for Disabling Gimmicks
Phase 1: Neutralizing Predictive AI
Manufacturers hide “Scene Optimizers” or “AI Composition” to tweak your colors and crush your contrast. Go to your camera settings—usually the gear icon in the corner—and find the Scene Optimizer or AI suggestions. Kill them all. Disabling these prevents the ISP from aggressively altering your highlights and shadows.
Phase 2: Purging Beauty Filters
Many phones bury “Skin Smoothing” in portrait menus. Open the Portrait or Selfie tab, look for the “Wand” icon, and slide “Smooth,” “Tone,” and “Jawline” to zero. This stops the processor from treating your skin texture as noise to be scrubbed away.
Phase 3: Activating Pro Mode
Force the device into “Pro” or “Manual” mode. Navigate to the file format menu and enable RAW or ProRAW. If you need a quick shot, use RAW+JPEG, but treat the DNG as your master file. This avoids the destructive HDR halation that occurs around high-contrast edges.
Emergency Recovery and Manual Controls
Regaining Optical Control
When factory defaults fail, take control of the exposure triangle. Long-press your subject until AF/AE LOCK appears. This stops the software from hunting for subjects and shifting white balance mid-capture. Set your ISO manually between 50 and 100. If the light is too low, drag your shutter speed to 1/60th—don’t let the automatic ISO jump, or you’ll introduce severe digital noise.
Handling Difficult Lighting
If you see “ghosting” in your images, the camera’s HDR merge is failing. Disable HDR, or use the exposure compensation slider (the sun icon) to drop the exposure by -0.3 or -0.7 EV. This protects your highlights from blowing out.
The Pitfalls of Computational Over-reach
The hallmark of a bad modern photo is “computational over-reach.” When a tiny sensor captures a 100MP image, the software simply upscales it, creating bright edge halos around your subjects. That’s an unsharp mask algorithm running wild.
Muddy skin textures are another symptom. The AI can’t tell the difference between pores and sensor noise, so it smears both. Then there is the loss of dynamic range—Auto-HDR kills the mood of a scene by flattening the histogram until everything looks like grey, digital mush.
Long-Term Archive Strategy
Treat your phone like an entry-level camera, not a studio. Move your files off the device immediately. Cloud-syncing often compresses your data to save server costs, which destroys the quality you worked so hard to keep. Use a USB-C transfer to an external NVMe drive.
Budget for storage. RAW files take up space—often 50MB to 100MB per shot—but they are the only way to retain control. By processing these yourself in software like Lightroom or Capture One, you get a cinematic, professional result that will stand up to the test of time.
📌 Save to Pinterest
Frequently Asked Questions
Are high-megapixel counts on phone cameras actually useful?
Rarely. These resolutions on tiny sensors just result in increased noise. You aren’t gaining genuine optical resolution; you’re just getting a larger, muddier file.
Does pixel binning hurt my photos?
It’s a compromise. While it helps in low light, it proves the marketing on the box is misleading. You’re left with a lossy computational result rather than native sharpness.
Why does my RAW photo look worse than the JPEG?
RAW is the truth. It hasn’t been “punched up” by software. It will look flat and dark because it lacks the fake saturation and contrast that phones add by default.
How do I identify a gimmick?
If it promises “AI-enhanced” or “perfect” skin with no control over exposure or shutter speed, it’s a gimmick. If it uses marketing buzzwords instead of technical data, it’s a filter, not a tool.
Will disabling these modes really result in better work?
Yes. You regain the ability to apply your own professional-grade color grading and denoising. Your results will look like photos, not like digital renderings.