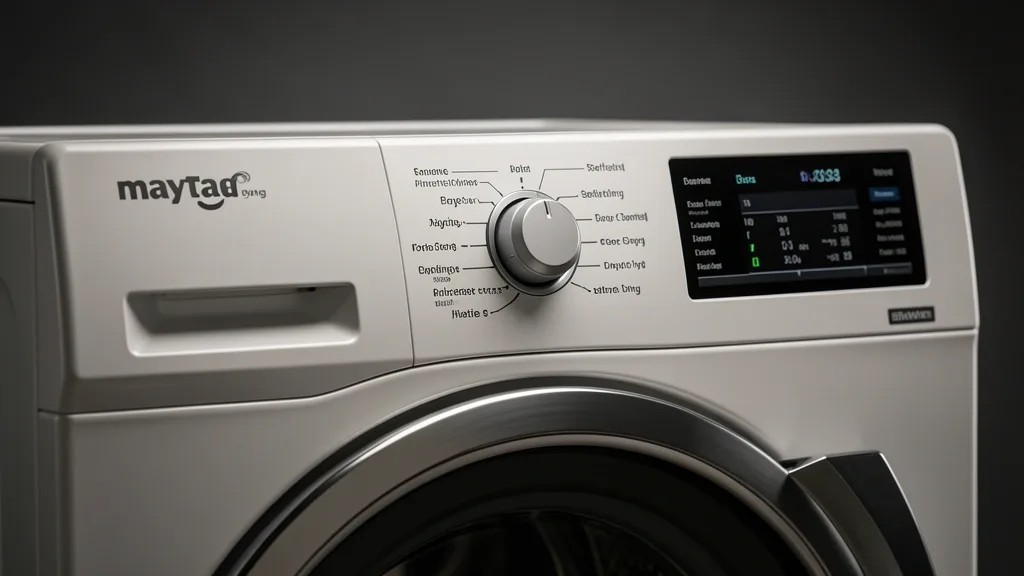
Mastering your maytag dryer settings is the best way to extend your appliance’s lifespan while keeping your energy bills in check. As a lead inspector, I’ve found that most performance issues—like damp loads or overheating—aren’t hardware defects. They are usually just a misunderstanding of how the machine’s control board logic actually works. This guide will help you optimize your laundry routine by decoding the tech behind your Maytag.
Key Takeaways
- Moisture sensors work through electrical conductivity; dryer sheet residue acts as an insulator, blocking the sensor’s ability to “feel” moisture.
- The control board bounces between ‘Sensor Dry’ (closed-loop) and ‘Timed Dry’ (open-loop) modes, which changes how heat is delivered.
- Venting efficiency is the biggest factor in sensor accuracy. If your vent is clogged, high humidity tricks the board into stopping the cycle too soon.
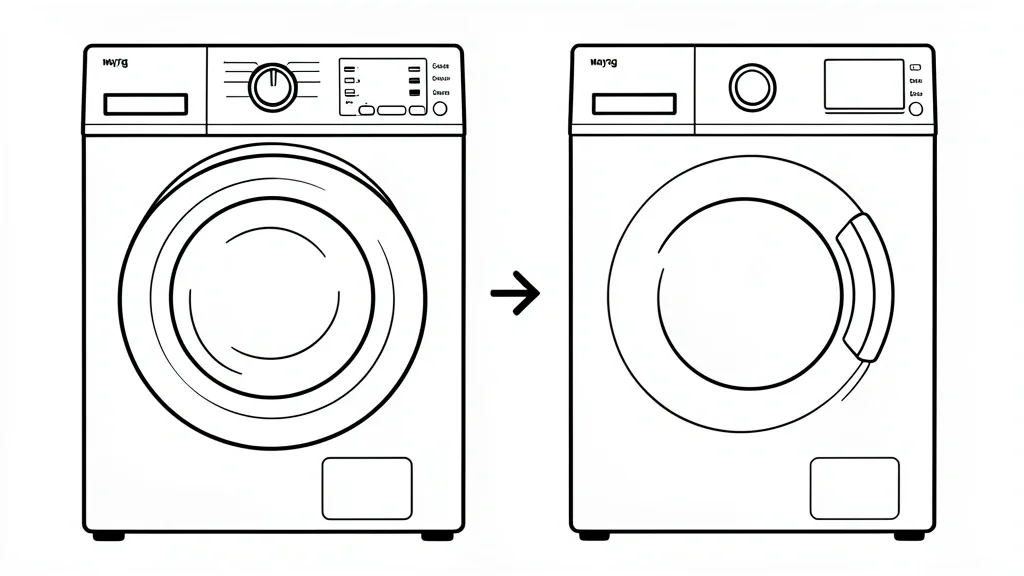
Technical Overview: How Maytag Sensor Logic Functions
At the core of your Maytag’s drying system are two metal conductivity bars located just behind the lint filter. These sensors measure the moisture level by completing a low-voltage circuit every time wet clothing tumbles against them.
When your clothes stay damp, they act as a bridge between these bars, allowing a tiny current to flow. The control board tracks the resistance across this circuit to calculate exactly how much moisture remains in the drum.
As the fabric dries, electrical resistance rises. Once that resistance hits a programmed threshold, the control board kills the heat. It’s a simple, effective loop of logic.
The problem? Fabric softener and dryer sheet residue. These leave behind a waxy, invisible film on the sensor bars. This coating blocks the signal, making the board think the clothes are still soaking wet even when they’re dry. This keeps the heat on far too long, damaging both your clothes and the dryer’s internals.
A quick wipe with rubbing alcohol is the simplest fix to keep your sensors accurate.
Unlike older units that used a basic timer, modern Maytag models use a PID controller algorithm. It doesn’t just watch for one number; it monitors the rate of drying to predict the exact second the load is ready.
If your dryer refuses to stop despite the clothes being dry, you might have a stuck relay on the main control board. A fried relay can lock the heating element into an “on” position, bypassing all your safety stops.
The Diagnostic Matrix: Understanding Cycle Variations
The control board adjusts the heat profile based on which setting you pick. Knowing these differences helps you protect your clothes and save on energy.
| Setting Name | Heat Profile | Cool-Down Phase | Logic Priority |
|---|---|---|---|
| Regular | High BTU / Max Temp | Short | Fast drying |
| Perm Press | Medium Heat | Long | Wrinkle reduction |
| Delicates | Low Heat | Gradual | Fabric safety |
Use the ‘Regular’ setting for heavy-duty items like denim or bath towels. The control board pushes the high-limit thermostat to its maximum to pull water out of thick, dense fabrics.
Meanwhile, the ‘Perm Press’ setting uses a wrinkle-control algorithm. Once the main cycle ends, it runs a series of unheated, intermittent tumbles to prevent wrinkles from setting during the cooling process.
‘Delicate’ is your safest bet for synthetics or spandex. It limits the heat to avoid reaching the thermal deformation point, which is what causes elastic failure and those annoying fabric pills.
The beauty of a Sensor dry cycle is that it adapts. If you have a dense, heavy load, the board senses the extra moisture and adds time automatically. A manual timer can’t do that.
If you stick to ‘Timed Dry,’ remember that the machine ignores the sensors entirely. It will keep grinding away until the timer hits zero, regardless of whether your clothes are dry or scorching.
If your drying cycle keeps running in ‘Sensor’ mode but stops correctly in ‘Timed’ mode, the issue is almost certainly within your moisture sensor circuit or its wiring harness.
Operational Prerequisites for Optimal Performance
No amount of smart engineering can fix a bad setup. The primary culprit for premature cycle termination is poor venting efficiency.
If your exhaust vent is blocked, the machine can’t vent the steam. The sensors mistake this trapped humidity for wet clothing, leading to an endless, inefficient loop that stresses the blower motor.
Always keep your lint filter clean. A clogged screen restricts airflow, which keeps the sensors from reading the air properly and risks overheating the heating element.
Load management is just as important. If you overstuff the drum, clothes can’t tumble and hit the sensors consistently. Keep your loads to two-thirds capacity to ensure every garment makes contact with those sensor bars.
Watch out for signal noise. If the heating element housing is grounded due to worn insulation, it can send stray voltage—or “noise”—into the chassis. The board often misreads this as a “dry” signal and shuts the machine off too early.
Clean your exhaust path at least twice a year. If the air can’t escape, your fancy digital controls are essentially working blind.
Step-by-Step Workflow for Custom Load Drying
1. Assessing Load Classification
Distinguish between ‘Sensor Dry’ (Regular, Perm Press, Delicate, Heavy Duty) and ‘Timed Dry’. Use ‘Heavy Duty’ for jeans or heavy cottons so the sensors get a clear read of the evaporation. Use ‘Delicate’ for anything that might shrink in high heat.
2. Configuring Custom Dryness Levels
After picking your cycle on the dial, use the console display to fine-tune your results:
- More Dry: Use this for bulky bedding or heavy towels. The cycle continues until there is zero detectable moisture.
- Normal/Optimal Dry: This is the default. It’s perfect for your everyday mixed loads of cotton and poly-blends.
- Less Dry: Perfect for items you plan to iron. Keep a trace of dampness in the fabric to make steam pressing easier.
3. Implementing ‘Timed Dry’
Use ‘Timed Dry’ for small, one-off loads like a single pair of sneakers, or to fluff up clothes that have been sitting in your dresser. Use the ‘+’ or ‘-‘ buttons to select your duration (15 to 90 minutes). The machine will run until the clock hits zero, ignoring the internal sensors entirely.
Emergency Recovery and Sensor Reset Procedures
Power-Cycling the Control Module
If your dryer acts up or shows strange error codes, do a hard reset. Go to your home’s breaker panel and flip the ‘Dryer’ breaker to the ‘OFF’ position. Wait at least sixty seconds to let the board’s capacitors discharge. Then, flip the breaker back to ‘ON’. Once it powers up, cycle the dial through all settings to clear the system’s cache before starting a load.
Deep-Cleaning the Moisture Sensors
Do your sensors need a refresh?
- Find the two metal strips on the front of the inner drum, near the lint filter chute.
- Dampen a clean, lint-free cloth with rubbing alcohol (do not use soap).
- Scrub the strips thoroughly to cut through the waxy buildup.
- Buff the strips completely dry.
- Run an empty 10-minute ‘Timed Dry’ cycle to evaporate any remaining solvent before your next load.
Common Pitfalls and Longevity Best Practices
The Overloading Paradox
Overfilling the drum is the easiest way to ruin your drying efficiency. If you pack it to 90%, clothes can’t move. You end up with a “dead zone” where the outside looks dry but the core is still wet. Stick to the two-thirds full rule.
Ventilation and Fire Safety
If you see a “Check Vent” light, don’t ignore it. The heating element is cycling rapidly to prevent a fire, which will eventually blow your thermal fuse. This trapped heat also cooks the electronic components on your main control board. Check your exterior wall vent at least every six months for clogs, dust, or nests.
Textile Chemistry
Be careful with how you use chemicals. Pour liquid fabric softeners into the washer, not on your clothes before you throw them in the dryer. If you use dryer sheets, don’t overdo it. The fatty acids in those sheets are the primary reason sensor bars stop working in the first place.
📌 Save to Pinterest
Frequently Asked Questions
Why does my Maytag dryer stop before the clothes are actually dry?
It’s almost always a combination of dirty moisture sensors or a clogged vent. A waxy coating on the sensors means they can’t “see” moisture, while a clogged vent causes the machine to trap heat and trigger a false “finished” signal for safety.
What is the difference between ‘Sensor Dry’ and ‘Timed Dry’?
‘Sensor Dry’ monitors the dampness of the load and shuts off when the job is done. ‘Timed Dry’ is a manual mode that ignores the contents of the drum and runs until the timer kills the power.
How do I clean the moisture sensors?
Locate the two metal strips inside the drum below the lint screen. Use rubbing alcohol on a clean cloth to wipe off any waxy film. Buff them dry, and you’re good to go.
Does ‘Wrinkle Control’ use more electricity?
No. It keeps the drum rotating sporadically after the heat ends to prevent clothes from creasing. It uses very little power compared to the heating element.
Why is my dryer failing to heat?
If the motor runs but there is no heat, check your circuit breaker. Dryers use two legs of 240V power. If one drops out, the motor will still spin, but the heater won’t fire. If the breaker is fine, you likely have a blown thermal fuse due to poor airflow.