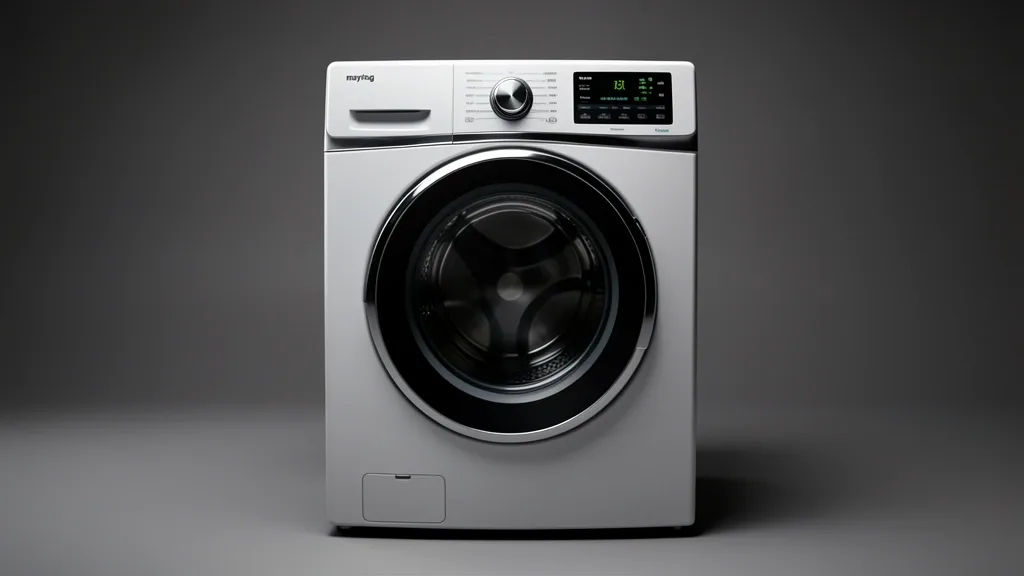
Mastering the maytag mvwx655dw1 diagnostic mode is a game-changer for homeowners and techs. If your washer is stuck in a “sensing” loop, the onboard firmware holds the key to bypassing logical lockups and flagging hardware failures before they force an unnecessary control board replacement.
Key Takeaways
- Diagnostic mode is your primary tool for reading Bravos error codes and clearing logic-based “hangups.”
- The “123-123” key-dance requires precise timing and a stable machine state to wake the service interface.
- Always exit by power-cycling or finishing a manual cycle to avoid leaving the machine in a permanent software loop.
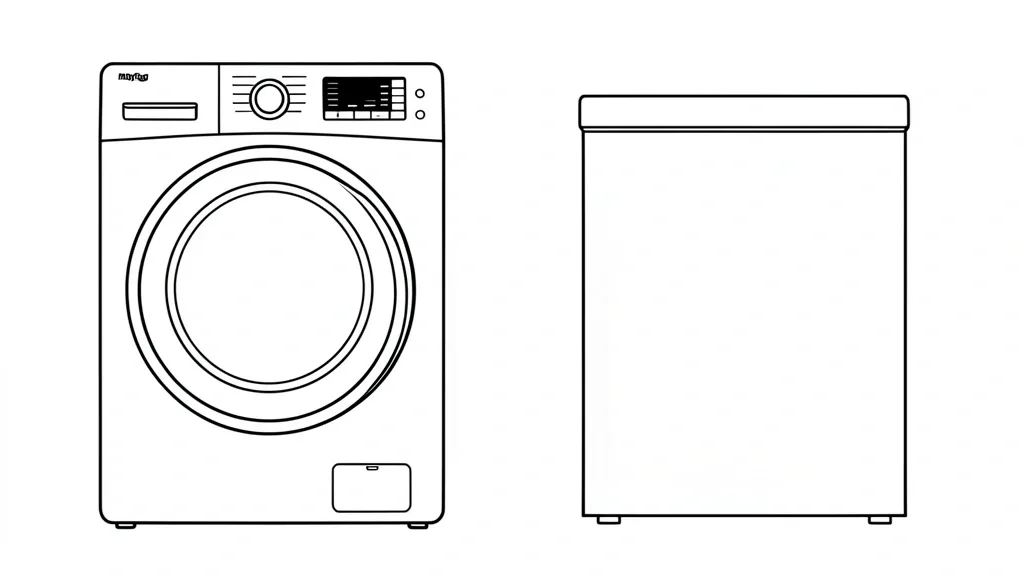
Technical Overview: The MVWX655DW1 Control System
The Maytag Bravos series uses a Main Control Board (MCB) that acts as a real-time logic controller. It constantly monitors inputs from the pressure transducer, lid lock, and hall-effect motor sensor. When the MCB fails to receive an expected pulse width modulation (PWM) signal, it hangs in “sensing mode.”
Usually, this isn’t a dead computer. The system is just waiting for a steady-state frequency from the pressure hose. If that hose is clogged with lint or sediment, the board can’t confirm a water-level baseline, so it stays stuck.
The diagnostic interface opens a window into this feedback loop. By forcing the machine into service mode, you bypass standard cycle hierarchies. You can read hardware logs directly from the firmware, which are otherwise hidden during normal use.
Lid lock communication is another common failure point. The MCB is extremely sensitive to DC voltage fluctuations here. If the lock sensor fails, the board defaults to standby to prevent accidents. Diagnostic mode shows you if the machine perceives the lid as “locked” or “open,” helping you avoid guessing games.
Most “board failures” are actually just pneumatic disconnects or mineral buildup on inlet valve screens. Checking these through the console first saves you from expensive, unnecessary parts swapping.
Prerequisites for Diagnostic Entry
First, get the machine into standby mode. All LEDs should be lit, but no cycle running. If a cycle is stuck, press “Pause/Cancel” twice to de-energize the relays.
Check your lid lock physical status. If it’s jammed in the “lock” position, the diagnostic mode likely won’t start because the system triggers a safety abort. Review official Maytag support guides if the latch looks damaged.
Ensure water lines are open and the drain pump isn’t blocked. If the controller detects a “flood” or zero water flow, it may throw a hard lockout that ignores your button inputs.
Now, the “123-123” sequence. You must be surgical. If you wait more than two seconds between rotations, the knob encoder times out. If the dial feels loose, check if the plastic shank is cracked. A failing knob can prevent the signal from reaching the D-shaft encoder inside.
Finally, inspect the pressure transducer hose. If this is pinched or cracked, the diagnostic mode will report a pressure error even if the switch is perfect. Visual checks are the fastest way to confirm your diagnostic data is reliable.
Accessing the Diagnostic Matrix
With the unit in standby, rotate the cycle knob counter-clockwise (left) three clicks, then clockwise (right) one click, and counter-clockwise (left) one click. Do this within 6 seconds. If you succeed, all console LEDs will flash.
No blink? The board is in an error-lockout. Unplug the unit for 60 seconds to let the capacitors discharge, then try again. If the dial still feels dead, the board’s input buffer is likely full; a hard reset is mandatory.
In service mode, rotate the dial until all lights turn on. This is the automatic test. You can keep rotating to see the last four historical fault codes stored in non-volatile memory (NVM).
| Symptom / Error | Possible Cause | Quick Check | Resolution |
|---|---|---|---|
| LEDs flashing/Stuck | Lid Lock Sensor | Check latch for lint/debris | Clean or replace assembly |
| F3 E1 / Pressure Error | Pressure Transducer | Check hose for blocks/kinks | Clear debris from tube/port |
| F0 E5 / Motor Error | Hall Effect Sensor | Check motor connections | Verify wire harness integrity |
| Sensing mode hang | Valve Screen Debris | Inspect inlet water screens | Clean screens of sediment |
| No Drain / Pump fail | Drain Pump Clog | Inspect pump filter/impeller | Clear obstruction or replace pump |
To exit, return the knob to the original start position and press Start. If you don’t exit correctly, the machine might stay in a calibration loop. If things get weird, repeat the entry steps and run the full factory reset.
Step-by-Step Diagnostic Workflows
Navigating the Menu
Ensure the washer is in “Standby” (lights off). To start, rotate the selector one full turn counter-clockwise to clear any cached inputs. Quickly perform the “1-2-3” sequence three times (Right, Left, Right; Left, Right, Left; Right, Left, Right). If successful, lights will flash. Fluid, rhythmic motion is better than speed.
Manual Test Segment Procedures
Once the console lights signal you are in Diagnostic Mode, rotate the knob to test individual components:
- Hot/Cold Valve Test: Select the valve ID and press “Start.” You should hear a distinct click and water rushing in. If you hear the solenoid but get no water, the intake screens are clogged.
- Drain Pump Test: Navigate to this test to pull power directly to the pump. If it doesn’t drain, check the pump filter for coins or hair ties.
- Spin Cycle Activation: This powers the motor inverter. The lid must be locked. If the lid lights flash and the test aborts, the motor tachometer isn’t reporting movement, signaling a rotor sensor failure.
Emergency Recovery and Factory Reset
The Factory Reset Protocol
DANGER: Unplug the 120V power cord before touching any internal parts. Board capacitors hold a charge even when disconnected; wait 5 minutes before probing internals.
Only reset if you have confirmed there are no mechanical failures like a broken belt or seized pump. To reset:
- Enter Diagnostic Mode.
- Rotate the knob to “Calibration” or “Software Reset” (usually near the Rinse/Spin position).
- Hold the “Start” button for 10 seconds until all status LEDs blink together.
- Unplug the unit for 60 seconds.
- After plugging it back in, run the “Automatic Calibration” cycle immediately so the board can relearn basket inertia.
If the unit still hangs in “Sensing” after this, the board firmware is likely corrupted and needs a replacement.
Common Pitfalls and Component Failures
Pressure Hose Sediment
This is the #1 reason for “Stuck in Sensing.” Soap residue and condensation form a gunk-plug where the hose meets the tub. No air pressure means the computer can’t “see” water levels. Clean this connection point before buying a new sensor.
Lid-Lock Assembly Failure
The MVWX655DW1 uses the lid-lock as a primary safety gate. If the internal sensor dies, the washer skips from “Sensing” to “Complete” because it thinks the machine is unsafe. If you see the “Lid Lock” light flashing constantly, it’s time for a new lock assembly.
Water Valve Screens
Don’t trust house water pressure for the machine’s internal needs. Fine sediment clogs the inlet screens. If the machine takes forever to fill or never reaches the right weight, pull the water lines and clean the intake screens.
Maintenance and Calibration
Calibration Best Practices
Calibrate at least every six months or after any repair to keep load-sensing accurate.
- Empty the basket.
- Enter Diagnostic Mode.
- Rotate to “Calibration.”
- Press “Start” and let it run for 2-4 minutes. Do not touch it.
- Run a monthly washer cleaner cycle (like Affresh) to prevent bio-film from blocking the pressure sensor port.
Keeping the hose clear and the drum balanced will extend the life of your motor inverter and control logic significantly.
📌 Save to Pinterest
Frequently Asked Questions
How do I know if the “sensing” hang is a sensor error?
If it sits in ‘Sensing’ for over 10 minutes without water or movement, the pressure hose is likely blocked. Check for pressure sensor codes in diagnostics; if you don’t see one, it means the computer is getting a ‘false positive’ signal from the hose.
Does diagnostic mode automatically reset my board?
No. Diagnostic mode is read-only unless you specifically trigger the Calibration or Reset functions. You won’t wipe your settings just by browsing codes.
What do the flashing lights mean?
They are reporting error codes. Count the long and short blinks. A long blink followed by three short ones is an F3 E1, for example. Compare these to your service manual/chart.
Why does the washer jump from ‘Sensing’ to ‘Complete’ instantly?
The machine likely failed an ‘Out of Balance’ check or the lid-lock sensor reported an ‘open’ status. The computer terminates the cycle to protect the motor, making it look like the cycle finished early.
Is a pressure switch failure common?
Not really. The switch is durable. Usually, the plastic hose is the issue. Clean the debris at the tub port, and the switch usually returns to normal function without needing a replacement.