
Optimizing your havit mouse dpi settings is the fastest way to get professional-grade tracking. Most users accidentally mix up hardware-level sensor settings with Windows cursor acceleration. This usually leads to jittery performance and inconsistent aim in fast-paced games.
Key Takeaways
- Stop treating Windows “Pointer Precision” like a performance setting.
- Use your mouse’s RGB blink codes as a diagnostic tool for your current profile.
- Many budget units lack permanent memory; learn how to manage those firmware resets.
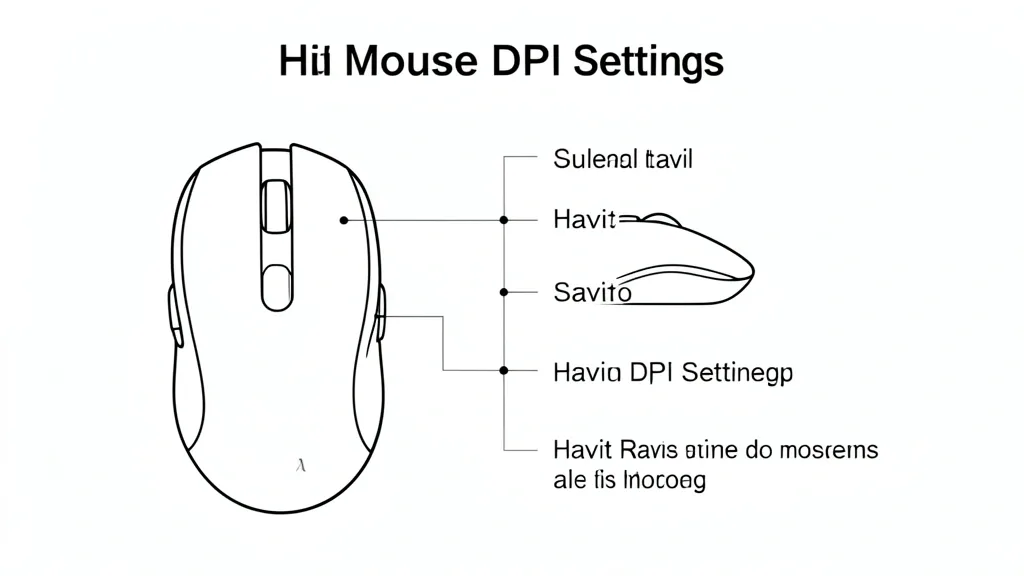
Understanding Havit Mouse DPI Architecture
Your Havit DPI toggle talks directly to the mouse’s firmware. It changes the “counts per inch” that the CMOS sensor reports to your computer. This happens before any signal reaches your operating system. Because this is a hardware-level shift, it stays clean, stable, and avoids the “phantom” movement caused by software scaling.
Inside most Havit mice, an ASIC (Application-Specific Integrated Circuit) handles this. It converts light intensity changes into X-Y coordinates. When you click that DPI button, you’re telling this chip to change its resolution math instantly. If your mouse lacks non-volatile RAM, these settings effectively evaporate the moment you pull the power.
Watch out for the “Enhance Pointer Precision” setting in Windows. It tries to predict your movement velocity. This destroys the raw 1:1 input your Havit sensor is trying to provide. If you want pro-tier accuracy, uncheck that box immediately.
Budget-friendly Havit models often lack EEPROM storage. If your DPI resets every time you reboot, that’s not a malfunction—it’s just the hardware design. It defaults to factory levels upon boot. You’ll just need to re-select your profile manually each time you sit down.
Finally, balance is everything. Don’t chase high DPI settings if your polling rate is low. That combination creates micro-stuttering. A high-performance setup requires enough DPI to be responsive, but not so much that you trigger sensor jitter during fast flicks.
The Diagnostic Matrix: Identifying DPI Modes
You don’t always need proprietary software to track your sensitivity. Most Havit mice use RGB lighting to signal which DPI step you are on. The scroll wheel or logo usually cycles through a specific color sequence every time you press the toggle button.
Watch for the blink. If your scroll wheel flashes red for 800 DPI, blue for 1600, or green for 2400, you have a clear indicator. If the light doesn’t change, check for a firmware issue or a physical jam in the switch itself.
Listen to the button. A healthy Havit toggle has a crisp, audible click. If it feels mushy, you’ve likely got skin oils, dust, or hair causing a blockage. This debris can cause “ghosting,” where the mouse acts like it’s clicking or changing DPI on its own.
| Symptom / Error | Possible Cause | Quick Check | Resolution |
|---|---|---|---|
| No RGB change | Firmware/Driver issue | Check software | Reinstall drivers |
| Sluggish cursor | Windows acceleration | Control Panel | Disable ‘Enhance Pointer Precision’ |
| Spongy button | Internal debris | Physical inspection | Compressed air |
| Settings reset | No onboard memory | Verify persistence | Manual selection |
Test your tracking on a solid color, matte desk mat. Glass or reflective surfaces confuse the optical lens. If you see the cursor jumping or skipping, it’s almost always a surface engagement issue, not the DPI setting.
Required Prerequisites for Configuration
Before you tweak software, get your physical setup right. Havit sensors need a uniform matte surface to track cleanly. If your mousepad is glossy, the sensor will struggle, and no DPI setting will make it feel “right.”
Check your drivers, too. Standard Windows HID drivers are fine for browsing, but they won’t let you map custom DPI stages. Always pull the official driver package from the Havit website if your model supports it.
Be realistic about your model. If you bought a budget SKU, you are likely locked to fixed, hard-coded DPI intervals. Don’t try to force-flash custom firmware onto these units—you will permanently brick the controller board.
Check your cable path. If you’re routing through a passive USB hub on your desk, you might be facing voltage drops. Plug your mouse directly into the USB ports on the back of your motherboard. This provides a stable power feed and prevents the random profile resets that drive gamers crazy.
Keep that toggle switch clean. If you suspect an issue, unplug the mouse and verify the physical click. A quick shot of compressed air can unseat debris that might be causing intermittent DPI jumps.
Step-by-Step DPI Calibration Workflow
1. Synchronizing Hardware and Software
Calibrate in two steps: set your hardware baseline first, then clean up the Windows settings. Use the DPI button behind the scroll wheel to find your preferred step (usually 400, 800, or 1600).
Once set, navigate to Start > Settings > Bluetooth & devices > Mouse > Additional mouse settings. Uncheck Enhance pointer precision. Move your speed slider to the 6th position (the exact middle). This gives you a true 1:1 input ratio, letting your hand movements translate directly to pixel movement without OS-level acceleration.
2. Validation
Do the “inch test.” Mark a spot on your mousepad, move the mouse one inch, and see how far the cursor travels. Repeat this through each DPI level to see how the scaling feels. If the movement feels jumpy, confirm no third-party driver is fighting your OS settings. Lock in one setting and build your muscle memory there.
Emergency Recovery: When DPI Settings Fail
If your mouse is jittering or ignoring the DPI button, don’t panic. You likely have a firmware conflict.
Step 1: The Hard Power-Cycle
Unplug the mouse for 30 seconds to drain the internal capacitors. While it’s unplugged, hold down the Left, Right, and Scroll-wheel buttons simultaneously for 5 seconds. Plug it back into a rear motherboard USB 3.0 port. This forces a clean handshake with your PC.
Step 2: Driver Purge
If that fails, go to Device Manager. Find Mice and other pointing devices, right-click the “HID-compliant mouse,” and hit Uninstall. Unplug the mouse, restart your PC, and plug it back in. Windows will re-detect and re-initialize the device with fresh settings.
Common Pitfalls and Performance Bottlenecks
The biggest myth in gaming? “Higher DPI is better.” Often, maxing out a sensor just creates pixel jitter. The sensor struggles to ignore surface imperfections, leading to a shaky, smoothed-out cursor.
Watch your polling rate. Even if your mouse supports 1000Hz, a massive DPI setting can saturate your CPU’s data packets. For tactical games, stick to 800 DPI with a high-quality cloth pad. It gives you the best control for wide-arm movements. Manage your in-game sensitivity sliders instead of forcing the hardware to do extreme scaling.
Long-Term Care for Sensor Accuracy
If your mouse starts feeling “off” or “slower,” it’s probably just dirt. The sensor aperture is like a vacuum for dust and hair.
Maintenance Protocol:
- Compressed Air: Blow out the sensor hole every 30 days. Avoid liquids or cotton swabs that leave residue.
- Skate Care: If your mouse feet (PTFE skates) are worn down, the sensor sits too close to the desk, ruining the “Lift-Off Distance.” Replace worn feet with aftermarket PTFE pads to get that smooth, consistent glide back.
- Switch Integrity: If your buttons are double-clicking, you might be at the end of the switch’s life. A little electric contact cleaner in the button seam can offer a temporary fix, but it’s often a sign that you need a replacement.
📌 Save to Pinterest

Frequently Asked Questions
Why does my Havit mouse reset its DPI speed every time I restart my PC?
Your mouse likely lacks non-volatile memory (NVRAM). If it isn’t saving, it’s losing power to the settings on shutdown. Make sure you use the Havit software to “Apply to Startup” if your specific model supports it—otherwise, you’ll need to hit your DPI button after each boot.
How can I tell which DPI level I am currently using on my Havit mouse?
Look at the RGB lighting. Most Havit gaming mice have color-coded presets. Press the DPI button—the mouse will usually flash a specific color. Red, Blue, and Green are the most common indicators for your specific DPI steps.
Are Havit mouse DPI settings adjustable through third-party software?
If it’s a programmable model, use the official Havit software. Third-party tools like “X-Mouse Button Control” are great for remapping buttons, but they rarely have deep enough access to adjust the sensor hardware itself. Stick to the official tool.
What should I do if the DPI button on my Havit mouse is unresponsive?
Check for debris under the button. If it’s clean, perform the “Hard Power-Cycle” reset described above. If nothing happens, the mechanical switch is likely dead—a common issue if you’ve put a lot of clicks on the hardware.
Does changing the DPI setting help with input lag in competitive FPS games?
Higher DPI doesn’t magically cut input lag. In fact, most pros prefer 400-800 DPI for rock-solid stability. If you want lower input lag, ensure you’re at a 1000Hz polling rate and keep Windows pointer acceleration turned off.