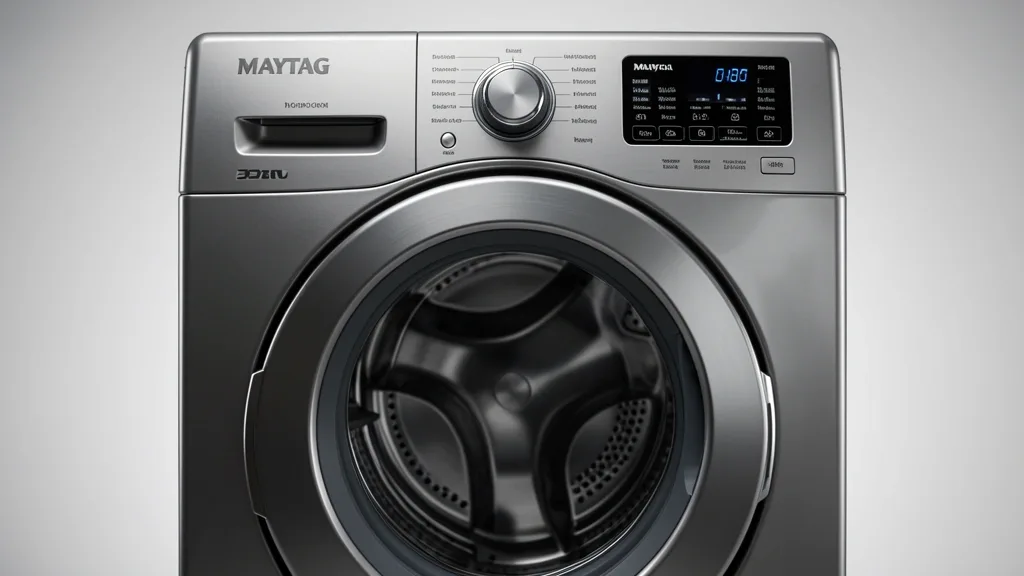
Mastering maytag washer diagnostic mode is a vital skill. It stops the guessing game and saves you from replacing parts that aren’t actually broken. By tapping into the machine’s internal monitoring system, you bypass observation and go straight to the hardware performance data stored by the main control board.
Key Takeaways
- Diagnostic modes are critical for pinpointing issues like pressure switch failures or lid lock malfunctions without swapping parts blindly.
- Always perform a 10-minute hard power cycle to stabilize volatile memory registers before attempting service mode entry.
- Understanding the difference between transient line spikes and permanent E-memory faults is the key to cost-effective repairs.
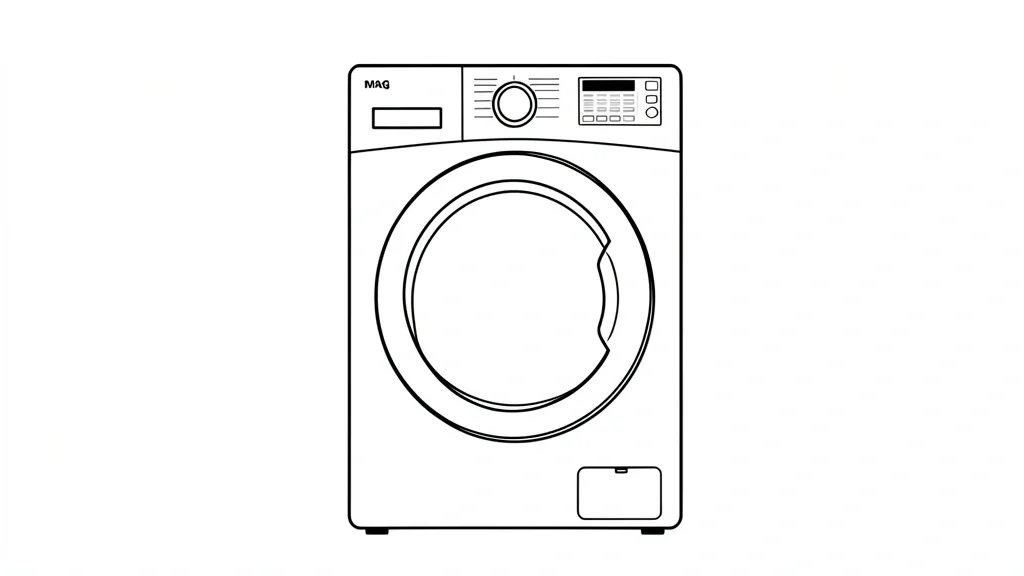
Technical Overview of Maytag Diagnostic Systems
The Electronic Control Unit (ECU) in modern Maytag washers is your central command center. It uses a network of sensors to track everything from voltage and water levels to rotational speed.
Accessing service mode acts as a bridge between the firmware and the user interface. It triggers a factory test cycle that checks every solenoid, motor phase, and thermistor independently.
Novices often ignore the volatile memory buffer. Before you enter diagnostics, pull the plug for 10 minutes. This “hard reset” bleeds the capacitors and clears temporary glitches caused by dirty AC power or voltage spikes.
Without this reset, the ECU might misinterpret stale data from a corrupted EEPROM. By draining the system, you force the board to re-initialize its logic. This ensures your retrieved codes represent real physical failures, not software ghosts.
The system tracks drum displacement and sensor response times with extreme precision using an internal LED feedback loop. If you just replaced a control board, motor, or water level sensor, conduct a full re-calibration. Ignoring this often causes a “sensing to complete” error because the board hasn’t mapped the resistance values of the new hardware yet.
For specific tech specs, check the Whirlpool Corporation technical resources. Sticking to these manufacturer standards ensures your repair is safe and reliable.
The Diagnostic Matrix: Interpreting LED Fault Codes
Reading LED blink patterns is essentially reading binary. On most Maytag platforms, these lights represent hexadecimal codes for primary (F) and secondary (E) error classes.
The F8 series, for instance, focuses on water inlet or pressure reporting. An F8E1 error usually means a “long fill,” which points to a restricted inlet valve, a clogged screen, or a failing pressure switch.
You must distinguish between permanent faults and transient errors. An F0E1 (Main Control Board Mismatch) might just be a symptom of a momentary brownout. If it clears after a reset and doesn’t come back, ignore it. E-memory permanent faults are the ones that actually require action.
Use the pause between LED strings to identify the code; that gap is the delimiter separating the “F” digit from the “E” digit.
Always use a troubleshooting flow chart to correlate blinks with real tasks. Never swap a part based on a single code until you’ve tested harness continuity with a digital multimeter to rule out a broken wire.
| Symptom / Error | Possible Cause | Quick Check | Resolution |
|---|---|---|---|
| F8E1 | Water Inlet Failure | Check hose screens | Clean screens or replace valve |
| F5E2 | Lid Lock Failure | Listen for latch click | Replace lid lock assembly |
| F7E1 | Basket Speed Fault | Check optical sensor | Verify harness or replace motor |
| F0E1 | Control Board Logic | Clear memory | Hard reset or firmware update |
If your LED blinking is frantic or erratic, look for a grounding issue. Electromagnetic interference from home wiring can bleed into the ECU, creating “ghost” codes that won’t go away.
Prerequisites for Successful Diagnostic Entry
Before you start, make sure the tub is empty. Modern boards reject the service mode request if the pressure switch detects water for safety reasons.
The machine must be plugged into a grounded 120V outlet. Avoid extension cords at all costs, as they add electrical noise that interferes with delicate diagnostic sensors. Ensure the lid or door is latched; a failed lock sensor is a common barrier to entering the service loop.
If you just unplugged the unit, wait the full 10 minutes. This allows the internal capacitors to discharge. Starting from a true “cold boot” prevents the board from outputting garbage data.
The entry sequence—usually turning the knob left, then right three times, then left and right again—requires a rhythmic, steady hand. If you botch it, wait 30 seconds before trying again so the microcontroller can stabilize.
Once you are in, the console UI will change. You will typically see the “Sensing,” “Wash,” “Rinse,” and “Done” lights hit at once. Keep a notepad or tablet handy to record every code before you clear them. You don’t want to lose the service history you might need later.
Step-by-Step Service Mode Entry Workflows
For Rotary Dial Models (Top-Load)
Precision is everything here. If your timing is off, the board ignores the command.
- Preparation: Set the washer to Standby (all lights off).
- The Sequence: Turn the dial one click left to reset. Then, quickly rotate three clicks right, one click left, and one click right—all within six seconds.
- Confirmation: If you nailed it, the status lights will flash. If they don’t, unplug for 60 seconds and try again.
- Code Retrieval: Rotate the selector one click clockwise to view history. The lights flash in binary (F and E codes).
For Digital Touchscreen/Button Models (Front-Load)
Modern digital units use a button-press sequence instead of the dial.
- Enter Configuration: In standby, hold ‘Pre-Wash’ and ‘Extra Rinse’ for three seconds. If no dedicated buttons, try ‘Power’ followed by tapping ‘Start/Pause’ three times.
- Accessing the Menu: Watch for “t01” or “88” on the display. Use the selector to cycle through sub-menus.
- Diagnostic Monitoring: Select ‘d01’ to view the fault code menu.
- Exiting: Press ‘Power’ or pull the plug for 10 seconds to force a reboot.
Emergency Recovery: Performing a Factory Reset
If your washer is stuck in a “Sensing” loop, the board’s memory is likely corrupted. A factory reset wipes the slate clean.
Executing the Hard Reset
Enter the service menu and navigate to ‘Factory Reset’ or ‘Initialize NVRAM’ (usually ‘T:00’ or ‘T:09’).
Hold ‘Start’ for five seconds to confirm. Once the lights flash and stop, pull the plug. Wait two minutes for a full discharge. When you plug it back in, the machine will perform a 10-minute “Post-Reset Calibration.” Do not touch it during this time.
The Mandatory Test Run
After the reset, run the ‘d01’ mechanical test. This forces the computer to re-learn motor limits and sensor impedance. Without this, the washer has no baseline and will keep acting up.
Common Pitfalls and Diagnostic Logic Errors
The most common mistake is blaming the control board for an F-8, E-1 error. People see that code and rush to buy a $300 part. Usually, it’s just a dirty pressure hose.
Soap film and debris clog the air tube, stopping the sensor from getting a clean reading. The computer thinks it’s a sensor failure, but the fix is just pulling the hose and blowing through it to clear the block. Use a multimeter to check the switch resistance while the tube is clear before you condemn the board.
Beware of “Ghost Errors.” A one-time power flicker can throw a code that never happens again. Always record your codes before clearing them. If the code stays away after a reset, you’ve saved yourself a ton of money.
Long-Term Care and Calibration Verification
Once you’ve reset the machine, run a cleaning cycle with a product like Affresh. This forces the sensors to normalize under actual operating conditions.
We recommend calibrating the weight-sensing mechanism every six months. Go into the service menu, find the ‘Calibration’ option, and let the unit align its motor torque with the suspension weight. This is the best way to stop the “Off-Balance” errors that plague HE top-loaders. A little preventive maintenance goes a long way.
📌 Save to Pinterest
Frequently Asked Questions
How do I clear persistent error codes from my Maytag washer memory?
Enter the diagnostic mode. Once the code list is displayed, press and hold the ‘Start’ or ‘Cancel’ button for five to ten seconds. The display should reset to ’00’ or clear, showing the NVRAM buffer is empty.
Why does my washer jump from sensing to complete cycle?
This is almost always a restricted pressure hose or a failing lid switch. The board can’t confirm water levels, so it hits the ‘Complete’ cycle to prevent flooding as a safety default. Check your air pressure lines first.
Does entering diagnostic mode void my Maytag appliance warranty?
No. Diagnostic mode is a built-in feature designed for service. Using it to check health or read codes will not void your coverage, provided you don’t start cutting wires or hacking the hardware.
What do the flashing LED light sequences on my control panel mean?
They are binary fault codes. Each light corresponds to a specific digit in an F-code and E-code. Check the service sticker inside your front panel or your manual to decode the exact component failure.
Do I need to perform a calibration cycle after replacing a pressure switch?
Yes, it’s mandatory. The board must learn the voltage range of the new sensor. If you don’t calibrate, you’ll get inaccurate fill levels and new errors because of the old, mismatched data.