
Mastering your ASUS router settings is the definitive step toward reclaiming network sovereignty, reducing latency, and fortifying your home against evolving digital threats. ASUSWRT remains the gold standard in consumer-grade routing. It offers a granular interface that balances approachable utility with enterprise-level control, allowing you to move beyond default configurations into true performance optimization.
Key Takeaways
- Securing your gateway is the prerequisite for all internal configuration changes.
- Baseline diagnostic mapping prevents catastrophic misconfiguration during testing.
- Hardware integrity—including physical placement and firmware stability—is required before tuning protocol-level throughput.
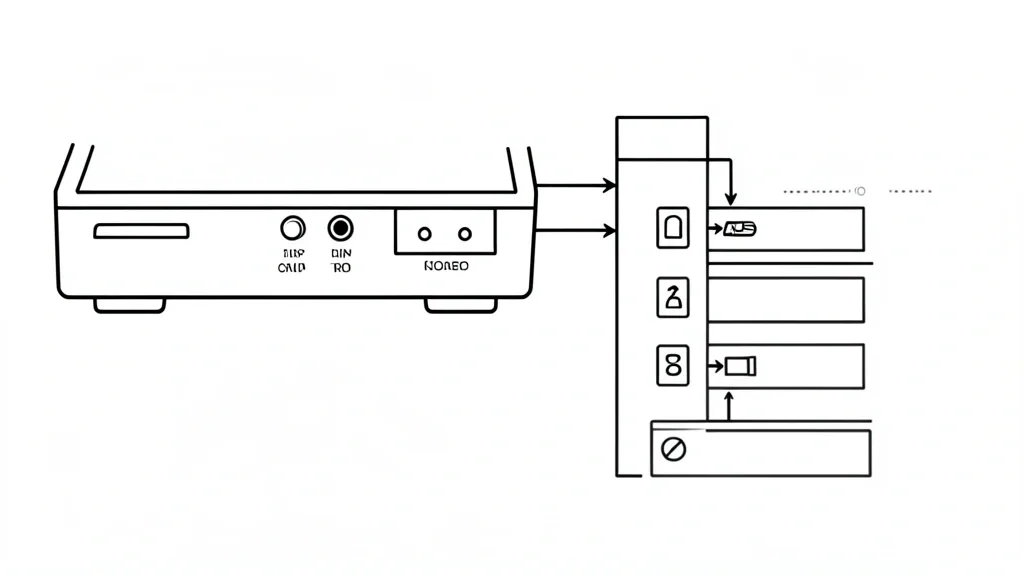
Technical Overview of the ASUSWRT Interface
ASUSWRT is a powerful, Linux-based platform built to handle complex tasks like AiProtection Pro and sophisticated firewall rules. At its core, it uses a structured NVRAM (Non-Volatile RAM) layer where your configurations live. This ensures your settings stick through power cycles.
To access your dashboard, head to 192.168.1.1 in a hardened browser. On first entry, the system serves a self-signed security certificate. As a professional, you should install it or proceed with caution, ideally enabling HTTPS/SSL access in the ‘Administration’ tab to keep your internal traffic encrypted.
The interface is modular, separating basic functions from the ‘Advanced Settings’ tree. Understand this hierarchy; every modification to port forwarding or Dynamic DNS writes directly to the router’s config file. Inconsistent parameters here lead to conflicts.
For maximum stability after a major update, I recommend a manual NVRAM clear via the “Restore to factory default settings” menu. This wipes residual garbage from old firmware builds. It prevents erratic behavior in dual-WAN failover or WPA3 encryption handshakes during heavy traffic.
Use the “Apply” button strategically. Changing too many settings at once forces multiple reboots, which risks corrupting the NVRAM state. Change one major parameter, monitor stability for three minutes, and then move to the next layer of your network.
Keep the “System Log” tab open during configuration. It is your only real window into the router’s diagnostic brain. If a feature like Multi-Link Operation (MLO) or an Adaptive QoS rule fails to apply, the log will show you exactly which script failed, allowing you to troubleshoot with surgical precision.
Establishing Your Pre-Configuration Diagnostic Matrix
Before touching wireless or routing parameters, establish a baseline. The ‘Network Map’ is not just a visual aid; it is a real-time monitor for CPU load, RAM usage, and active client bridges.
Observe the ‘Radio Frequency Environment’ scanning tool. Most users ignore DFS (Dynamic Frequency Selection) channels. While these offer more bandwidth, they are subject to radar interference. If your router catches a weather signal, it will force a hop, causing a disconnect.
Congestion is the silent killer of throughput. Use the professional site survey tools under Wireless -> Professional to find interference from neighboring 5GHz or 6GHz access points. Manual adjustments are almost always better than the “Auto” function, which reacts too slowly to intermittent interference.
Airtime Fairness is a double-edged sword. While it optimizes bandwidth for modern clients, it often breaks older 802.11n or IoT devices that hog the spectrum. If your smart home devices are constantly dropping, disabling this is your first troubleshooting step.
| Symptom / Error | Possible Cause | Quick Check | Resolution |
|---|---|---|---|
| Intermittent 5GHz Drops | DFS Channel Radar Collision | System Log Scan | Manually set channel to 36-48 or 149-161. |
| Legacy IoT Device Failure | Airtime Fairness Incompatibility | Client Status Map | Disable ‘Airtime Fairness’ in Wireless/Professional. |
| High Latency/Bufferbloat | Adaptive QoS Overload | CPU Load Meter | Disable QoS or re-calibrate upload limits. |
| WPA3 Authentication Stalls | Firmware/OS Incompatibility | Security Tab settings | Toggle between ‘WPA3-Personal’ and Transition Mode. |
Establish a baseline metric by running an iPerf test between two hardwired devices. This measures the max theoretical throughput of your internal switches. Once you have this number, you can realistically compare the performance of your wireless channel optimization and know if you are actually improving utility or just adding complexity.
Hardware Prerequisites for Optimal Routing
Configuration starts at the physical layer. An ASUS router generates significant heat when cryptographic offloading or AiProtection is engaged. Place the unit in an elevated, open area. Never hide it in a cabinet or on a carpet, as this forces thermal throttling.
Power stability is the most overlooked factor. Minor voltage oscillations cause resets to the radio transceivers, leading to “ghosting” or dropped signals. I highly recommend a localized Uninterruptible Power Supply (UPS) capable of line conditioning.
Verify your firmware iteration before starting. ASUS releases patches specifically for Wi-Fi driver issues. Flash to the latest stable version provided by the manufacturer. Stick to official OEM binary releases rather than third-party alternatives, as OEM drivers are tuned for the specific hardware revisions of your router.
Cable management at the WAN port is critical. Use only Cat6a or higher cabling. Many users bottleneck their entire network with legacy Cat5 cables limited to 100Mbps, rendering even the best Adaptive QoS settings useless.
Audit your runs for EMI. If your Cat6a cable is bundled against high-voltage power lines, you will see CRC errors in your interface statistics. A clean install requires that the router is isolated from electrical noise and fed a stable, filtered power stream to ensure long-term reliability.
Step-by-Step Wireless and Security Workflows
Configuring WPA3-Personal
Navigate to Wireless > General. Under Authentication Method, select WPA3-Personal. This provides better protection against brute-force attacks. If legacy smart bulbs or older printers drop off the network, use WPA2/WPA3-Personal transition mode for better backward compatibility.
Optimizing Channel Width (80MHz vs 160MHz)
In Wireless > General, locate Channel Bandwidth. While 160MHz offers the highest theoretical throughput for file transfers, it is susceptible to DFS interference and neighborhood congestion. For most US homes, 80MHz is the “sweet spot” for stability. Set it manually and pick a fixed control channel instead of using ‘Auto’.
Enabling Multi-Link Operation (MLO)
If you own an RT-BE series router, MLO is essential for lower latency. Go to Wireless > General and ensure Smart Connect is enabled. Look for the MLO toggle under Wireless Advanced. MLO allows compatible devices to aggregate or switch between 5GHz and 6GHz bands dynamically for total signal reliability.
Emergency Recovery and System Reset Protocols
The 30-30-30 Rule
If the interface becomes unreachable due to a corrupt config, use the hard reset. With the router powered on, press and hold the ‘Reset’ button for 30 seconds. Release and immediately unplug the power for 30 seconds. Plug it back in and wait for the factory default boot. Caution: This wipes everything, including secondary SSIDs and VPN rules.
ASUS Rescue Mode
If a flash goes wrong and the router loops, use the ASUS Firmware Restoration utility. Download the firmware to your PC. Set your PC’s static IP to 192.168.1.10 and Subnet Mask to 255.255.255.0. Power off the router, hold Reset, and power it back on. Hold Reset until the Power LED blinks slowly. This puts the router in Rescue Mode. Run the utility, upload the firmware, and let it reboot.
Identifying Common Pitfalls
Misusing Airtime Fairness is a common mistake. While it promises to help, it often forces low-power 802.11n sensors to drop off. Keep this Disabled unless you have hundreds of high-traffic wireless devices.
Be careful with VPN Client settings. Users often accidentally route all traffic—including 4K streaming—through a VPN tunnel. This crushes the router’s CPU. Use VPN Fusion or “Policy Routing” to move only your PC or mobile traffic through the VPN, leaving streaming hardware on the direct ISP pipe.
Long-Term Maintenance
Follow a quarterly maintenance cadence. Visit Administration > Firmware Upgrade to check for updates, but manually cross-reference the ASUS support site for release notes. Do not rely on “Check” button automation alone.
Always Clear NVRAM after a major firmware jump. Reset to factory defaults and configure manually rather than restoring a backup file. Restoring old configs re-introduces the very bugs you just patched. Finally, rotate your admin credentials. Ensure your web login password differs from your WiFi password and keep WAN management disabled.
📌 Save to Pinterest

Frequently Asked Questions
How can I access the ASUS router web interface if the default login does not work?
If “admin/admin” fails, your router was likely configured with a custom password during setup. If you forgot it, perform a 30-second hard reset. After the reboot, go to 192.168.1.1 or router.asus.com to define a new, secure administrative username and password.
Which wireless channel settings are best for reducing interference in crowded residential areas?
Avoid “Auto” channel switching. Use a Wi-Fi analyzer app to identify the quietest space. For 2.4GHz, use only channels 1, 6, or 11 with 20MHz width. For 5GHz, find non-overlapping channels. If your regulation allows, use DFS channels, as they are often less crowded than the standard UNII-1 spectrum.
Does enabling AiProtection impact the router’s overall throughput and CPU performance?
Yes, features like Two-Way IPS and Malicious Site Blocking use deep packet inspection, which requires CPU cycles. On high-end AX or BE routers, the performance hit is negligible—usually under 3%—making it well worth the cost for the security it provides.
What is the difference between WPA2-Personal and WPA3-Personal for device compatibility?
WPA2 uses the PSK standard, which is widely compatible but susceptible to dictionary attacks. WPA3 uses SAE (Simultaneous Authentication of Equals) to stop these attacks. Use ‘WPA2/WPA3 Transition Mode’ if you have older smart home devices that don’t yet support WPA3.
Why should I configure manual DNS settings instead of using the ISP default?
ISPs often use DNS to track browsing or hijack search errors for their own ads. Manually set your DNS to something like Cloudflare (1.1.1.2) or Google (8.8.8.8) at the router level. This gives every device on your network faster resolution and better privacy across the board.