
Verification & Component Tolerance Notice: The Logitech G-Series HERO sensor lineup maintains a hardware-level sensitivity variance of less than 1 percent across production batches. Calibration results may fluctuate based on surface friction coefficients and mouse feet wear patterns.
Sensor Calibration and DPI Architecture
The HERO (High Efficiency Rated Optical) sensor functions by capturing sequential images of the tracking surface at high frame rates. DPI (Dots Per Inch) serves as the digital multiplier applied to these physical displacement vectors. When a user sets a DPI value, they are defining the ratio of physical distance moved to pixels traversed on the display. Higher DPI settings reduce the physical distance required for the cursor to cross the screen, effectively increasing the sensitivity of the sensor’s internal processing logic.
The HERO sensor architecture allows for granular adjustments in increments of 50 DPI. Unlike older optical sensors that relied on interpolation, the HERO sensor maintains native tracking performance across its entire range. This means that a setting of 800 DPI is mathematically identical in terms of tracking fidelity to a setting of 1600 DPI, provided the user adjusts their software sensitivity accordingly. The sensor’s ability to maintain this consistency is due to its high-speed image processing pipeline, which calculates movement vectors before the data is transmitted via the USB controller.
Software Configuration Workflows
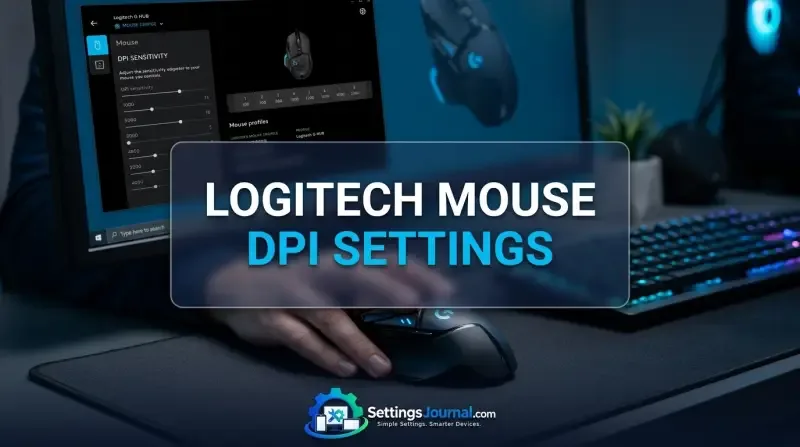
Logitech G HUB serves as the primary interface for managing DPI stages. Users can define up to five discrete DPI levels, which can be cycled using the physical DPI shift button located on most G-Series mice. To configure these, users must access the Sensitivity (DPI) tab within the device-specific menu. Adding a stage involves clicking the slider bar at the desired interval, while removing a stage is performed by dragging the existing indicator off the slider track.
For users requiring specific numerical precision, G HUB allows for direct keyboard input of DPI values. This is particularly useful for matching sensitivity across different hardware configurations. Detailed instructions on managing these precise inputs can be found in the community-driven documentation at <a href=”https://www.reddit.com/r/logitech/comments/1hmbxjh/foreveryonewhowantstosetexactDPIin_logi”>Reddit G HUB DPI precision guide and the technical breakdown at Logitech technical configuration portal. These resources emphasize that profile-based DPI switching is the most effective method for maintaining consistent sensitivity across different software environments.
| Use Case | DPI Setting | Polling Rate | Surface Type | Expected Precision |
|---|---|---|---|---|
| Competitive FPS | 400 DPI | 1000Hz | Cloth (Control) | High (Low Jitter) |
| General Gaming | 800 DPI | 1000Hz | Hybrid | Balanced |
| High-Res Productivity | 1600 DPI | 1000Hz | Hard Pad | High Speed |
| 4K Video Editing | 2400 DPI | 1000Hz | Hard Pad | Maximum Efficiency |
| Casual Desktop | 1200 DPI | 500Hz | Desk Mat | Standard |
| Precision CAD | 600 DPI | 1000Hz | Cloth (Speed) | Very High |
Operational Dynamics for Gaming and Productivity
The choice of DPI is fundamentally a trade-off between physical range of motion and cursor speed. In competitive FPS scenarios, lower DPI values (400 to 800) are favored because they minimize the impact of minor hand tremors and allow for more consistent muscle memory development. Conversely, high-resolution workflows, such as 4K video editing or multi-monitor setups, benefit from higher DPI (1600+) to reduce the physical distance the arm must travel to navigate the screen.
Productivity users often find that a DPI setting of 1200 to 1600 provides the best balance for modern high-density displays. At these settings, the cursor traverses the screen with minimal wrist movement, reducing fatigue during long sessions. It is important to note that increasing DPI does not increase the accuracy of the sensor; it only increases the speed at which the cursor responds to physical input.
System Level Sensitivity Interplay
Operating systems often apply their own acceleration curves to mouse input. In Windows, the “Enhance pointer precision” setting introduces non-linear acceleration, which can cause the cursor to move further when the mouse is moved quickly, regardless of the DPI setting. This behavior is detrimental to consistent aiming and should be disabled for all professional or gaming applications.
macOS handles mouse input differently, often applying a forced acceleration curve that cannot be fully disabled through standard system settings. Users on macOS may need to utilize third-party utilities to achieve a true 1:1 raw input experience. When calibrating a Logitech mouse, the goal should always be to keep the OS sensitivity at the default center position and rely exclusively on the G HUB DPI settings to control cursor speed.
Community consensus suggests that G HUB occasionally fails to sync DPI profiles after firmware updates. Technicians recommend creating a ‘Desktop’ default profile and locking it to ensure that DPI settings do not revert to 800 DPI during system sleep or wake cycles. Users also report that high polling rates (1000Hz+) combined with very high DPI (10,000+) can lead to micro-stuttering on older CPU architectures.
Advanced Sensor Matching Techniques
The HERO Sensor Calibration tool is designed to normalize tracking performance between different mouse models. This is particularly useful when transitioning from a legacy mouse to a new G-Series device. By selecting the source mouse and entering its current DPI, the software calculates a compensation offset. This offset adjusts the HERO sensor’s internal polling logic to mimic the feel of the previous sensor, accounting for differences in lift-off distance and sensor placement.
To perform this calibration, the user must move both mice simultaneously across the surface in a figure-eight pattern. The software monitors the displacement data from both sensors and calculates the necessary DPI correction. This process ensures that the physical distance required for a 360-degree turn in a game remains identical when switching hardware.
- Verify G HUB is updated to the latest version to ensure sensor firmware compatibility.
- Clean the mouse sensor lens with compressed air to remove dust or debris.
- Ensure the mouse pad is free of uneven wear or surface contaminants.
- Disable Windows mouse acceleration and set the pointer speed to the middle notch.
Troubleshooting and Hardware Thresholds
DPI stage reset issues are typically caused by profile conflicts within G HUB. If the mouse reverts to default settings, ensure that the ‘Persistent Profile’ option is enabled for the desired configuration. Additionally, firmware-level bugs can sometimes cause the mouse to ignore custom DPI values. A factory reset of the mouse via the G HUB settings menu, followed by a clean re-installation of the software, usually resolves these persistent configuration errors.
Polling rate also plays a role in the perceived smoothness of the cursor. While 1000Hz is the standard for gaming, lower polling rates (125Hz or 500Hz) may be necessary if the system experiences CPU bottlenecks. It is recommended to keep the polling rate consistent across all profiles to prevent unexpected changes in tracking behavior.
Frequently Asked Questions
How many DPI stages can I save on my Logitech mouse?
You can configure up to five distinct DPI stages within the Logitech G HUB software for most modern G-series mice.
Does changing my DPI affect my mouse polling rate?
No, DPI and polling rate are independent variables; DPI controls sensitivity, while polling rate determines how often the mouse reports its position to the PC.
Why does my cursor feel different after switching to a new Logitech mouse?
Sensor variance and lift-off distance can cause differences, but you can use the HERO Sensor Calibration tool in G HUB to match your new mouse to your old one.
Should I use Windows pointer speed settings with my Logitech mouse?
It is generally recommended to keep Windows pointer speed at the default middle notch and disable ‘Enhance pointer precision’ to ensure raw, 1:1 sensor input.
Can I set a different DPI for every game I play?
Yes, by creating individual profiles in G HUB and linking them to specific game executables, your mouse will automatically switch DPI settings when you launch a game.