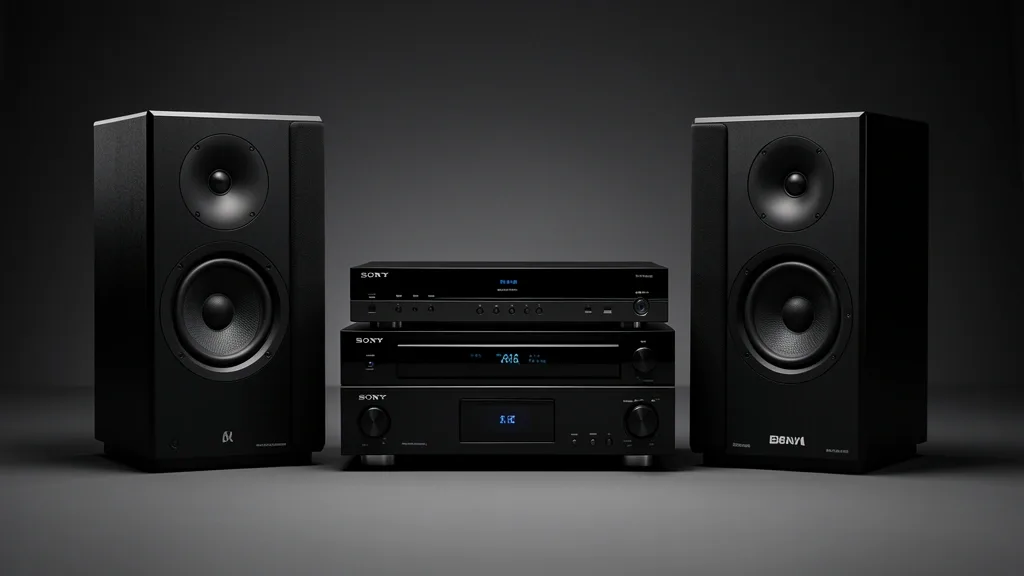
As a Field Specialist, I see countless users treat audio settings as a “set it and forget it” task. They end up with lip-sync lag, dropped channels, or stunted dynamic range on their high-end Sony Bravia XR. Achieving reference-grade audio isn’t about toggling a single switch; it is about managing the signal chain between your Cognitive Processor XR and your external gear. Whether you are troubleshooting Dolby Atmos or trying to optimize LPCM output for a gaming console, you need to understand the underlying digital architecture. Let’s move beyond the basics.
Key Takeaways
- Sony Bravia XR audio quality relies on a clean handshake between the internal processor and external devices via HDMI eARC.
- Distinguishing between internal speaker enhancement and external bitstream routing is essential to prevent signal degradation.
- Firmware parity and certified high-bandwidth cabling are non-negotiable for stable, multichannel audio delivery.
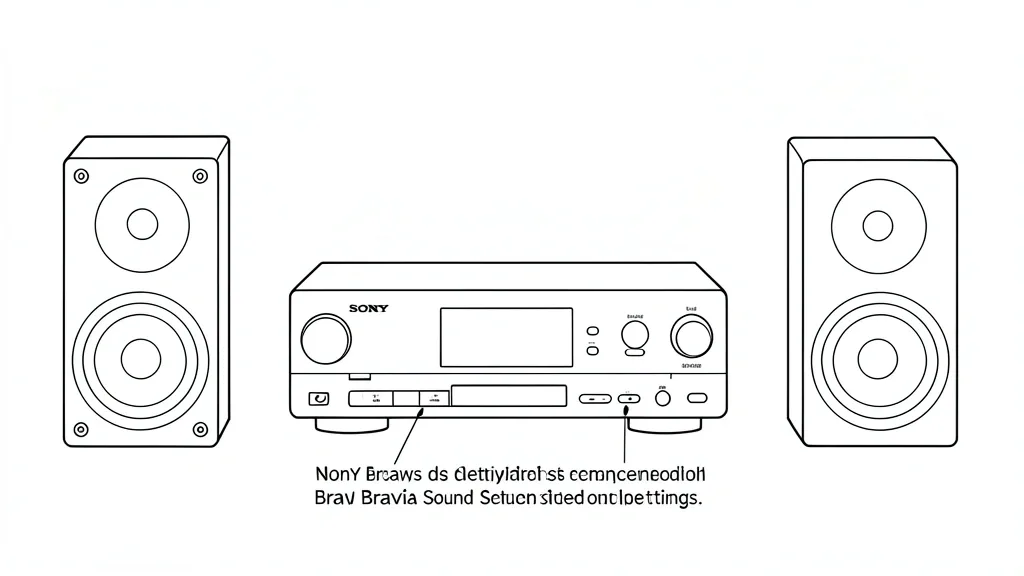
Technical Overview: Decoding Sony Audio Architecture
The Sony Bravia XR series uses the Cognitive Processor XR as a central hub for real-time acoustic analysis. When using internal drivers, the processor employs Acoustic Auto Calibration to reconfigure the soundstage based on your room’s dimensions. It mimics the object-based audio placement found in professional post-production suites.
For external soundbars or receivers, the architecture shifts to signal pass-through management. The processor acts as a gatekeeper. It must decide whether to process surround sound within the TV OS or to strip the signal and deliver it as raw data to your external amplifier for decoding.
The distinction between Bitstream and PCM is critical here. Bitstream sends compressed metadata—like Dolby Atmos or DTS-HD—to your receiver to decode, which preserves clinical accuracy. PCM forces the Sony Bravia to do the decoding internally, which can trigger audio sync latency if the software-side processing overhead outpaces your speakers.
The Diagnostic Matrix: Identifying Your Audio Bottleneck
System stability hinges on how the television negotiates the HDMI eARC passthrough protocol. If you experience sporadic cutouts, the TV is likely struggling to maintain a handshake with your receiver during metadata shifts—like moving from a Dolby Vision streaming title to a standard HDR10 menu.
Use the matrix below to isolate whether your issue originates from the source device, the TV logic board, or the physical cable. This workflow helps you move from “Auto” negotiation to a stable, manual “Pass-through” configuration.
| Symptom / Error | Possible Cause | Quick Check | Resolution |
|---|---|---|---|
| Audio Dropouts | HDMI Handshake Failure | Check Digital audio out | Set to ‘Pass-through’ to bypass TV decoding |
| High Latency (Lips sync) | OS-level Processing | Compare Internal vs External | Enable A/V Sync in Expert Settings |
| No Atmos Active | eARC Hardware Mismatch | Confirm eARC port | Ensure HDMI 3/4 (eARC) connection |
| Multichannel loss | Bandwidth bottleneck | Check Cable Certification | Replace with Ultra High Speed HDMI cable |
Gamers often misunderstand the interface between a PS5 and the Bravia. When the console sends Multichannel LPCM, the TV acts as a transparent conduit. If your Digital audio out settings are not configured to “Auto 1,” the TV may inadvertently downmix a 7.1 LPCM signal into a stereo bitstream, leaving you with a flattened, soundbar-only experience.
Prerequisites: Essential Hardware and Firmware Checks
A reliable Sony Bravia ecosystem starts with HDMI eARC. Unlike standard ARC, which limits you to compressed 5.1, eARC provides the necessary 37Mb/s bandwidth for uncompressed 7.1 and object-based formats like Dolby Atmos. If you aren’t using an “Ultra High Speed” certified cable, expect intermittent clicks, pops, and signal drops.
Firmware parity is your second hurdle. Sony regularly pushes micro-updates to the XR processor to address audio driver stability for high-bitrate streaming. I audit many setups where the firmware is months out of date; these units rarely maintain the handshake integrity required for flawless Atmos decoding across various apps.
Finally, map your internal Audio Output to your specific hardware. If running a Sony soundbar, toggle “Sony Soundbar Connection” in the Bravia Sync menu. This creates a proprietary link that allows the TV to offload calibration data directly to the bar, preventing the digital mud caused by conflicting DSP settings.
Once you verify certified cables, current firmware, and mapped output modes, you eliminate the most common failure points. Only then should you start tweaking individual sound modes or custom equalization parameters.
Step-by-Step Configuration Workflows
Workflow 1: Internal TV Speakers and Virtual Enhancements
If you rely on your Bravia’s built-in drivers, your goal is to balance the XR processor’s virtual imaging against the physical hardware limitations. Navigate to Settings > Display & Sound > Sound.
- Sound Mode: Start with “Standard” or “Cinema.” Avoid “Speech” unless necessary; it aggressively cuts low-end frequencies.
- Dialogue Enhancement: Set to “Medium.” Going higher introduces artificial harshness into the midrange.
- Sound Customization: Disable features like “Volume Level” and “Night Mode” unless you have strict noise constraints, as these compress your dynamic range.
- Virtual Surround: Ensure “S-Force Front Surround” is on, but toggle “Virtual Audio” off if the soundstage feels muddy or unfocused.
Workflow 2: Configuring eARC/ARC for Lossless Audio
For high-fidelity audio like Dolby Atmos or DTS:X, the handshake between your TV and your receiver is everything. Use a certified HDMI 2.1 cable connected to the eARC port (usually HDMI 3 or 4).
- Step 1 (Activation): Go to Settings > Display & Sound > Audio Output.
- Step 2 (eARC Mode): Select “Auto.” This forces the high-bandwidth handshake between the TV and your soundbar.
- Step 3 (Digital Audio Out): Choose “Auto 1.” This preserves the raw signal, passing the heavy lifting to your dedicated audio equipment.
- Step 4 (Pass-through Mode): Set this to “Auto.” This ensures the TV stays out of the packet data, which is the standard for avoiding re-encoding artifacts.
- Step 5 (Verification): Ensure “Dolby Digital Plus” is enabled for streaming services like Netflix or Disney+, as they use this container for Atmos.
Emergency Recovery: Solving Sync and Dropout Issues
Audio-video desync is usually a sign that the processor is struggling with high-bitrate video or a shaky eARC handshake. If you hit this wall, follow this recovery order:
- Power Cycle Everything: Unplug the TV, soundbar, and console from the wall for 60 seconds. This flushes the memory and resets the HDMI handshake tables.
- Reload Bravia Sync: Go to Settings > Channels & Inputs > External Inputs > Bravia Sync/CEC. Toggle it off, wait 10 seconds, and turn it back on to reset the communication protocol.
- A/V Sync Adjustments: If the audio lags, go to Settings > Display & Sound > Sound > A/V Sync. Set it to “Auto.” If it still drifts, manually adjust the delay in 10ms increments.
- Disable “Passthrough” Temporarily: If you encounter constant dropouts, the data rate might exceed your cable capacity. Switch “Passthrough” from “Auto” to “Manual.” This forces a slight re-encode but often fixes the digital clicking caused by bandwidth saturation.
Avoiding Common Pitfalls in Audio Settings
The most frequent error I see is confusion over Bitstream vs. PCM. Rule of thumb: If your soundbar supports surround formats (Dolby/DTS), always use Bitstream. If you have an older piece of hardware that acts up, switch to PCM. In PCM mode, the TV handles the processing and sends a finalized, stereo-ready signal to your speakers.
Also, watch out for “Virtual Surround Sound” overrides. If you have a high-end, discrete speaker system, turn off all internal TV virtual processing. When the TV tries to “upscale” a 5.1 or 7.1 signal, it causes phase-cancellation that destroys the precision of your external speakers.
Long-Term Maintenance and Calibration
Sony’s Acoustic Auto Calibration isn’t a one-and-done feature. Every time you change your room layout—even adding a new rug or moving curtains—you alter the acoustic reflectance of your space.
Calibration Workflow: Initiate this from the Quick Settings menu. The TV sends out a series of chirps; keep the room silent. The microphone on your remote (or the TV itself) maps your room dimensions and adjusts frequency responses. Pro Tip: If your Bravia gets a major firmware update, re-run this. Sony frequently tweaks the XR processing algorithms, and a fresh calibration lets the TV apply those updates to your room’s specific acoustic profile.
Frequently Asked Questions
Should I use PCM or Bitstream for my Sony Bravia TV?
For most users with a modern soundbar or AVR, Bitstream is the best choice. It allows your external hardware to manage decoding for formats like Dolby Atmos and DTS:X. Use PCM only if your receiver is older and cannot handle these modern formats, or if you notice digital crackling.
Why does my soundbar sound quieter than the TV speakers?
This is usually due to “Volume Leveling” or “Night Mode” being active. Check the Audio Output settings on your Bravia and ensure these are off. If they’re off, check your soundbar’s dedicated settings, as many have their own dynamic range compressors that can choke your volume headroom.
How do I fix audio delay on my Sony TV using HDMI eARC?
Delay happens when video processing outpaces audio decoding. Start by setting A/V Sync to “Auto.” If that fails, adjust the sync manually in the same menu. If the problem persists, ensure you are using an “Ultra High Speed” HDMI cable; low-bandwidth cables are a common cause of sync drift.
What is the best way to enable Dolby Atmos on a Bravia TV?
You need an Atmos-capable sound system connected via the eARC port. Navigate to Display & Sound > Audio Output, set eARC Mode to “Auto,” and ensure Dolby Digital Plus Output is set to “Auto.” As long as the streaming title supports Atmos, the Bravia will send it straight to your receiver.
Do I need to run Acoustic Auto Calibration every time I move furniture?
Yes. The calibration measures sound waves bouncing off your specific surfaces. If you move furniture, you change how those waves behave. Re-running the calibration provides the XR processor with a new map of your room’s density, keeping your virtual surround effects tight and accurate.