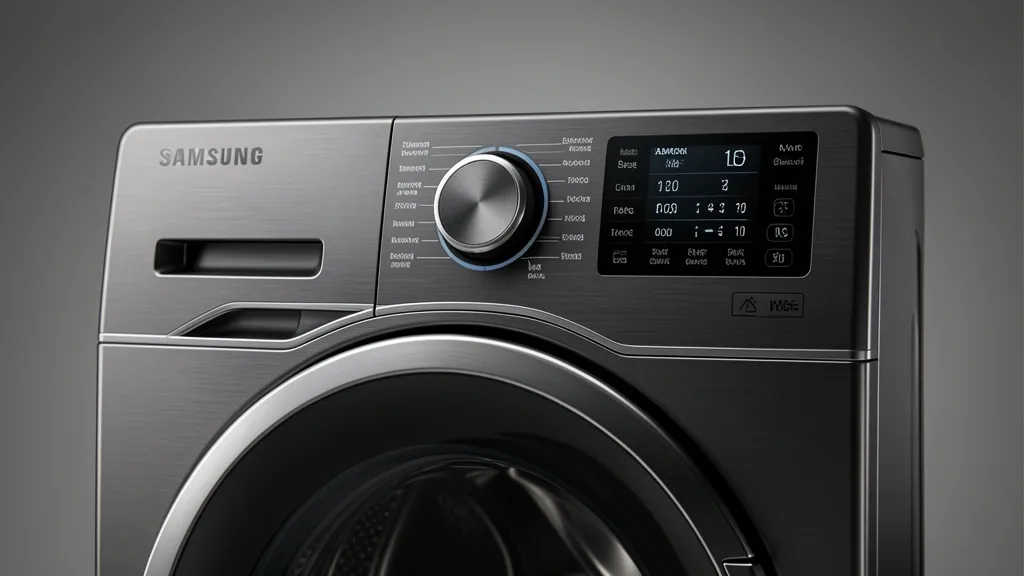
Mastering your samsung dryer settings is about more than just hitting buttons; it is about knowing how your machine interprets moisture levels. Many homeowners assume “Normal Dry” handles everything, only to find damp clothes or cycles that never seem to end. Whether you are chasing down error codes or dialing in your Eco Dry efficiency, your setup depends on how the hardware manages airflow, sensor logic, and heat application. This guide walks you through the diagnostic steps to get your dryer running at peak performance.
Key Takeaways
- Sensors use electrical conductivity, not heat, to judge dryness; your laundry load matters.
- A clean 240V power supply is critical for the heating element to work correctly in US homes.
- Short, clear vent paths are the most important factor in drying speed and unit longevity.
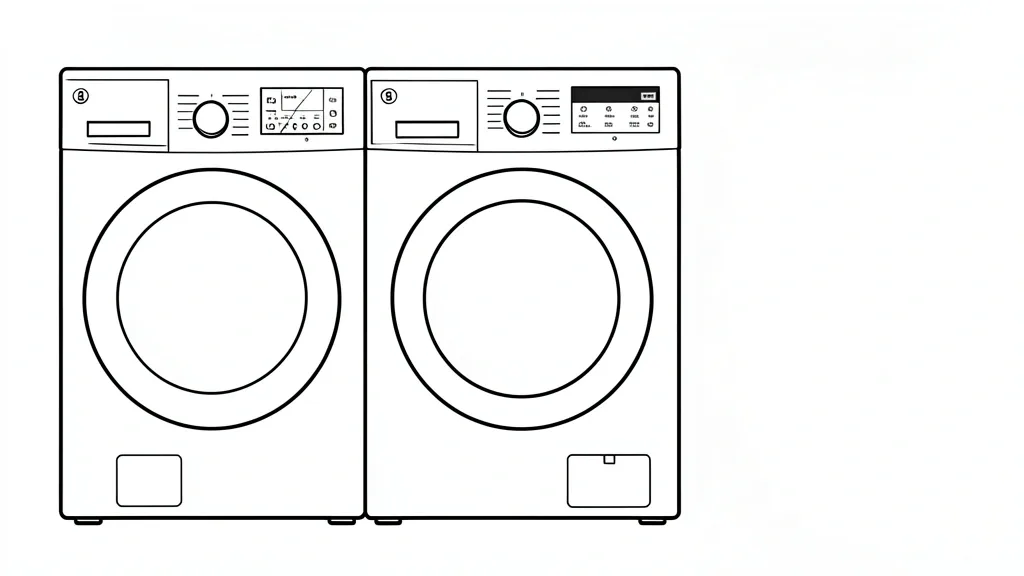
Understanding Your Samsung Control Interface
Differentiating between time-based and sensor-driven cycles is the secret to fixing “damp load” issues. Sensor Dry uses metallic bars inside the drum near the lint trap. These bars measure the electrical resistance of your clothes as they tumble. As items dry, their resistance shifts; when the threshold is hit, the machine stops to save your fabrics.
Users often run into problems because of dryer sheet residue. Chemicals can coat these bars, creating an insulating film that blocks communication. The machine then literally cannot “feel” the wet clothes and kills the cycle way too early. A quick wipe with isopropyl alcohol or a mild abrasive is the standard fix per official Samsung support.
Timed Dry settings bypass these sensors entirely. Use these for heavy blankets or specific items, but be careful—it’s easy to over-dry or shrink clothes if you aren’t paying attention. If you are using Smart Control features, keep your firmware updated to prevent logic glitches. Always try to match the cycle to the weight of your load so the onboard computer can calculate power use effectively.
Diagnostic Matrix for Drying Performance
| Symptom / Error | Possible Cause | Quick Check | Resolution |
|---|---|---|---|
| Long Dry Times | Vent Blockage | Check Vent Blockage Indicator | Clean exterior vent and ducting |
| Under-drying | Sensor Residue | Inspect Moisture Sensor bars | Clean with isopropyl alcohol |
| Wrinkles | Overloading/Logic | Check load size indicators | Utilize Steam Sanitize cycle |
| No Heat/Cold Air | Circuit Breaker | Test Heating element continuity | Hard reset/check 240V supply |
Slow drying is usually a sign that your machine is fighting against static pressure. If your vent blockage indicator is lit, your internal blower is struggling to push air through a restricted duct. When this happens, the unit will automatically extend cycle times or dial back heat to keep the dryer from overheating.
Under-drying is rarely a broken heater. Usually, it’s just the wrong cycle. Trying to dry a load of heavy towels on an Eco Dry setting will fail because the low-heat logic isn’t designed to penetrate thick fibers quickly. If the machine seems “stuck” in its ways, try a hard reset: flip the 240V breaker off for 10 minutes. This clears the RAM and helps the machine’s software reset its adaptive learning.
If you encounter wrinkles or uneven drying, test the Steam Sanitize cycle. It uses steam to help relax fibers. If you get an error code, map it out to check for a tripped thermal fuse or a faulty door switch. Remember: every 90-degree bend your vent takes adds about 5 feet of resistance. If your total run is too long, no software adjustment will fix the airflow problem.
Prerequisites for Optimal Cycle Performance
Before you tweak any samsung dryer settings, check your electrical setup. These machines require a dedicated 240V circuit. A loose neutral wire or a shaky power supply means your heating element will pull extra current while outputting less heat. That’s why it runs for hours but keeps coming out damp.
Venting is the second half of the equation. Forget ribbed foil or plastic ducts. Use rigid metal pipe. Flexible, thin ducts trap lint and stifle airflow, forcing the dryer to “trickle-dry” the load. Even if you crank the setting to “High,” the machine’s internal logic will throttle the output to prevent a fire hazard.
Always follow a regular lint filter maintenance schedule. A blocked filter messes with the dew point in the drum, leading to wonky sensor signals. If your ducting is clear, your voltage is steady, and your filters are clean, only then should you start looking at hardware like the heating element or circuit board. Reliable drying starts with good infrastructure.
Step-by-Step Workflow for Cycle Customization
Configuring Cycles via SmartThings App
If you have a newer Bespoke or AI-OptiWash model, the SmartThings app is your best tool. Keeping the firmware current is vital for moisture detection accuracy.
To customize a cycle:
1. Open the SmartThings app and select your dryer.
2. Tap ‘Cycle’ to pick your fabric type.
3. Use ‘AI Control’ sliders to set your ‘Dry Level’ (1 to 4).
4. Toggle your heat profile in the ‘Temp’ section.
5. Select ‘Save as Favorite’ to send these settings directly to the machine, overriding default energy-saving defaults.
Manual Cycle Modification
To adjust on the machine:
1. Wake the unit with the power button.
2. Turn the dial to your fabric base.
3. Press ‘Dry Level’ repeatedly to shift from ‘Normal’ to ‘Very Dry’ for heavy-duty loads. This prevents early sensor shut-off.
4. Use ‘+’ and ‘-‘ for Timed Dry, keeping in mind this mode ignores the sensors.
5. Hold ‘Start’ for 3 seconds to save your custom preferences.
Emergency Recovery: Hard Resets and Error Diagnostics
The 5-Minute Capacitor Discharge Procedure
If your control board is frozen or throwing strange codes, a normal restart won’t cut it. You must clear the capacitors.
1. Breaker Isolation: Go to your electrical panel and flip the dual dryer breaker to ‘OFF.’
2. Wait Interval: Leave it off for 5 full minutes. Do not rush this—the capacitors hold a charge that keeps the error in memory.
3. Restoration: Flip the breaker back ‘ON.’
4. Initialization: Give it 60 seconds to boot the internal OS before touching the display.
5. Diagnostics: If codes like tE1 or hE stay, you likely have a hardware failure, such as a bad thermistor or heating assembly.
Clearing Persistent Error Codes
Codes like ‘AC’ (Active Communication) often point to a bad connection between the panel and the main board. If a reboot doesn’t fix it, pull the console cover and ensure all wiring harnesses are seated tight—vibration during heavy cycles can knock these loose over time.
Common Pitfalls and Sensor Maintenance
Most “damp clothes” issues come down to dirty sensors. Those two metallic bars inside the drum take a beating from fabric softeners, which leave behind a waxy, hydrophobic film. That residue tells your dryer the clothes are dry when they are actually still wet.
Deep Cleaning the Sensor Bars
1. Prep: Grab a cotton swab and some white vinegar or rubbing alcohol.
2. Scrub: Locate the two curved metal strips near the lint trap filter. Wipe them down until they are clean.
3. Avoid Abrasives: Never use steel wool or harsh scouring pads. You will scratch the surface, which causes the bars to snag clothes and collect lint faster.
4. Test Run: Run a 10-minute ‘Timed Dry’ with an empty drum to clear any residue before your next load.
Don’t forget the crevices around the filter. Lint builds up in the gaps to the side of the filter housing, which restricts airflow. Using a soft-bristled brush to clear these areas every few loads will save you from soggy clothes and a lot of frustration.
Long-Term Care and Energy Management
The ‘Eco Dry’ function is about optimizing the heating cycle, not just saving money. It uses a lower, steadier temperature profile that relies on convective heat. It’s perfect for cottons, but misuse it on small or extra-damp loads, and you’ll find it isn’t efficient enough.
Balancing Efficiency and Longevity
To get the most out of Eco Dry:
1. Full Loads Only: Eco Dry works best with medium to full loads. Small loads can confuse the sensor logic, causing the heat to cycle on and off too frequently.
2. Skip the Extra Heat: Don’t try to “force” Eco Dry to work faster by cranking the heat up. Stick to the fabric-specific programs.
3. Venting is Key: Eco Dry needs smooth, laminar airflow. Check your vent length. If your setup is restrictive, the heating element will struggle to keep up.
4. Cool Down: Never skip the final cool-down phase. Pulling clothes out right after the heat stops leaves the internal board vulnerable to residual heat spikes.
📌 Save to Pinterest
Frequently Asked Questions
Why are my clothes still damp after a Samsung Sensor Dry cycle?
It is almost certainly residue on your moisture sensors. Clean those metal bars with a bit of vinegar. Also, keep heavy towels and light synthetics in separate loads; the sensor will stop based on the lightest, most-dry item in the mix, leaving the heavier items damp.
How do I reset my Samsung dryer if the electronics are unresponsive?
Perform a hard power cycle. Kill the power at the dryer’s circuit breaker for at least five minutes. This time is mandatory; it allows the capacitors on the main motherboard to fully drain, clearing any software errors or “frozen” logic.
Does the Eco Dry setting actually save money or just increase drying time?
Both. It saves money by lowering the duty cycle of the heating element. It does take longer, but the lower heat is significantly kinder to your clothes, preventing the heat-stress that causes premature fabric breakdown.
How often should I clean the hidden lint build-up around the moisture sensors?
Try for once a month. Even if you clean the lint trap perfectly every single time, fine dust particles find their way into the housing gaps. This traps moisture and causes odors and uneven drying.
Why does my dryer display a vent blockage code when the vent is clear?
This happens when the dryer’s internal airflow sensor detects backpressure above its factory limit. Check for kinks behind the machine or a blocked exterior vent hood. If the vent is truly clean, the machine itself might have internal lint buildup in the blower housing.