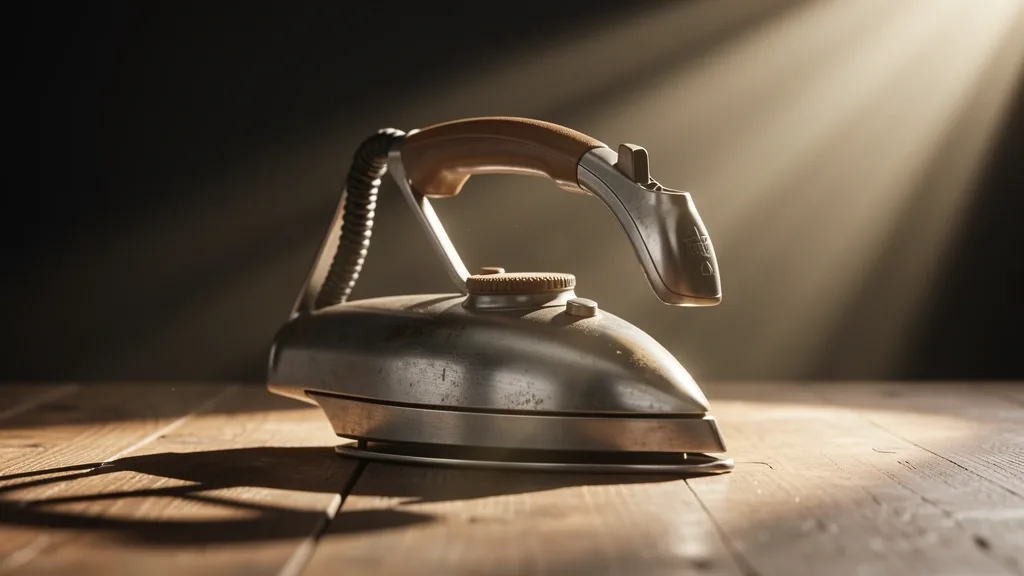
Mastering your sunbeam iron settings is a technical challenge of thermodynamics, moisture control, and fabric science. As a product testing director, I have evaluated countless soleplate configurations. The nuance of your iron’s performance hinges entirely on how effectively you calibrate the relationship between its heating elements and your fabric’s thermal threshold. Failing to match the dial position with the material’s structural integrity causes scorched fibers and poor crease removal.
Key Takeaways
- Thermal precision is the cornerstone of fabric safety; always start with the lowest required setting.
- Regional water hardness causes mineral deposits; this is the lead cause of soleplate clogging.
- Understanding the thermal cycle indicator prevents improper usage that leads to premature heating element failure.
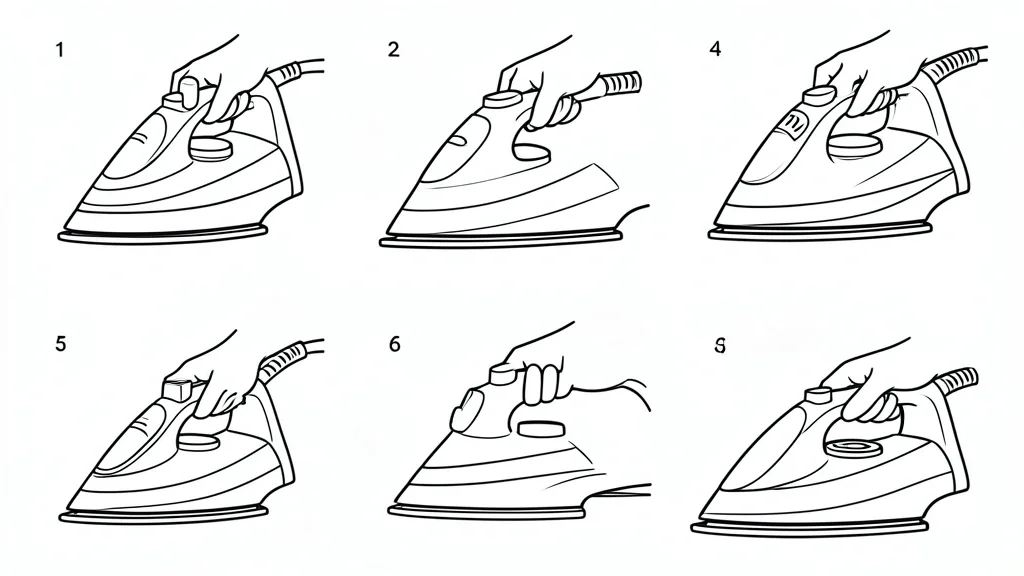
Understanding Your Sunbeam Interface: A Technical Overview
The fabric selector dial on a Sunbeam iron acts as the gateway to the internal thermostat. This thermostat modulates current flow to the heating element. Unlike cheap appliances, Sunbeam units usually use a bi-metallic strip thermostat. This strip expands and contracts to cycle power and maintain your target soleplate temperature.
The indicator light doesn’t just show when to iron—it communicates the heating element’s duty cycle. A steady light during heat-up shows maximum power draw. A cycling light confirms the thermostat is toggling to prevent over-temperature events.
Thermal output and steam volume are not linear. As you rotate the dial toward ‘Linen’ or ‘Max,’ the iron pulls more wattage to heat the flash-heating chamber. If you try to trigger a steam burst on a ‘Silk’ or ‘Low’ setting, the iron lacks the thermal energy to convert water into vapor. This leads to the “spitting” of hot, un-vaporized water onto your clothes.
High-wattage models (1500W+) provide better recovery during longer sessions. When you use the steam burst, you cool the soleplate through evaporation. A high-wattage element recovers to the target temperature faster. For a deeper look at the physics of vapor pressure, consult the standardized specifications for heating appliances.
Auto-off features are integrated into the thermal loop. If the iron detects no movement, it breaks the circuit to prevent fire. If your unit stays cold after an auto-shutoff, don’t disassemble it. Move the unit horizontally or shake it gently; the ball-bearing sensor must reset the circuit. If that fails, the internal fuse may have tripped. Unplug it for sixty seconds to perform a power-cycle reset.
The Diagnostic Matrix: Identifying Fabric Needs
You must align the dial selection with the molecular structure of the textile to avoid damage. Synthetics like polyester or nylon are petroleum-based and have a low glass transition temperature. The ‘Low’ setting is the limit; exceeding this will melt fibers into a shiny, irreparable glaze on your soleplate.
Natural cellulose fibers like linen require sustained heat and full steam to break the hydrogen bonds that cause creases. Vertical steaming also relies on high-end heat settings. If you use ‘Low’ for vertical steaming, you are just misting your clothes rather than steaming them. Always check garment care labeling symbols before you start.
| Fabric Type | Sunbeam Dial Setting | Steam Control Dial | Thermal Caution |
|---|---|---|---|
| Silk / Synthetic | Low (1 point) | Off or Dry | High risk of melting; test on inside seam first. |
| Wool / Rayon | Medium (2 points) | Low to Medium | Use a pressing cloth to avoid surface sheen. |
| Cotton / Blend | High (3 points) | High | Ensure continuous motion to prevent scorching. |
| Linen | Max | Max / Burst | Maximum heat required; spray water if needed. |
Pre-Operation Prerequisites: Water and Setup
The tap versus distilled water debate is one of the most misunderstood aspects of maintenance. In the US, water hardness varies by city. High calcium and magnesium levels lead to immediate scale accumulation inside the steam chamber. Once this mineral crust hardens on the element, efficiency drops and steam ports block up. I suggest distilled water if your region has ‘hard’ or ‘very hard’ water to protect your anti-calc system.
If you live in a soft-water area, distilled water is usually unnecessary. Some manufacturers suggest that zero mineral content can cause auto-calc sensors to behave strangely. If you see white flakes on your clothes, your anti-calc system is failing to sequester minerals. Use the self-clean function immediately to stop internal pressure build-up.
To self-clean, fill the reservoir, heat the unit to max, and hold it over a utility sink. Engage the clean cycle to flush the boiling chamber and purge vents. If you neglect this, the steam dial will eventually seize. Maintenance is a mechanical requirement for high-performance irons.
Regional climate also matters. In humid areas, your iron stores more moisture. Empty the reservoir completely while the iron is still warm after each use. This lets residual heat evaporate moisture from the chamber. Always store the iron upright rather than flat on the soleplate. This prevents corrosion and keeps the seals intact.
Step-by-Step Calibration for Optimal Steam Output
1. Initial Power-Up and Thermal Stabilization
Your Sunbeam must reach the thermal threshold to flash-boil water. Start by placing the iron on its heel rest. Plug the unit directly into a grounded 120V wall outlet. Avoid extension cords to prevent voltage drops. Set the dial to the fabric type indicated on your garment tag. For steam, you must be in the ‘Cotton’ or ‘Linen’ range. Lower settings lack the heat to create steam, resulting in drips.
2. Monitoring Indicator Feedback
Watch the indicator light after you set the temperature. If the iron is cold, the light stays on to draw full current. Wait for the light to cycle off; this reaches the calibrated temperature for your fabric. If you use the steam lever while the light is still on, you will release unheated droplets and spots. Wait an extra 30 seconds after the light cycles off to ensure the steam chamber is saturated.
3. Activating the Steam Delivery Workflow
Move the steam selector switch to your output level. Keep the iron horizontal while pressing. Ensure the dial is not in the ‘Dry’ position. Prime the system by hitting the burst-of-steam button two or three times over a towel. This clears old condensation from the lines. When moving from a high heat setting to a lower one, wait three to five minutes for the iron to cool. This prevents scorched fabric and erratic steam blasts.
Emergency Recovery: Treading Through Auto-Shutoff Failures
1. Identifying the Safety Cut-off State
Modern Sunbeam irons have a motion-sensitive timer. Power cuts if the unit sits still for 30 seconds face-down or 15 minutes upright. If your iron goes cold, check if the “Auto-Off” engaged. The light might be flashing or off entirely. Don’t assume the fuse is blown until you verify the wall outlet has power.
2. Manual Reset Workflow
Move the iron vigorously to recover. The internal motion sensor checks for movement to reconnect power. Lift the iron from the rest and rock it back and forth. If it doesn’t wake up, turn the dial to ‘Off,’ unplug it for 30 seconds, and plug it back in. Set the dial to your desired heat. The indicator should resume its warming cycle.
3. Testing External Power Circuits
If the reset fails, check the outlet. Plug a different appliance into the same socket. If that works, check your iron’s cord for kinks or heat damage. If the cord feels hot, stop using it immediately. If the unit still won’t heat, you likely have a failing thermal switch or logic board.
Long-Term Care: Cleaning and Maintenance Pitfalls
1. The Self-Clean Cycle Protocol
Scale is the enemy of performance. Clean every 30-60 days. Fill to ‘MAX’ and set to the highest heat. Once the light cycles off, unplug and hold over your sink. Press and hold the ‘Self-Clean’ button. Boiling water and mineral sludge will purge through the vents. Do not do this on your board, as the debris will ruin the cover.
2. Soleplate Residue Removal
A sticky soleplate drags on fabric. Never use steel wool or abrasive pads; they destroy the coating. Use a damp cloth with water and a splash of vinegar. For synthetic fiber residue, treat the spot with a specialized soleplate cleaner or baking soda paste after the iron cools. Wipe with a microfiber cloth and dry thoroughly.
3. Storage for Corrosion Prevention
Storing the iron with water in the reservoir is the #1 mistake. It causes valve corrosion and mold. Always empty the reservoir after use. Set the steam to ‘Dry’ and blast the remaining steam for 10 seconds to clear internal lines. Store upright. Don’t wrap the cord tightly around the iron body; coil it loosely to the side to protect the wire leads.
📌 Save to Pinterest
Frequently Asked Questions
Why does my Sunbeam iron manual warn against using 100% distilled water?
Sunbeam irons use sensors that measure water conductivity. Pure distilled water lacks the mineral ions needed for these sensors to report levels accurately. Sticking to a 50/50 mix is the best way to keep these sensors happy while preventing scale.
How can I tell if my Sunbeam iron is set correctly for synthetic blends?
Look for the ‘Synthetic’ or single-dot setting. Always test on a hidden seam first. If the iron sticks or the fabric ripples, the temperature is too high. Disable steam for these fabrics to avoid heat-moisture damage.
What should I do if my Sunbeam iron won’t heat up after an auto-shutoff?
Ensure the dial wasn’t bumped to ‘Off.’ Unplug the unit for 60 seconds to let the safety relay reset. If the light still stays dark, you may have triggered the internal thermal fuse—a non-serviceable safety component that necessitates a replacement.
Is it safe to use tap water in all Sunbeam iron models?
Yes, most models are designed for tap water. If your local water is exceptionally hard, rely on a 50/50 mix of tap and distilled water. This prevents rapid buildup while ensuring the conductivity sensors function as intended.
How do I use the burst of steam setting without leaving water spots?
Water spots occur when the iron isn’t hot enough to vaporize the water. Make sure your iron is at the ‘Max’ setting and the indicator light has cycled off. Don’t spam the burst button; give it two seconds between taps to allow the chamber to replenish its steam supply.