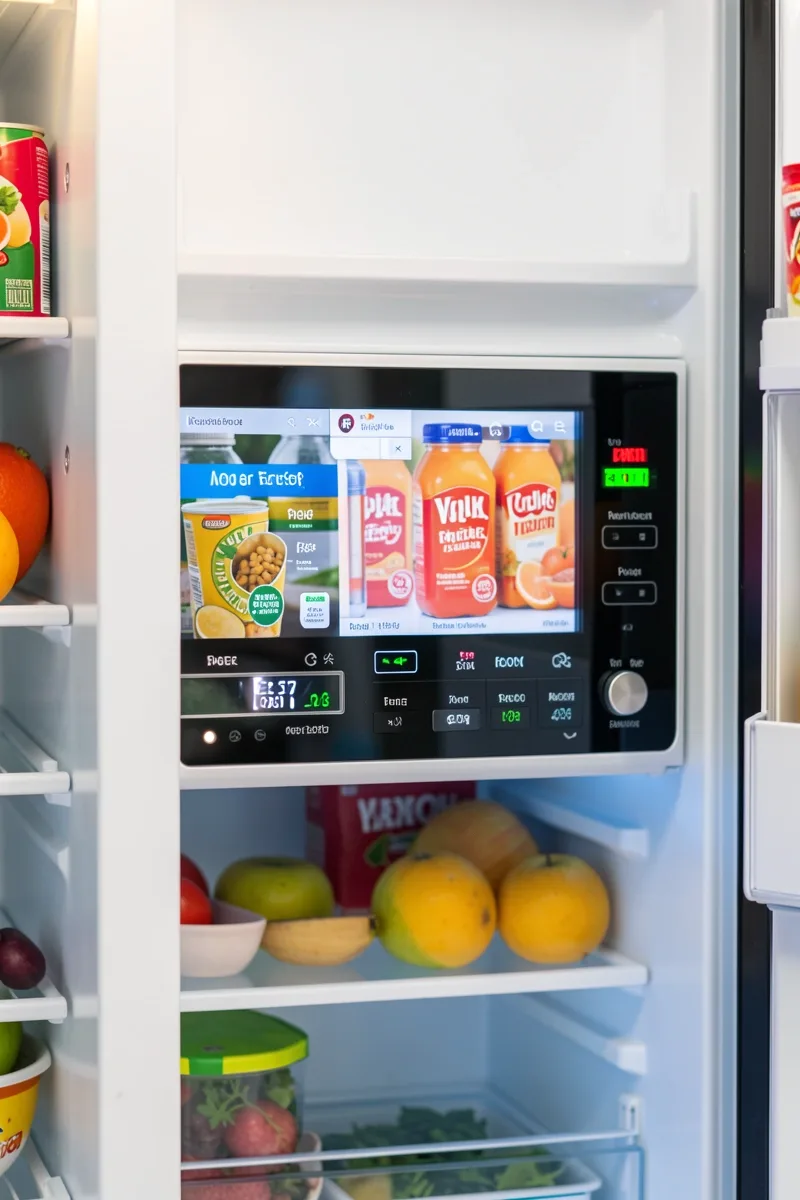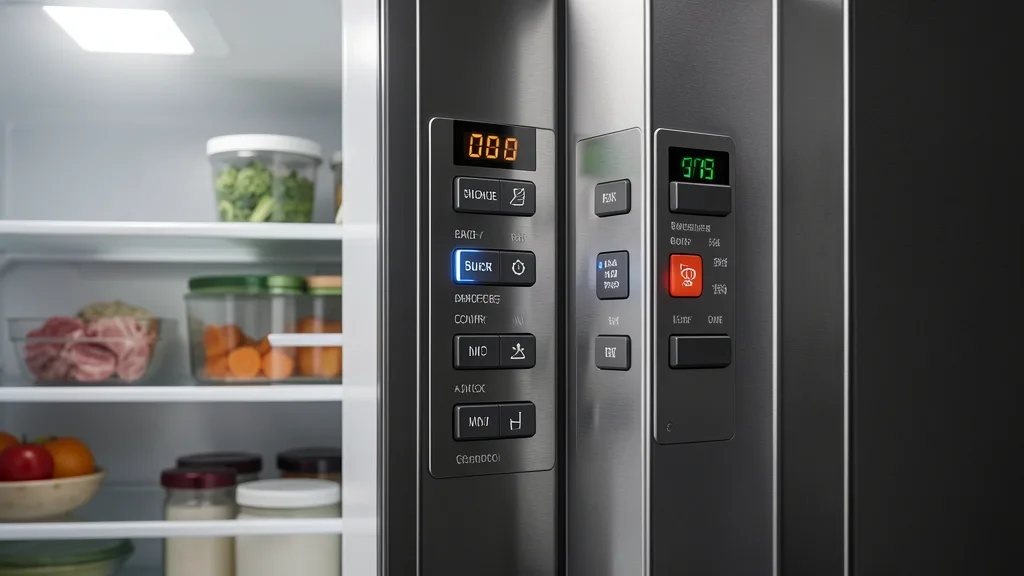
Getting your refrigerator to the right temperature isn’t just about turning a random knob. Most of us treat those factory dials like precise thermostats, but they’re actually just crude power-selectors for your compressor. If you want to keep food safe, lower your electric bill, and stop your produce from freezing, you need to understand the thermodynamics of your appliance.
Key Takeaways
- Numeric dials on most units are power-level scales, not specific degree settings.
- Thermal equilibrium is the secret to calibration; always wait 24 hours between adjustments.
- Airflow at the evaporator coils is the single biggest factor in temperature stability.
Understanding Your Refrigerator Thermostat Mechanics
Most residential refrigerators don’t use laboratory-grade temperature sensors. Instead, they use simple mechanical thermostats. When you see a scale labeled 1-7 or 1-9, you are adjusting a power-level selector. You aren’t telling the fridge to hit exactly 35 degrees; you are telling the compressor how long to run during its duty cycle.
Turning the dial to a higher number doesn’t force the unit to cool down instantly. It simply extends the time the compressor spends pulling heat out of the cabinet before the system shifts into a standby state.
Because these components are mass-produced, a “4” on your unit might result in 38 degrees, while the same setting on an identical model across the street might drop to 32 degrees. Manufacturing tolerances in the bimetallic strips lead to these calibration gaps.
Your fridge’s location also plays a massive role. If your appliance sits in a garage or a hot, cramped kitchen, the ambient room temperature forces the compressor to struggle. The mechanical thermostat can get “confused” by the external heat, causing the unit to cycle erratically.
Treat your dial as a coarse-tuning tool. Internal air temperature is a “lagging indicator”—meaning it takes time for the air to cool down after the coils have done their job. Don’t chase temperatures with constant, rapid adjustments. If you do, you’ll end up with an “overshoot” effect, leaving your fridge far colder than you intended.
The Diagnostic Matrix: Identifying Your Unit’s Thermal Baseline
You can’t control what you haven’t measured. Before you start turning dials, establish a baseline. Set your unit to the midpoint (usually 3 or 4) and leave it totally alone for 24 hours. This buffer period is non-negotiable.
Resist the urge to pack the fridge with groceries during this window. Warm food disrupts the sensors and gives you junk data. After 24 hours, place a calibrated liquid-immersion thermometer into a glass of water on the center shelf.
Testing liquid is critical because it mimics the temperature of your actual food. Air temperature fluctuates too fast every time you open the door. If that water reads above 40°F, you need to adjust your duty cycle downward, but only by the smallest increment possible.
| Symptom / Error | Possible Cause | Quick Check | Resolution |
|---|---|---|---|
| Frequent cycling, food icy | Thermostat set too high | Ice cream point test | Downshift dial by one unit; wait 24hrs |
| High internal temp | Obstructed airflow | Evaporator fan airflow | Clear rear vent clearance |
| Frost buildup | Door gasket breach | Physical seal test | Replace or clean gaskets |
| Warm food/High cooling | Ambient heat load | Condenser coil health | Vacuum dust from condenser coils |
If you perform the “ice cream point test”—checking if a tub of hard-pack ice cream feels soft—you’re testing the freezer’s ability to maintain a consistent deep-freeze state. If the ice cream is soft, your evaporator coils are likely frosted over and need attention.
Keep a simple log of your findings. Document the dial setting, the ambient room temperature, and the thermometer reading. This allows you to calibrate your fridge for the seasonal shifts in your home without guessing.
Essential Prerequisites for Accurate Testing
Before adjusting the thermostat, verify that your cooling cabinet is actually sealed. A blown door gasket is the #1 cause of cooling failure. It lets warm, humid air leak in constantly, forcing the compressor to run indefinitely to catch up.
Try the “dollar bill test”: place a dollar bill halfway in the door and close it. If you can pull the bill out with zero resistance, your gasket is failing. The unit will never hold a stable temperature if it’s fighting a constant air leak.
Check your vent clearance, too. Modern refrigerators need room to “breathe” to dissipate heat from the condenser coils. If you’ve shoved the fridge into a tight cubby, the heat has nowhere to go. This makes the mechanical components run much hotter, killing both their accuracy and their efficiency.
Finally, stop using those cheap, magnetic analog thermometers. Invest in a digital probe designed for food safety. Your data is only as good as the precision of your tool. If your fridge relies on an airflow damper to move cold air from the freezer to the fridge, make sure you aren’t choking that vent with overpacked groceries. A “good” freezer but a “warm” fridge is almost always a sign of a blocked internal air duct, not a broken thermostat.
Step-by-Step Workflow for Precision Adjustment
1. Establishing a Baseline
Because consumer knobs are rarely calibrated, treat your fridge like an uncalibrated instrument. Place your digital thermometer in the center of the middle shelf, away from direct air vents. Leave the door closed for 24 hours to establish a true ambient baseline.
2. Executing Incremental Shifts
Perform adjustments in small, singular steps. If you are at a “4,” go to “3” or “5”—never jump across the dial. A single unit change significantly alters the compressor run-time. Wait 24 hours after every single turn. “Chasing” the temperature by turning the knob back and forth is the fastest way to trigger food spoilage and icing.
3. Managing the Air Damper
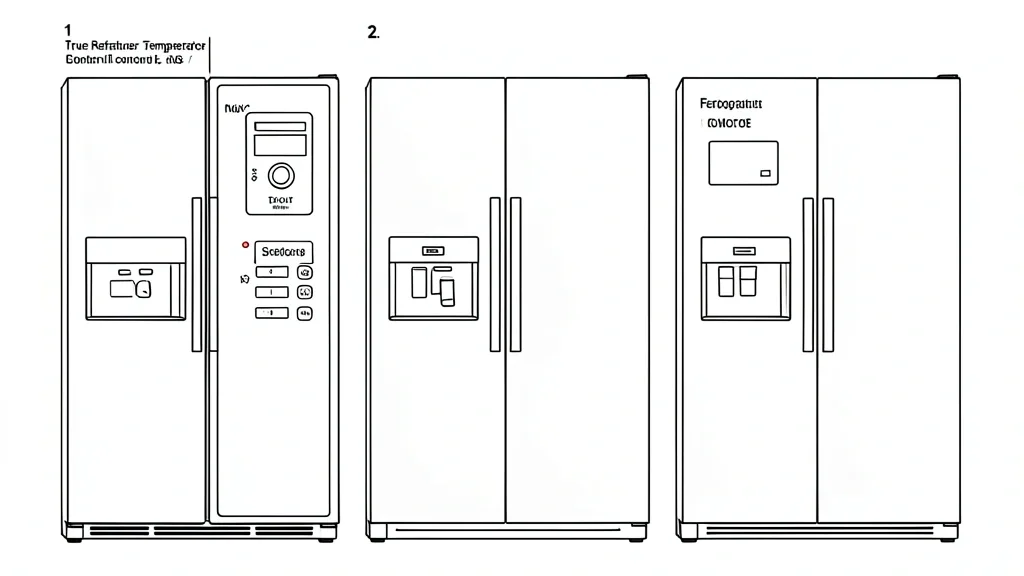
In most side-by-side or top-mount units, the freezer does all the heavy lifting. The fridge section just has a door (a damper) that lets cold air in. When you turn the fridge dial, you are often controlling this door. If your freezer is cold but the fridge is warm, check for food items blocking the vents at the rear of the freezer. If those vents are blocked, no amount of dial-turning will cool the fridge compartment.
Emergency Recovery: Correcting Extreme Temperature Swings
1. Identifying Iced-Over Coils
If the fridge side gets warm but the freezer starts to thaw, you likely have an iced-over evaporator coil. When the defrost cycle fails, ice blankets the coils so effectively that cold air can’t move through the damper. If you hear the compressor running constantly but the fridge feels warm, stop. Do not chip at the ice with a screwdriver or knife; one puncture to a copper line will ruin the unit permanently.
2. Jammed Damper Diagnostics
If moving your temperature dial produces zero change in air output after 24 hours, your internal damper might be stuck. Sometimes you can manually move the lever near the air vent to see if it’s seized. If it doesn’t move, the actuator motor or hinge has likely failed and needs to be replaced.
3. When to Call a Pro
Call a technician if you hear grinding noises from the compressor, smell burning ozone, or see water pooling that isn’t coming from a simple drain clog. If your fridge climbs above 45°F for more than four continuous hours, toss your perishables—meat, dairy, and leftovers are no longer safe. Leave the refrigerant handling to licensed pros with EPA-certified equipment.
Long-Term Care and Energy Conservation Tips
1. Seasonal Adaptations
Your fridge works harder in the summer. When the kitchen hits 85°F, you might need to nudge your dial up by one level to compensate. Conversely, in a cold winter, you may need to back the setting down to prevent produce from freezing against the back wall. Adjusting for the room’s micro-climate is the hallmark of a high-performance home.
2. Optimizing Efficiency
Efficiency isn’t about setting the temp to the coldest possible point; it’s about holding a steady 37°F to 40°F. Keeping the unit at least two-thirds full helps. If your fridge is mostly empty, toss in a few jugs of water. These act as “thermal mass,” keeping the temperature stable when you open the door and reducing the amount of time the compressor has to run.
3. Maintenance Cycles
Vacuum your condenser coils twice a year—usually found at the back or bottom of the unit. Dust and pet hair act like a winter coat for your fridge, forcing the compressor to work 20% to 30% harder than necessary. Perform the “dollar bill test” for your gaskets, and replace them if they don’t provide a tight suction seal. It’s the cheapest way to save your compressor’s life.
Frequently Asked Questions
Why does my refrigerator temp dial have numbers 1-7 instead of degrees?
Because they are simple, inexpensive mechanical thermostats. The numbers represent cycle time—how long the compressor runs before it cuts off. Since every home has a different climate, these numbers are relative, which is why you must use an external thermometer to find the true temperature.
How long should I wait after changing the temp setting to check results?
Wait at least 24 hours. Refrigeration cycles are meant to be slow and steady. If you check an hour later, you’re looking at a temporary fluctuation caused by the door opening or the compressor kicking on, not the actual performance of the new setting.
What is the ideal target temperature for a home refrigerator and freezer?
Stick to 35°F–38°F for the fridge and 0°F for the freezer. Anything consistently above 40°F puts your food in the “danger zone” for bacteria growth.
Can too-cold settings cause freezer failure or food spoilage?
Yes. If you max out your cooling, you can freeze moisture in your air vents. This creates an ice blockade that cuts off all airflow to the unit. Ironically, setting your fridge to the coldest possible level is the fastest way to get it to warm up to room temperature.
Where is the best place to position a thermometer inside a fridge for accurate readings?
Place it in the center of the middle shelf. Avoid the door racks and the direct path of the air vents, as those areas have the most extreme temperature swings. The center of the fridge provides the most representative reading of your food’s environment.
📌 Save to Pinterest